Getting Started Tutorial
Install the Data Hub Framework
1. Download the QuickStart .war
Create a folder for this hub project and open a command line window into it. You can create the folder however you like. Here’s an example of creating it from the command line.
mkdir data-hub
cd data-hub
Download the QuickStart v3.0.0 .war and place it in the folder you just created.
2. Download the Sample Data
Create a folder to hold your input data
mkdir input
Download the .zip file of sample data.
Open the .zip file and move the subfolders of sample data (campaigns/, customers/, etc.) into the input folder you just created.
Your project folder should look like this:
data-hub
 +-- input
 +-- quick-start-3.0.0.war
3. Run QuickStart
The QuickStart application is a stand-alone Java Web Application. It runs its own internal web server and serves up the application on port 8080. You do have the option to change the port as noted below. QuickStart can be run on any computer as long as there is network connectivity to your MarkLogic instance. QuickStart will communicate with MarkLogic over HTTP.
To run QuickStart, open a terminal window in the data-hub directory and run the .war:
java -jar quick-start-3.0.0.war
If you need to run on a different port then add the –server.port option:
java -jar quick-start-3.0.0.war --server.port=9000
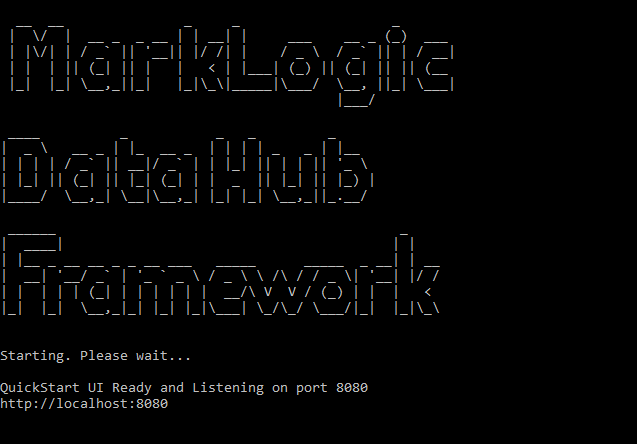
After running the .war, should see the following in the terminal:
If you are on Windows you may be presented with a firewall alert:
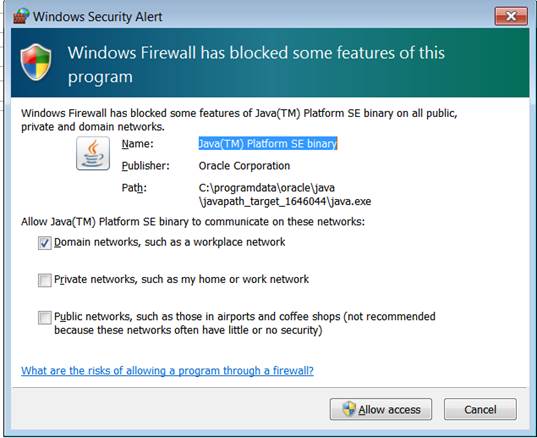
Click Allow access
With the QuickStart application running, open it in your browser: http://localhost:8080
4. Install the Data Hub
After opening the QuickStart application, you must step through a sequence of screens to properly configure and install the hub.
-
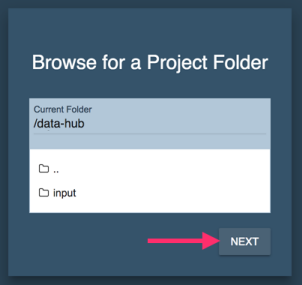
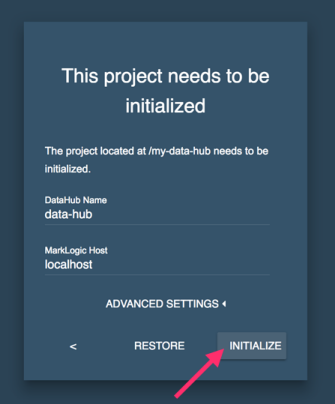
Browse to the directory where your hub lives. If you saved and ran the Quickstart war file in the hub directory, then you should be in the correct directory. Click NEXT.
-
Click INITIALIZE to initialized your project directory.
-
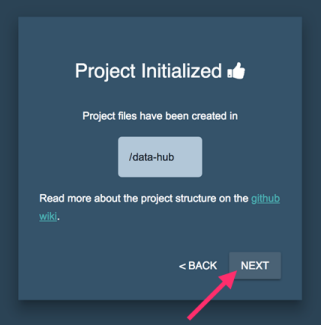
You have now initialized your Data Hub Framework project. Your project folder now contains many new files and directories. If you are curious, you can read about the files in a Data Hub Framework project. Click NEXT.
-
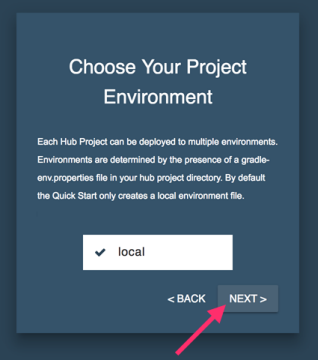
Choose the local environment, then click NEXT.
-
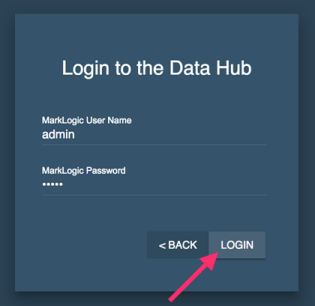
Enter your MarkLogic credentials, then click LOGIN.
-
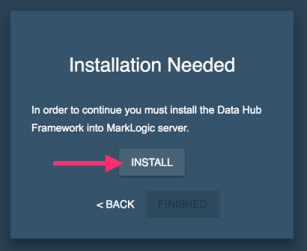
Click INSTALL to install the Data Hub Framework into MarkLogic. You will see a screen with progress information while the data hub is being installed.
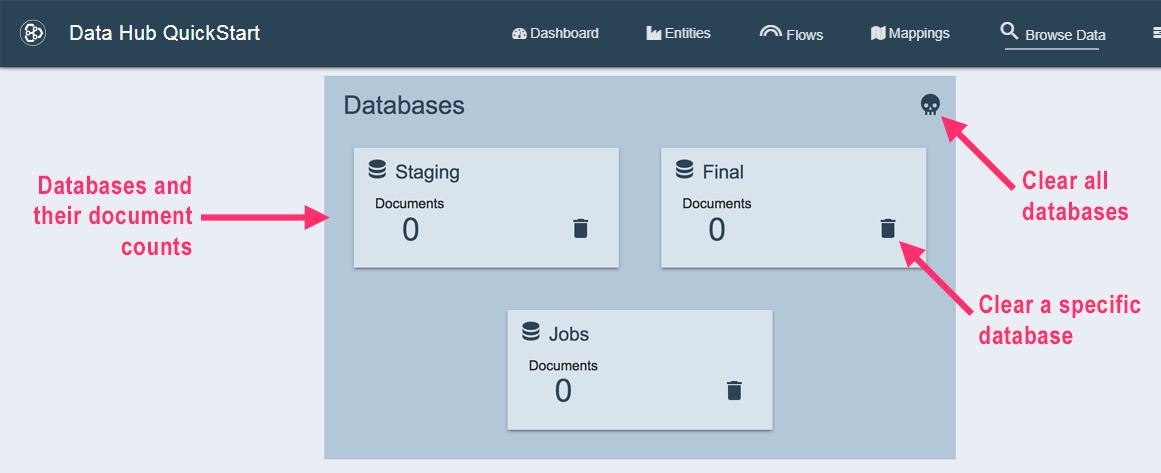
Congratulations! The Data Hub Framework is installed and ready to use. You are taken to the Dashboard page where you can see the document counts of all three hub databases. Additionally, you can clear out the databases one at a time or all in one fell swoop.
The following are the three databases and what they store:
- Staging: incoming data
- Final: harmonized data
- Jobs: data about the jobs run and tracing data about each harmonized document