Getting Started Tutorial for DHF 1.x
This tutorial is for version 1.x of the Data Hub Framework which was designed to work with MarkLogic Server 8. This version is no longer being actively developed or supported. If you are using MarkLogic Server 9, go to the 2.x Getting Started Tutorial
Be advised that this tutorial was created some time ago and has not yet been updated to reflect the most recent UI screens.
Building an HR Hub
This tutorial will walk you through setting up a very simple hub for HR data. Your company Global Corp has provided you with CSV dumps of 3 tables. Additionally you are receiving JSON data files from a recently acquired company Acme Tech. You are responsible for loading data from both systems into your data hub to make them accessible to internal systems.
In a Hurry?
The finished version of this tutorial is available for you to download and play with. Finished HR Hub Example
QuickStart
This tutorial uses QuickStart, a simple User Interface that you can run locally to start working with the Data Hub quickly. With QuickStart you will have a working hub in a matter of minutes. No need to worry about deployment strategies or configuration details. Simply run the war and point it at your MarkLogic installation.
Prerequisites
Before you can run the hub you will need to have some some software installed.
- Oracle’s Java 8 (We have not tested with OpenJDK)
- MarkLogic Server 8.07+
- A Modern Browser. Chrome or FireFox work best. Use IE at your own risk.
1 - Download and Install MarkLogic
Follow the official instructions for installing MarkLogic.
2 - Download the QuickStart War
- Create a folder for this hub project and cd into it.
mkdir data-hub
cd data-hub
- Download the quick-start-*.war from the releases page and place it in the folder you just created.
3 - Download the Sample Data
- Create a folder to hold your input data
mkdir input
- Download the Zip file of sample data into the input folder you just created. Now extract it.
Your directory should look like this:

4 - Run the QuickStart
- Open a terminal window in the data-hub directory
- Run the War
java -jar quick-start-*.war
- Open the QuickStart Application in your browser: http://localhost:8080
If you need to run on a different port then add the –server.port option
java -jar quick-start-*.war --server.port=9000
5 - Login to the Hub
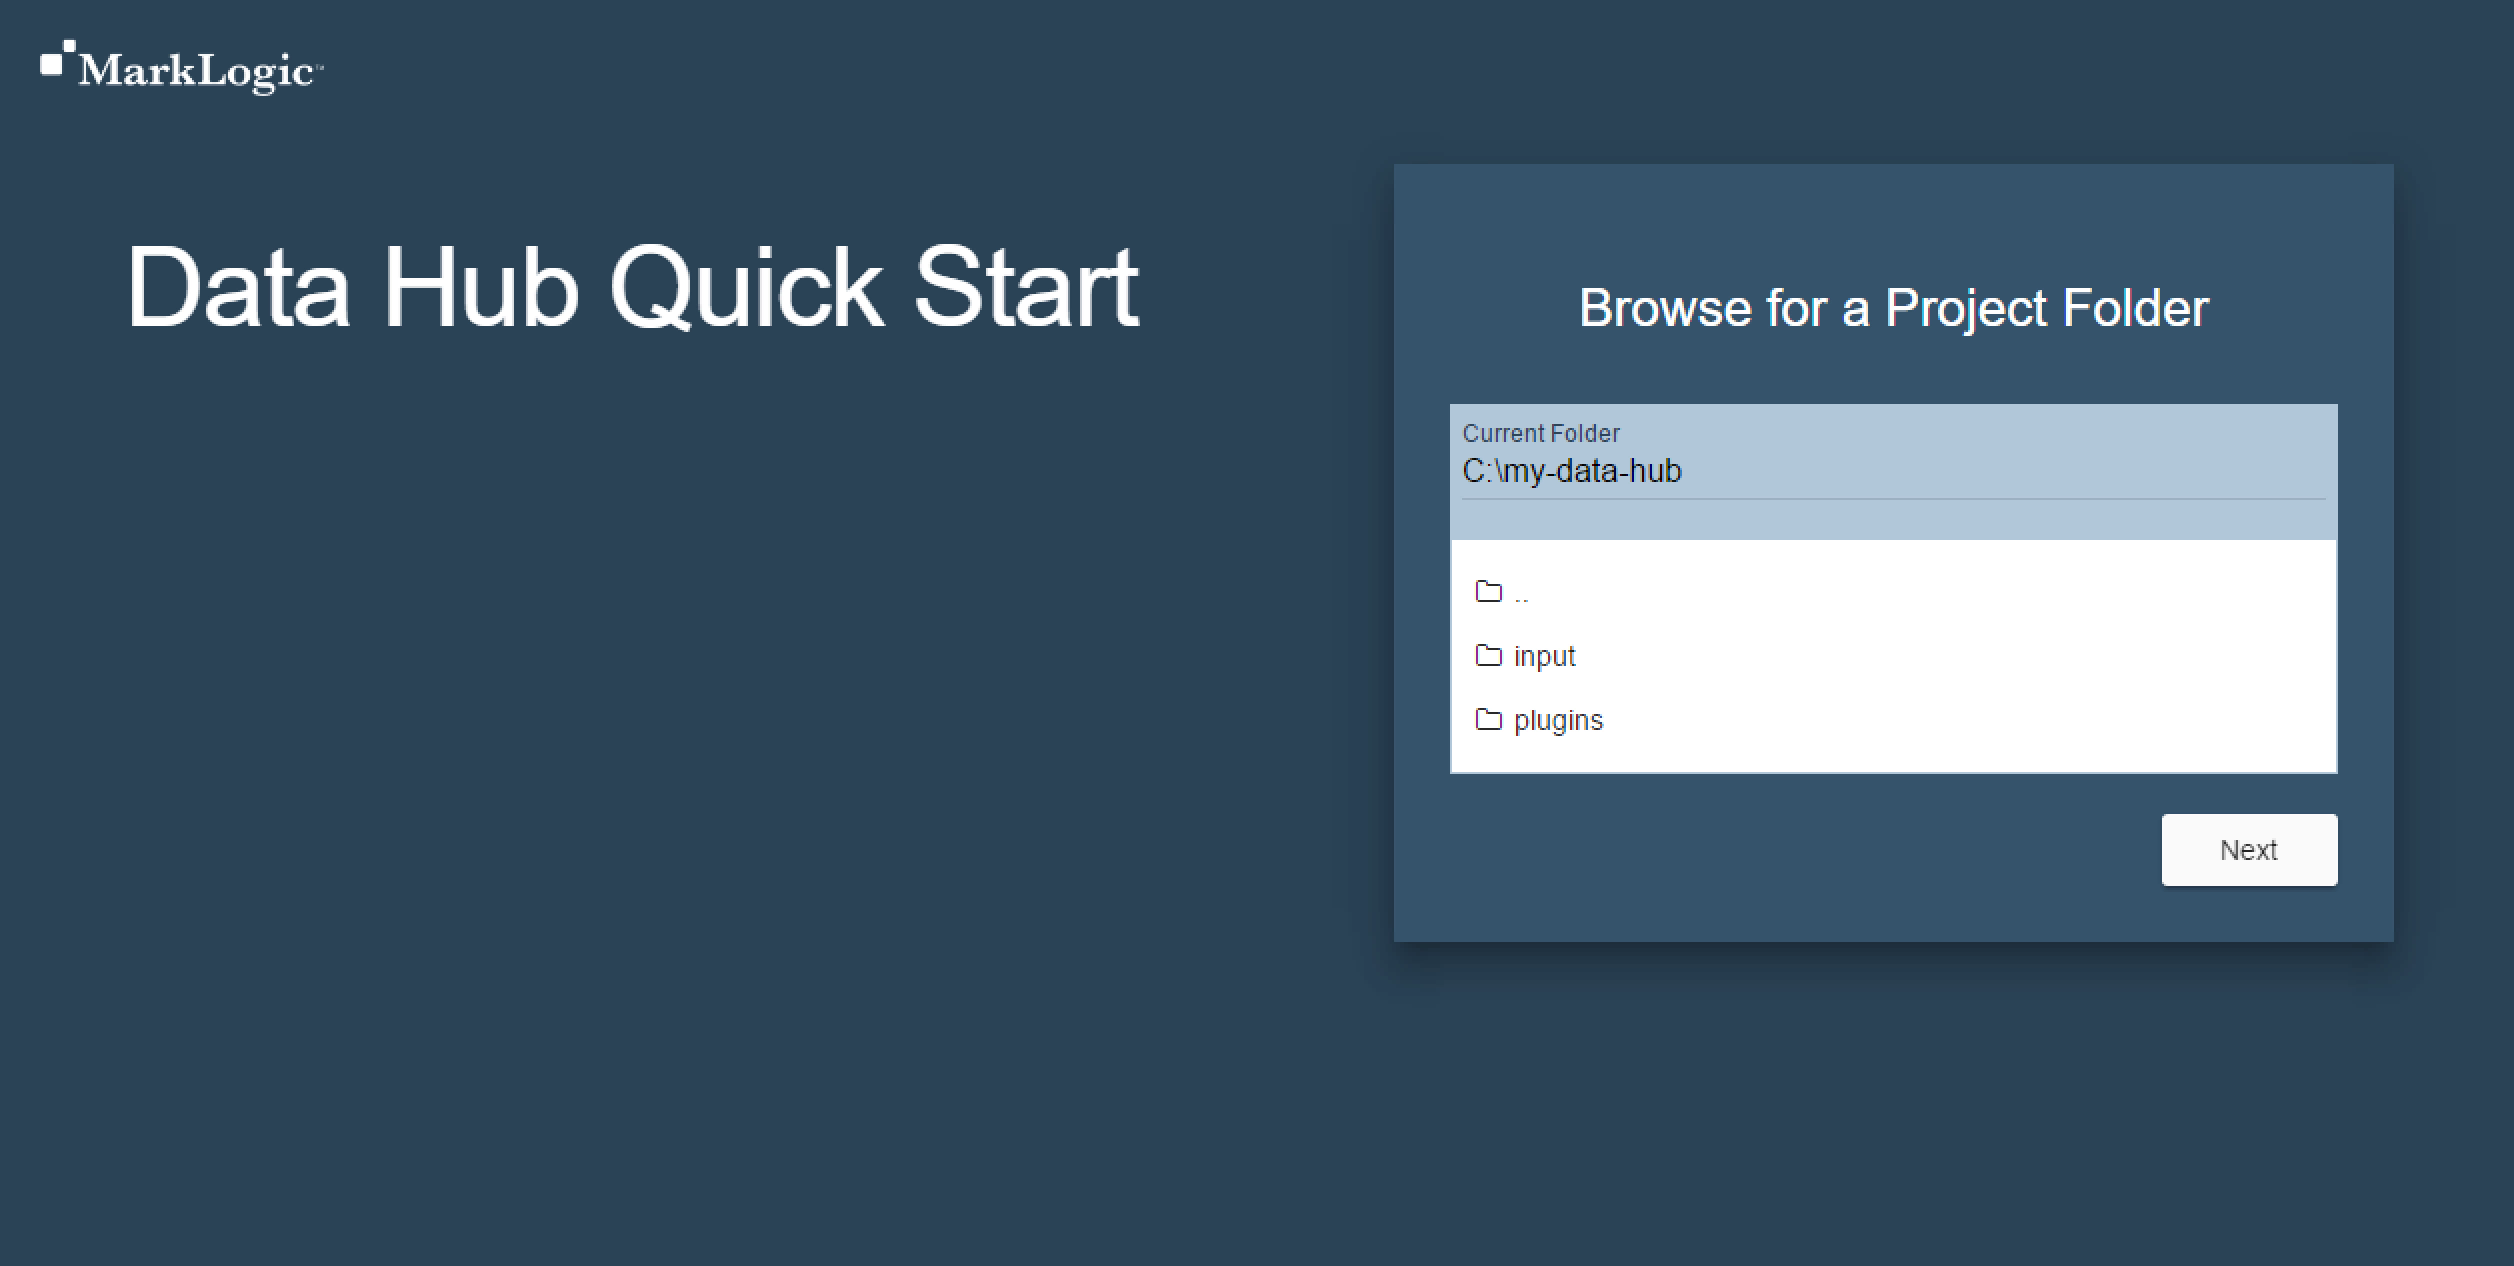
After opening the QuickStart Application you must step through a wizard to properly configure the Hub.
Browse to the directory where your hub where will live.
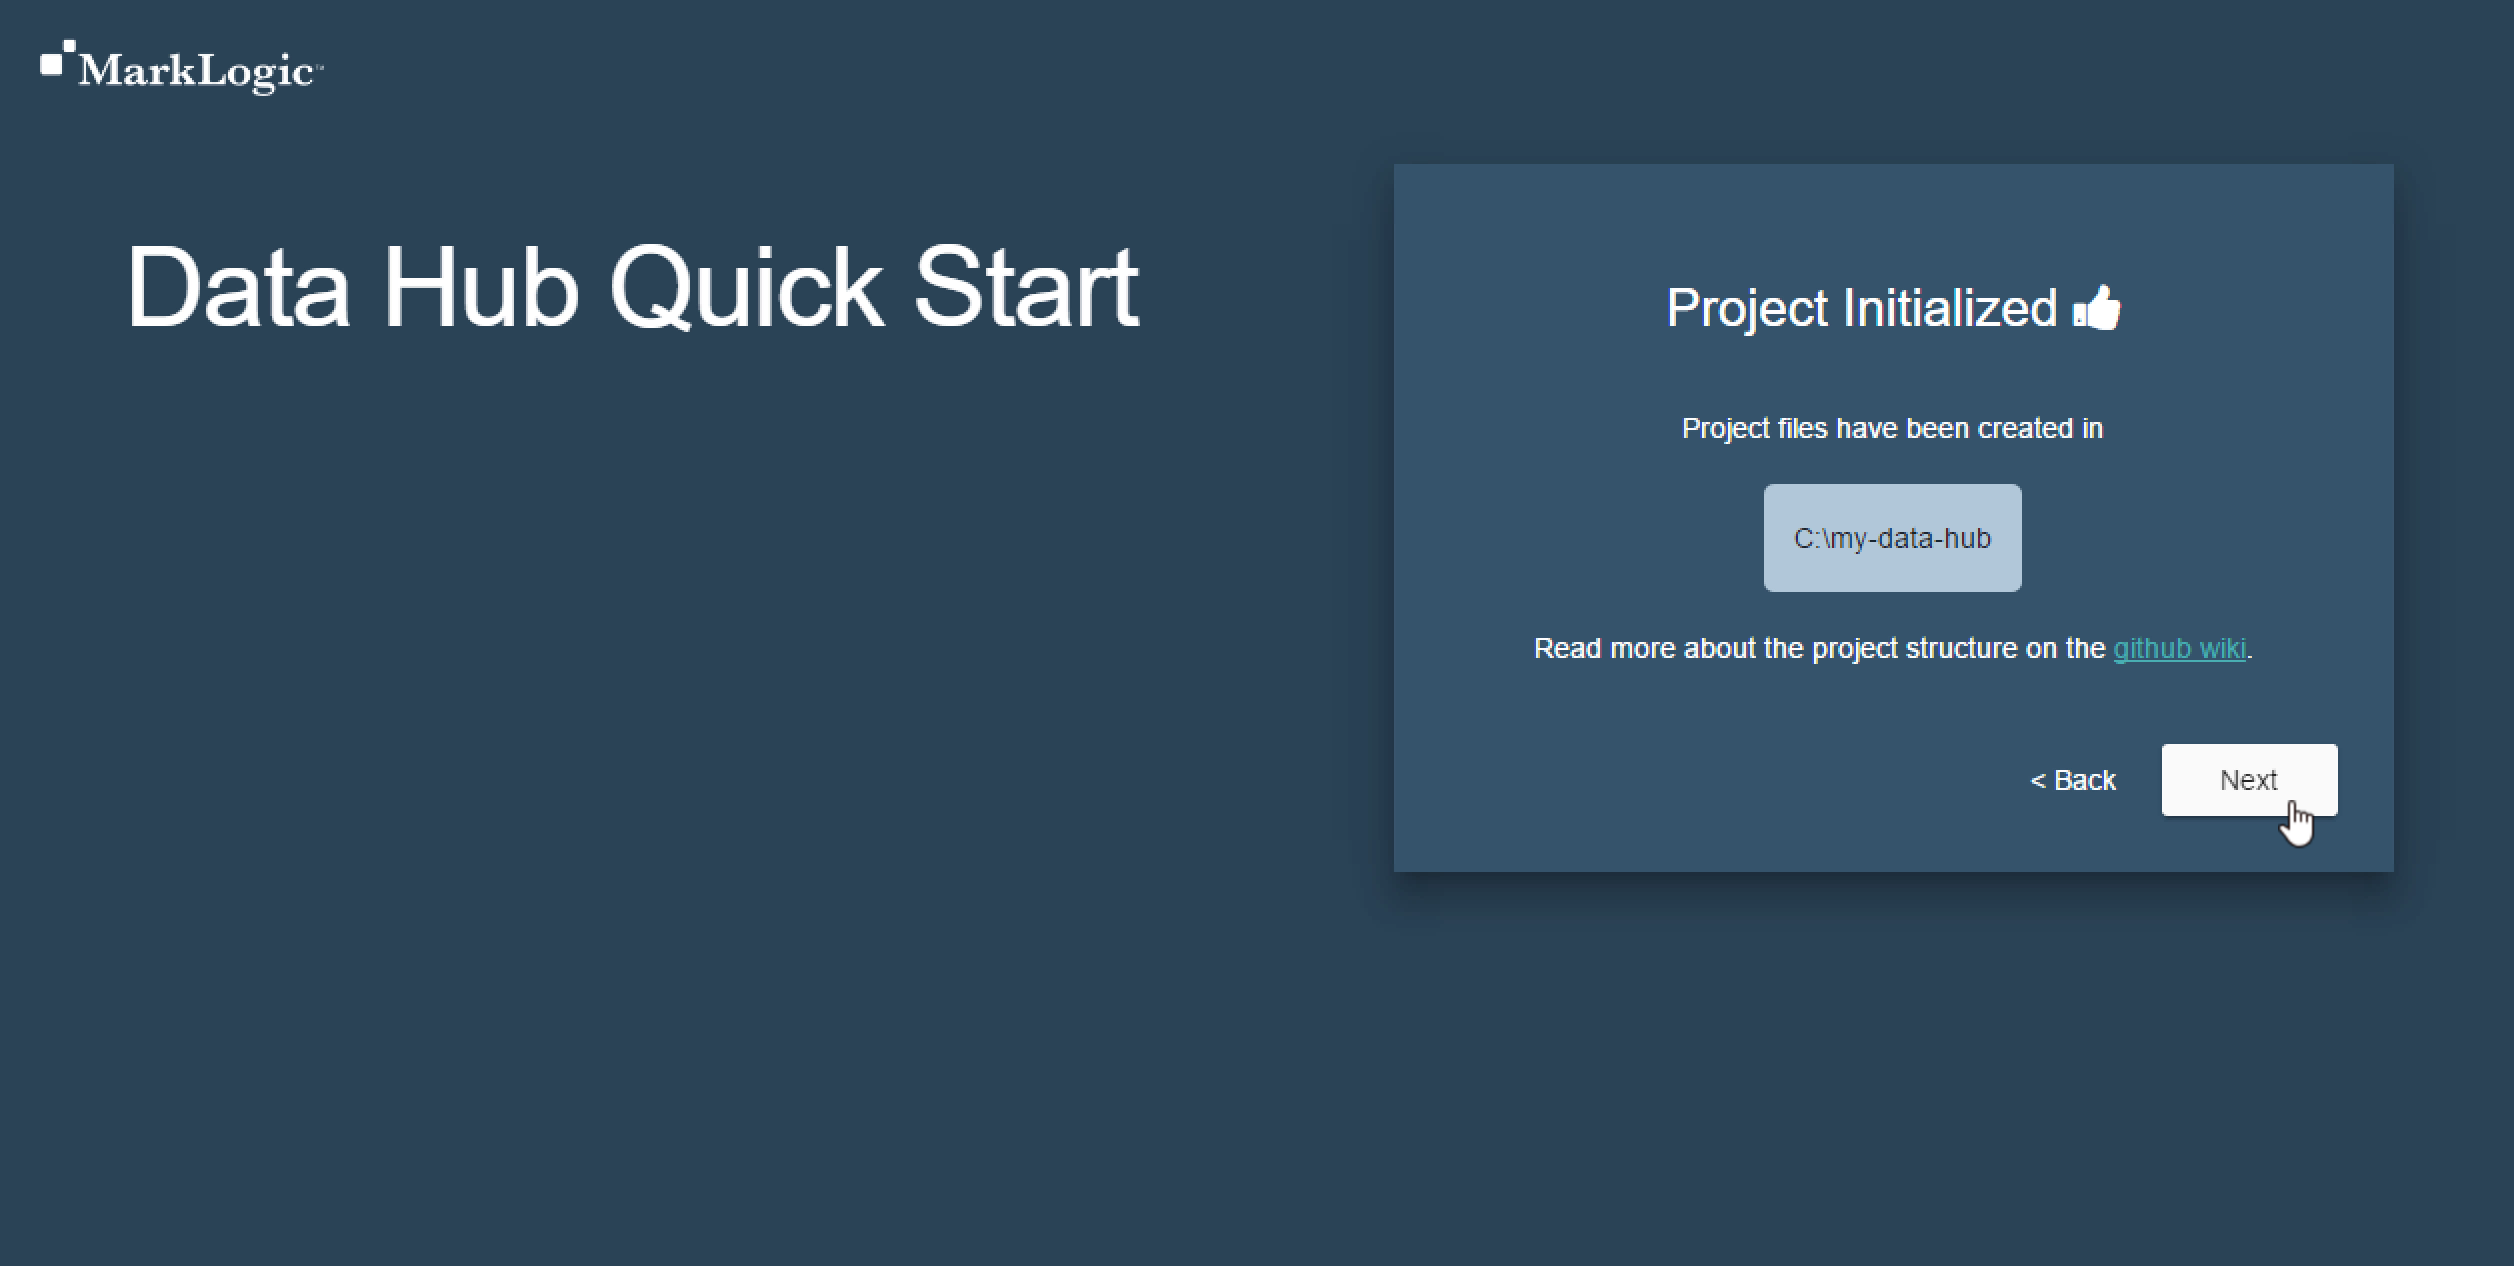
Initialize your Data Hub Project Directory.
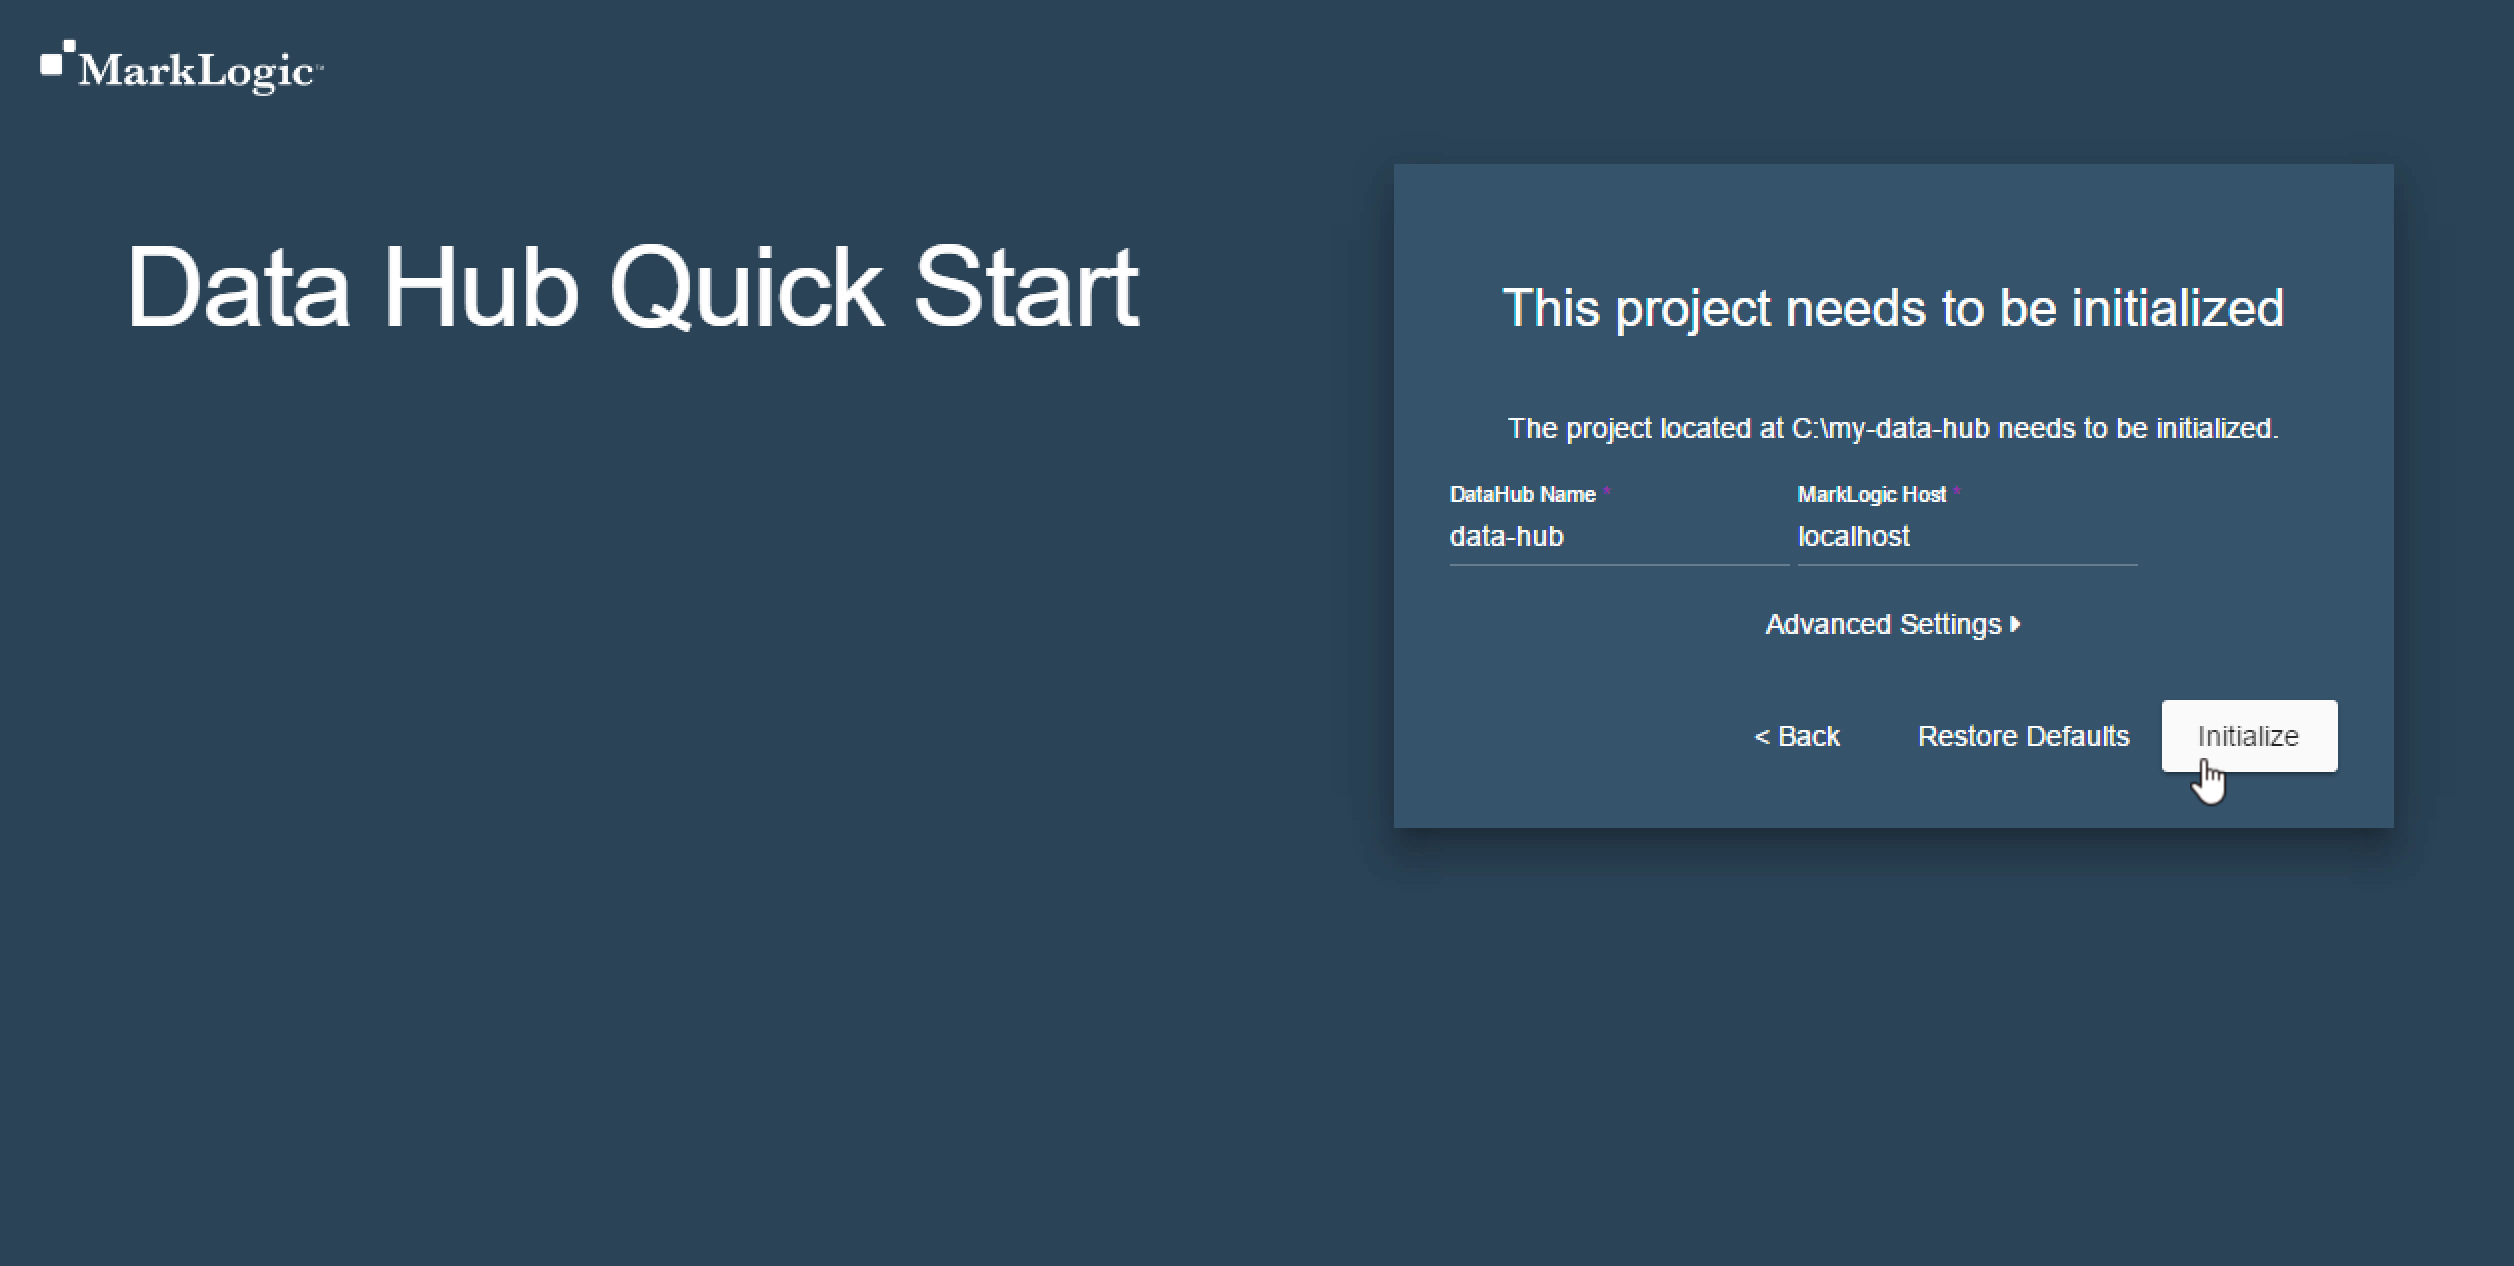
Click Next.
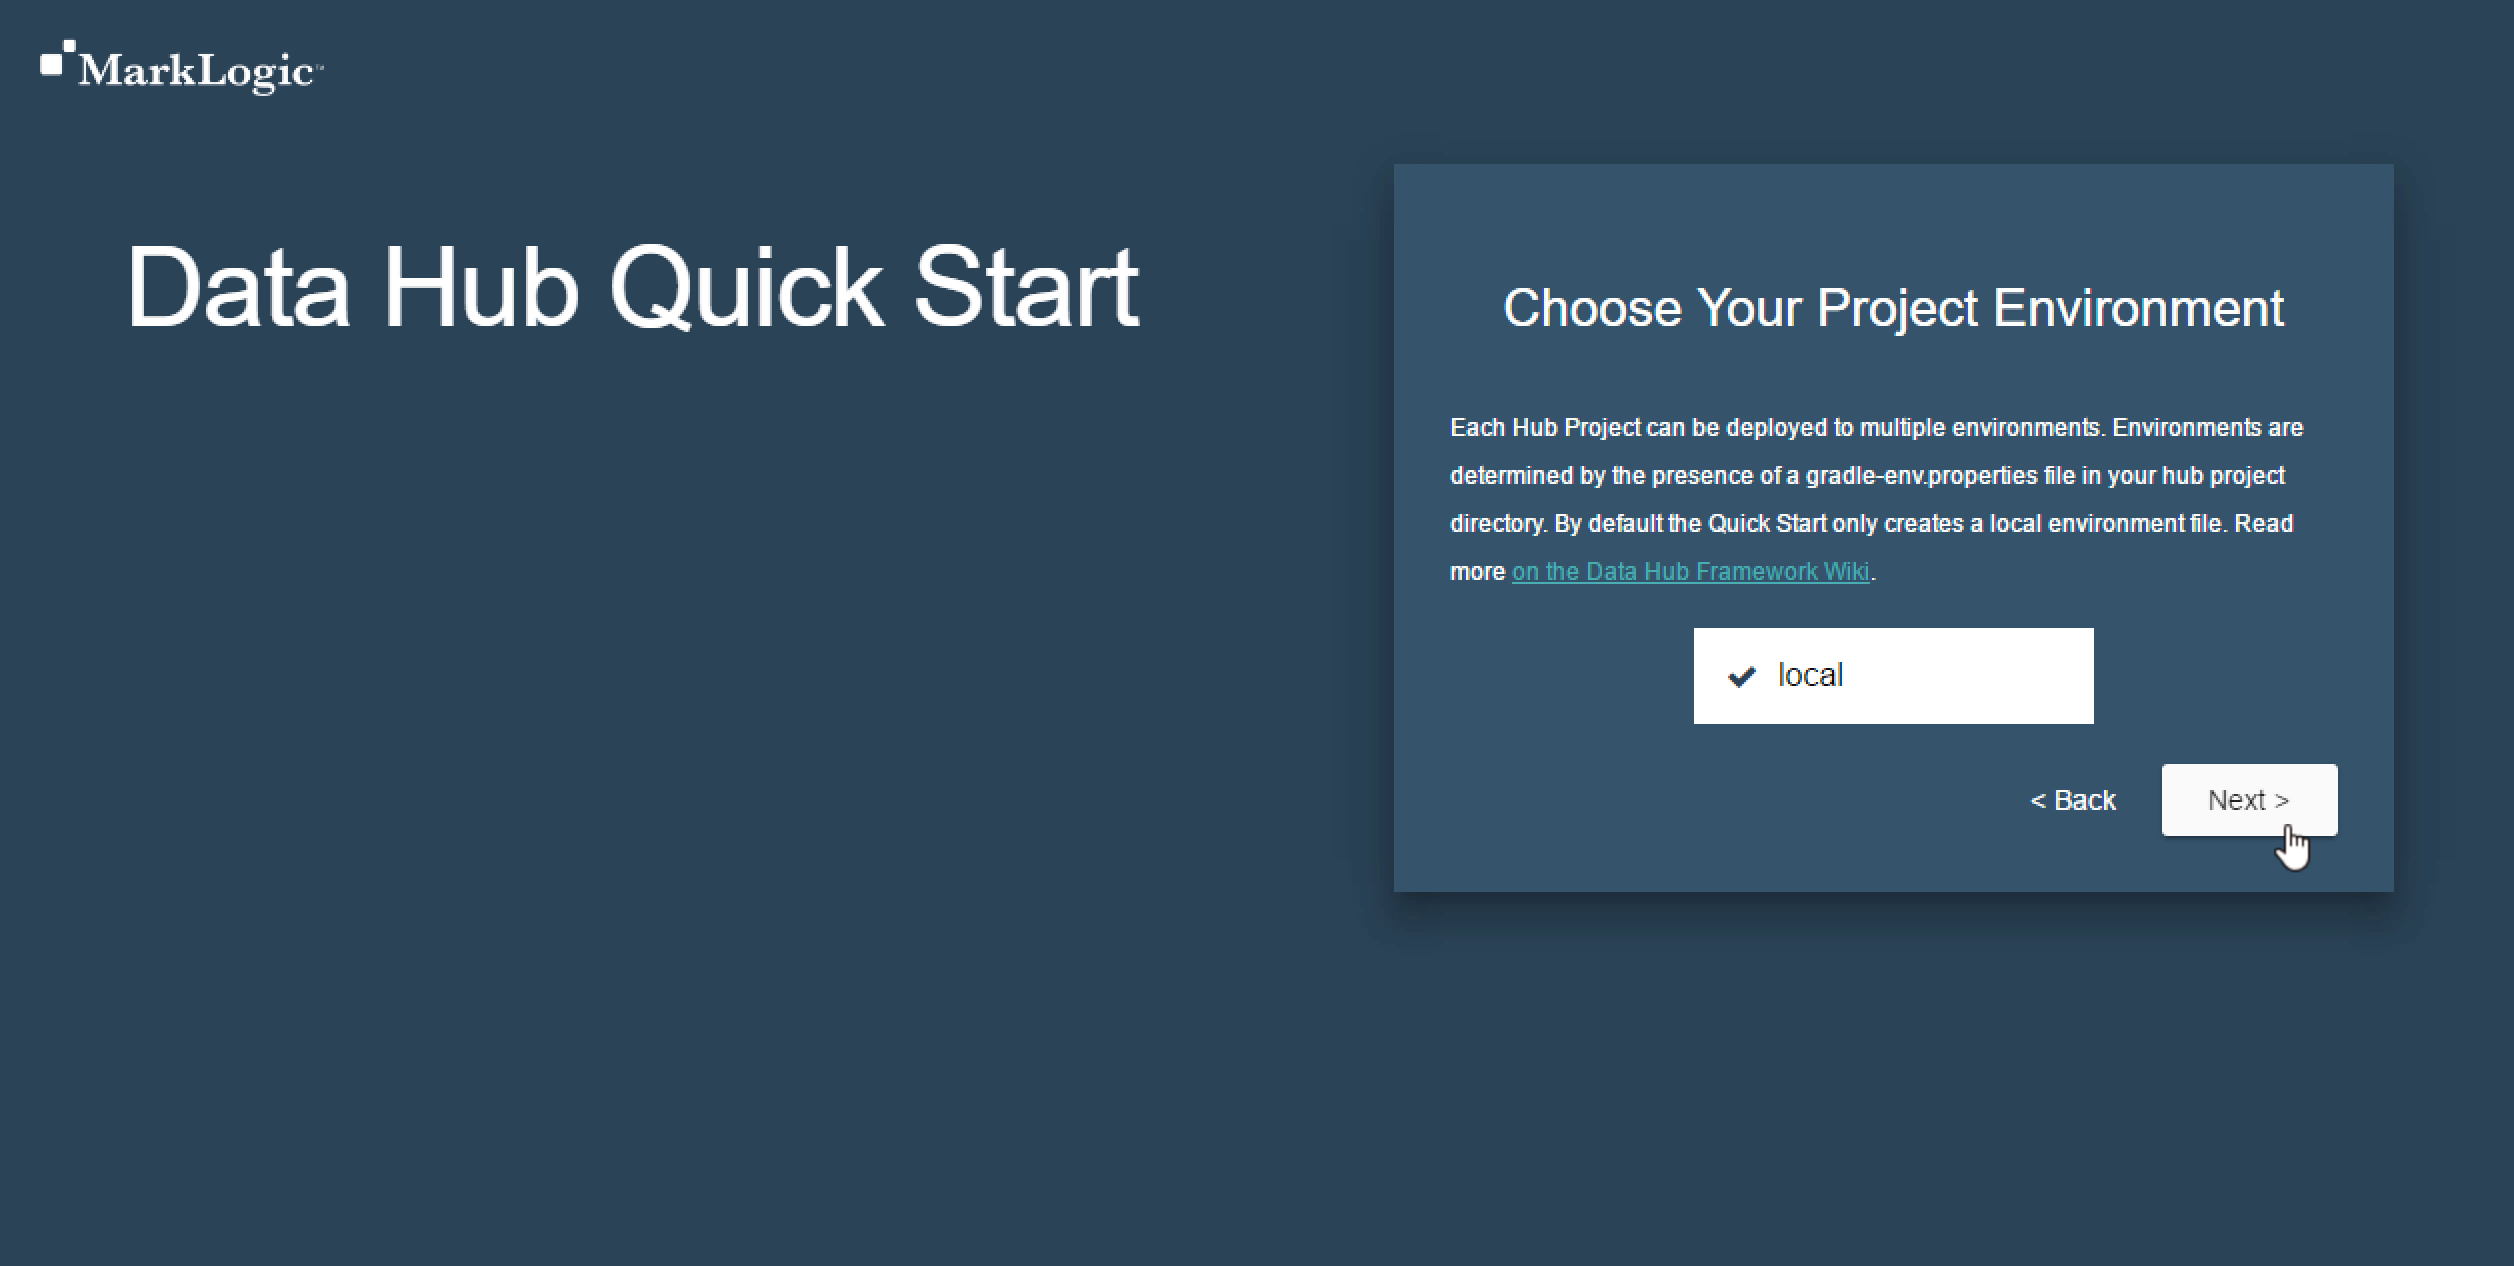
Choose the Local Environment.
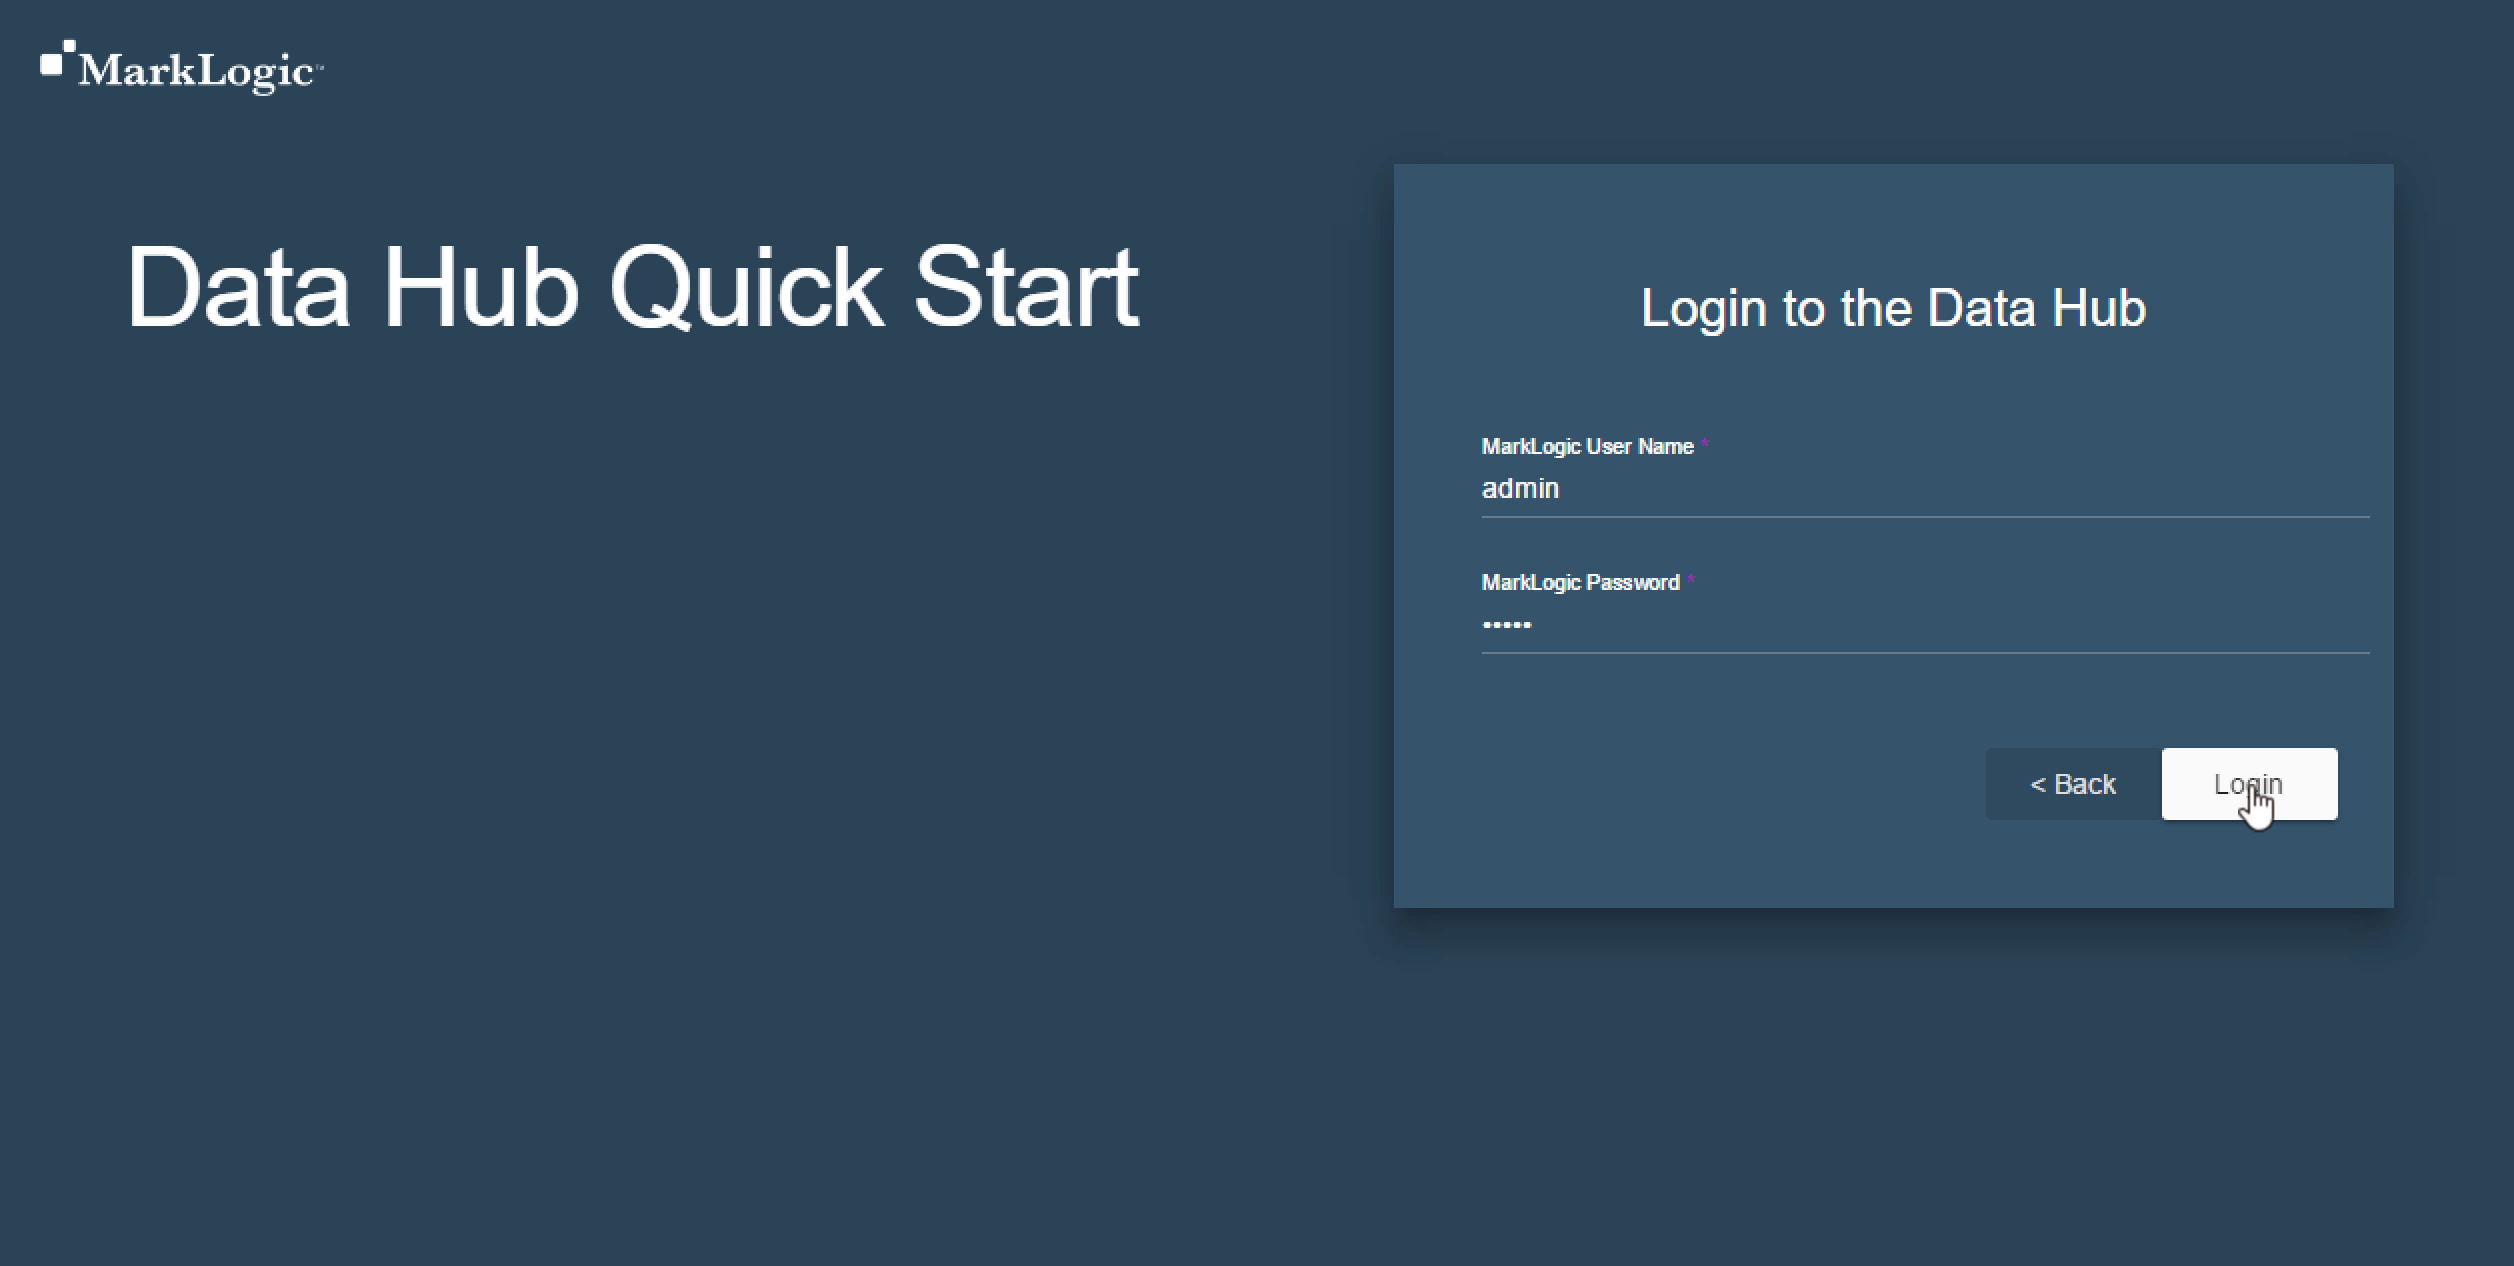
Login to the Hub with your MarkLogic credentials
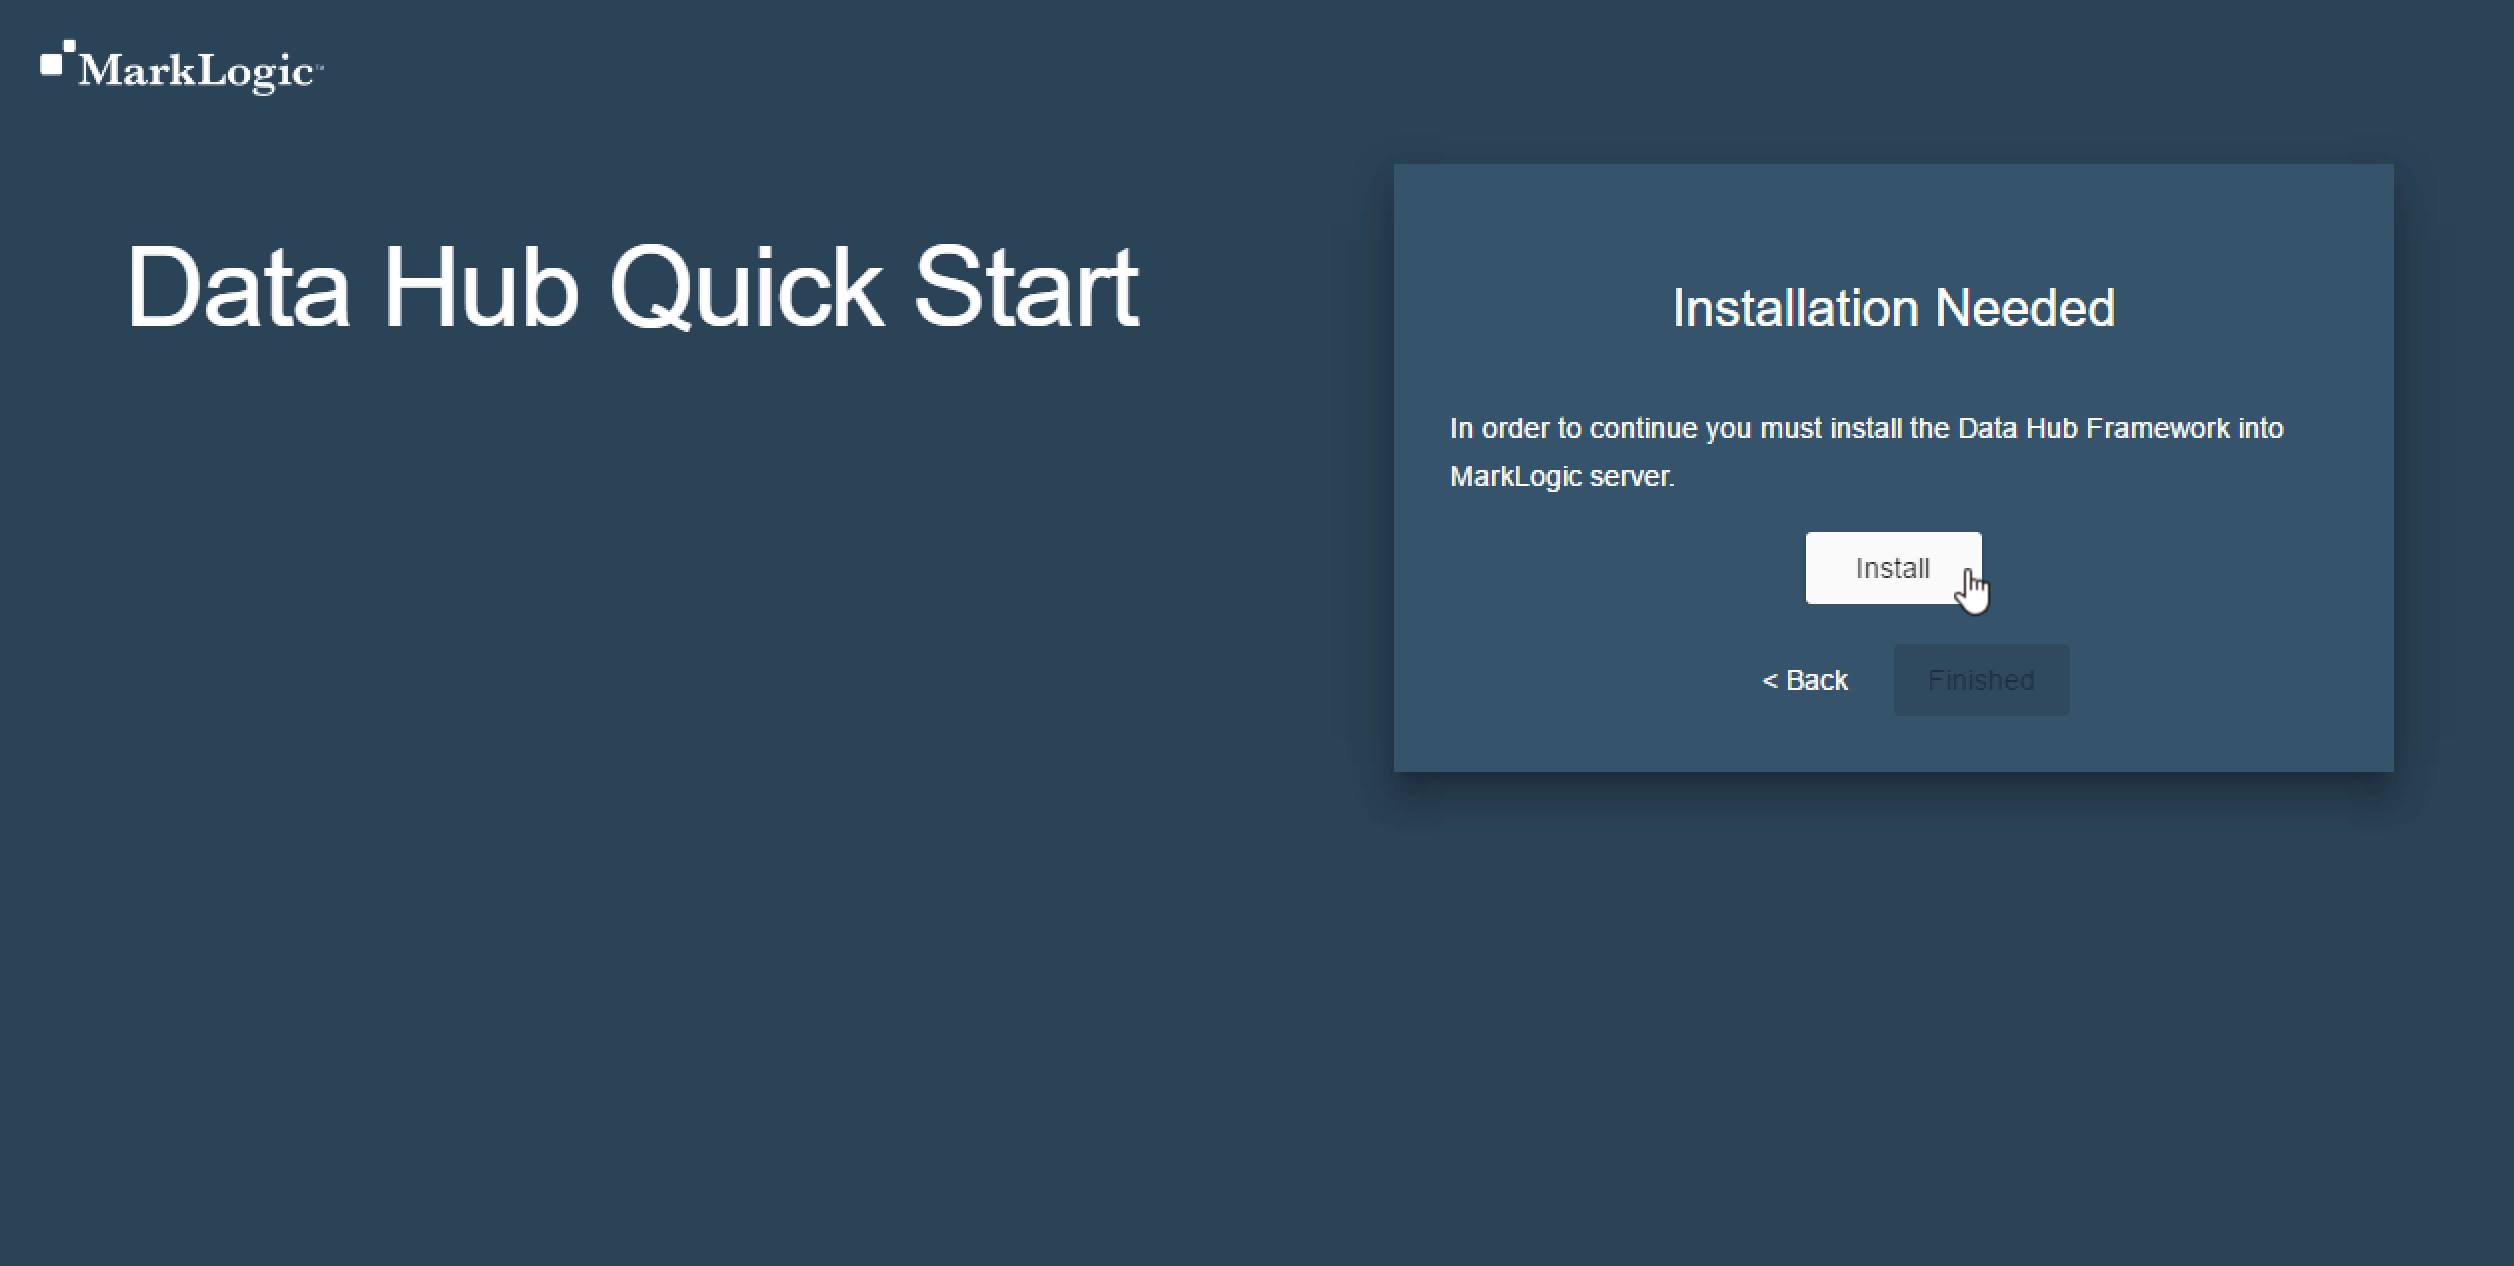
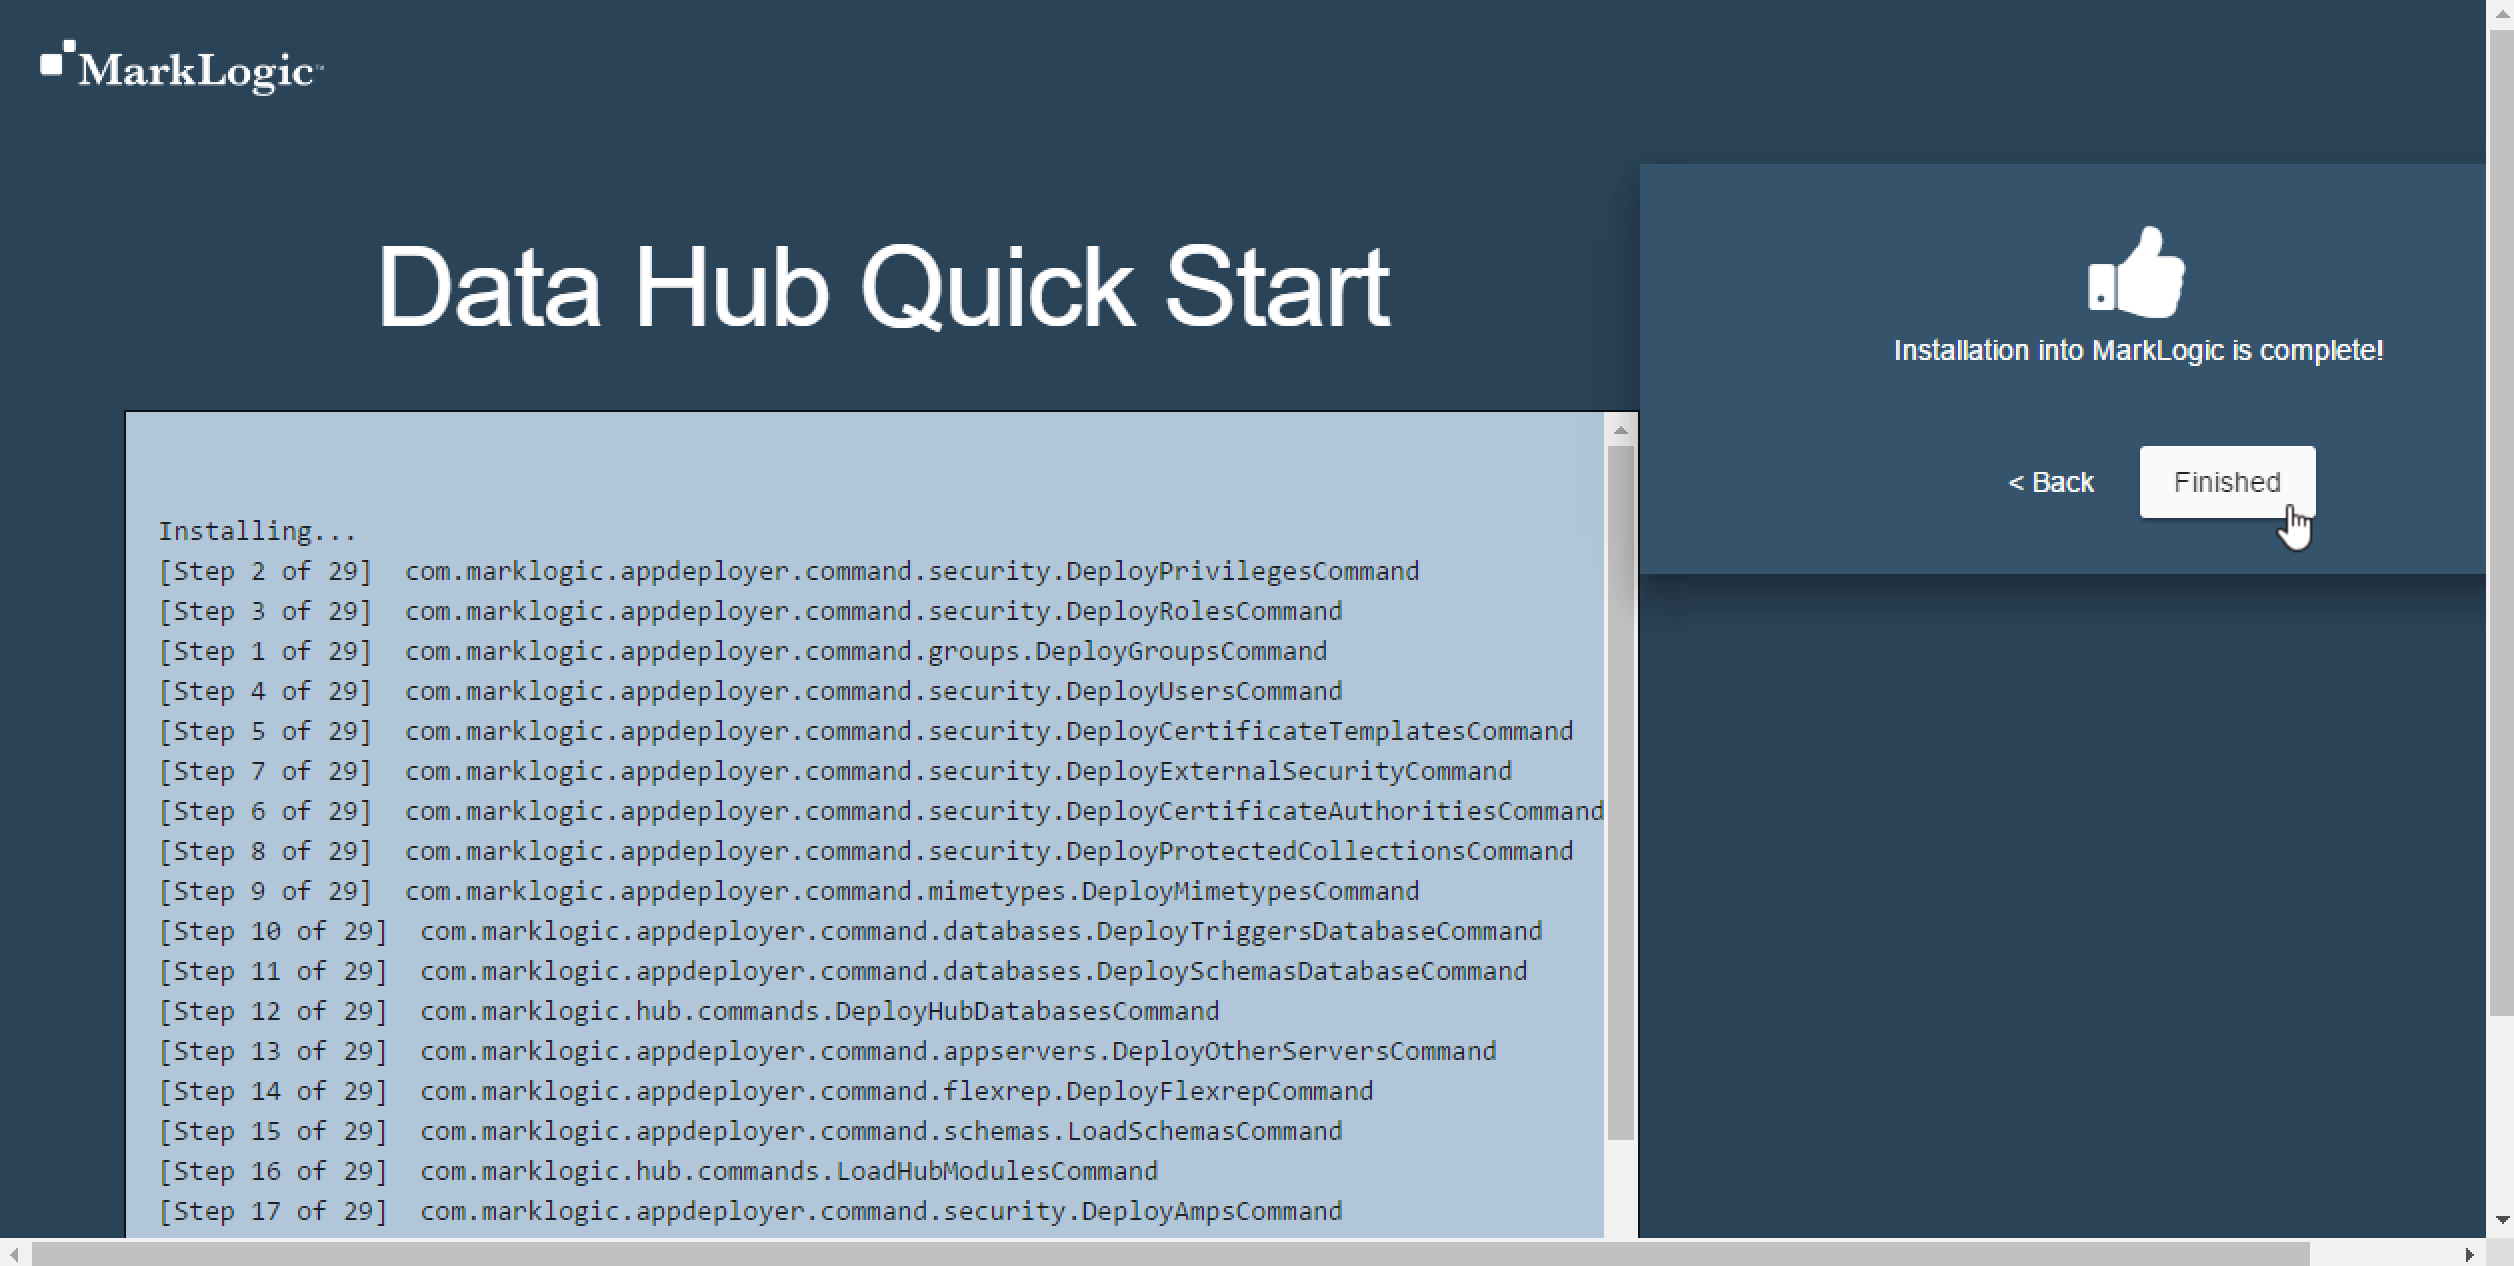
Install the Hub into MarkLogic
Click Finished
6 - Create Your First Entity
Entities are the business objects that you will be working with in the hub. Start by defining a new Employee Entity. Click the New Entity button. Now fill out the popup with your entity name. If you are using the example code we provide then make sure to name this “Employee”.
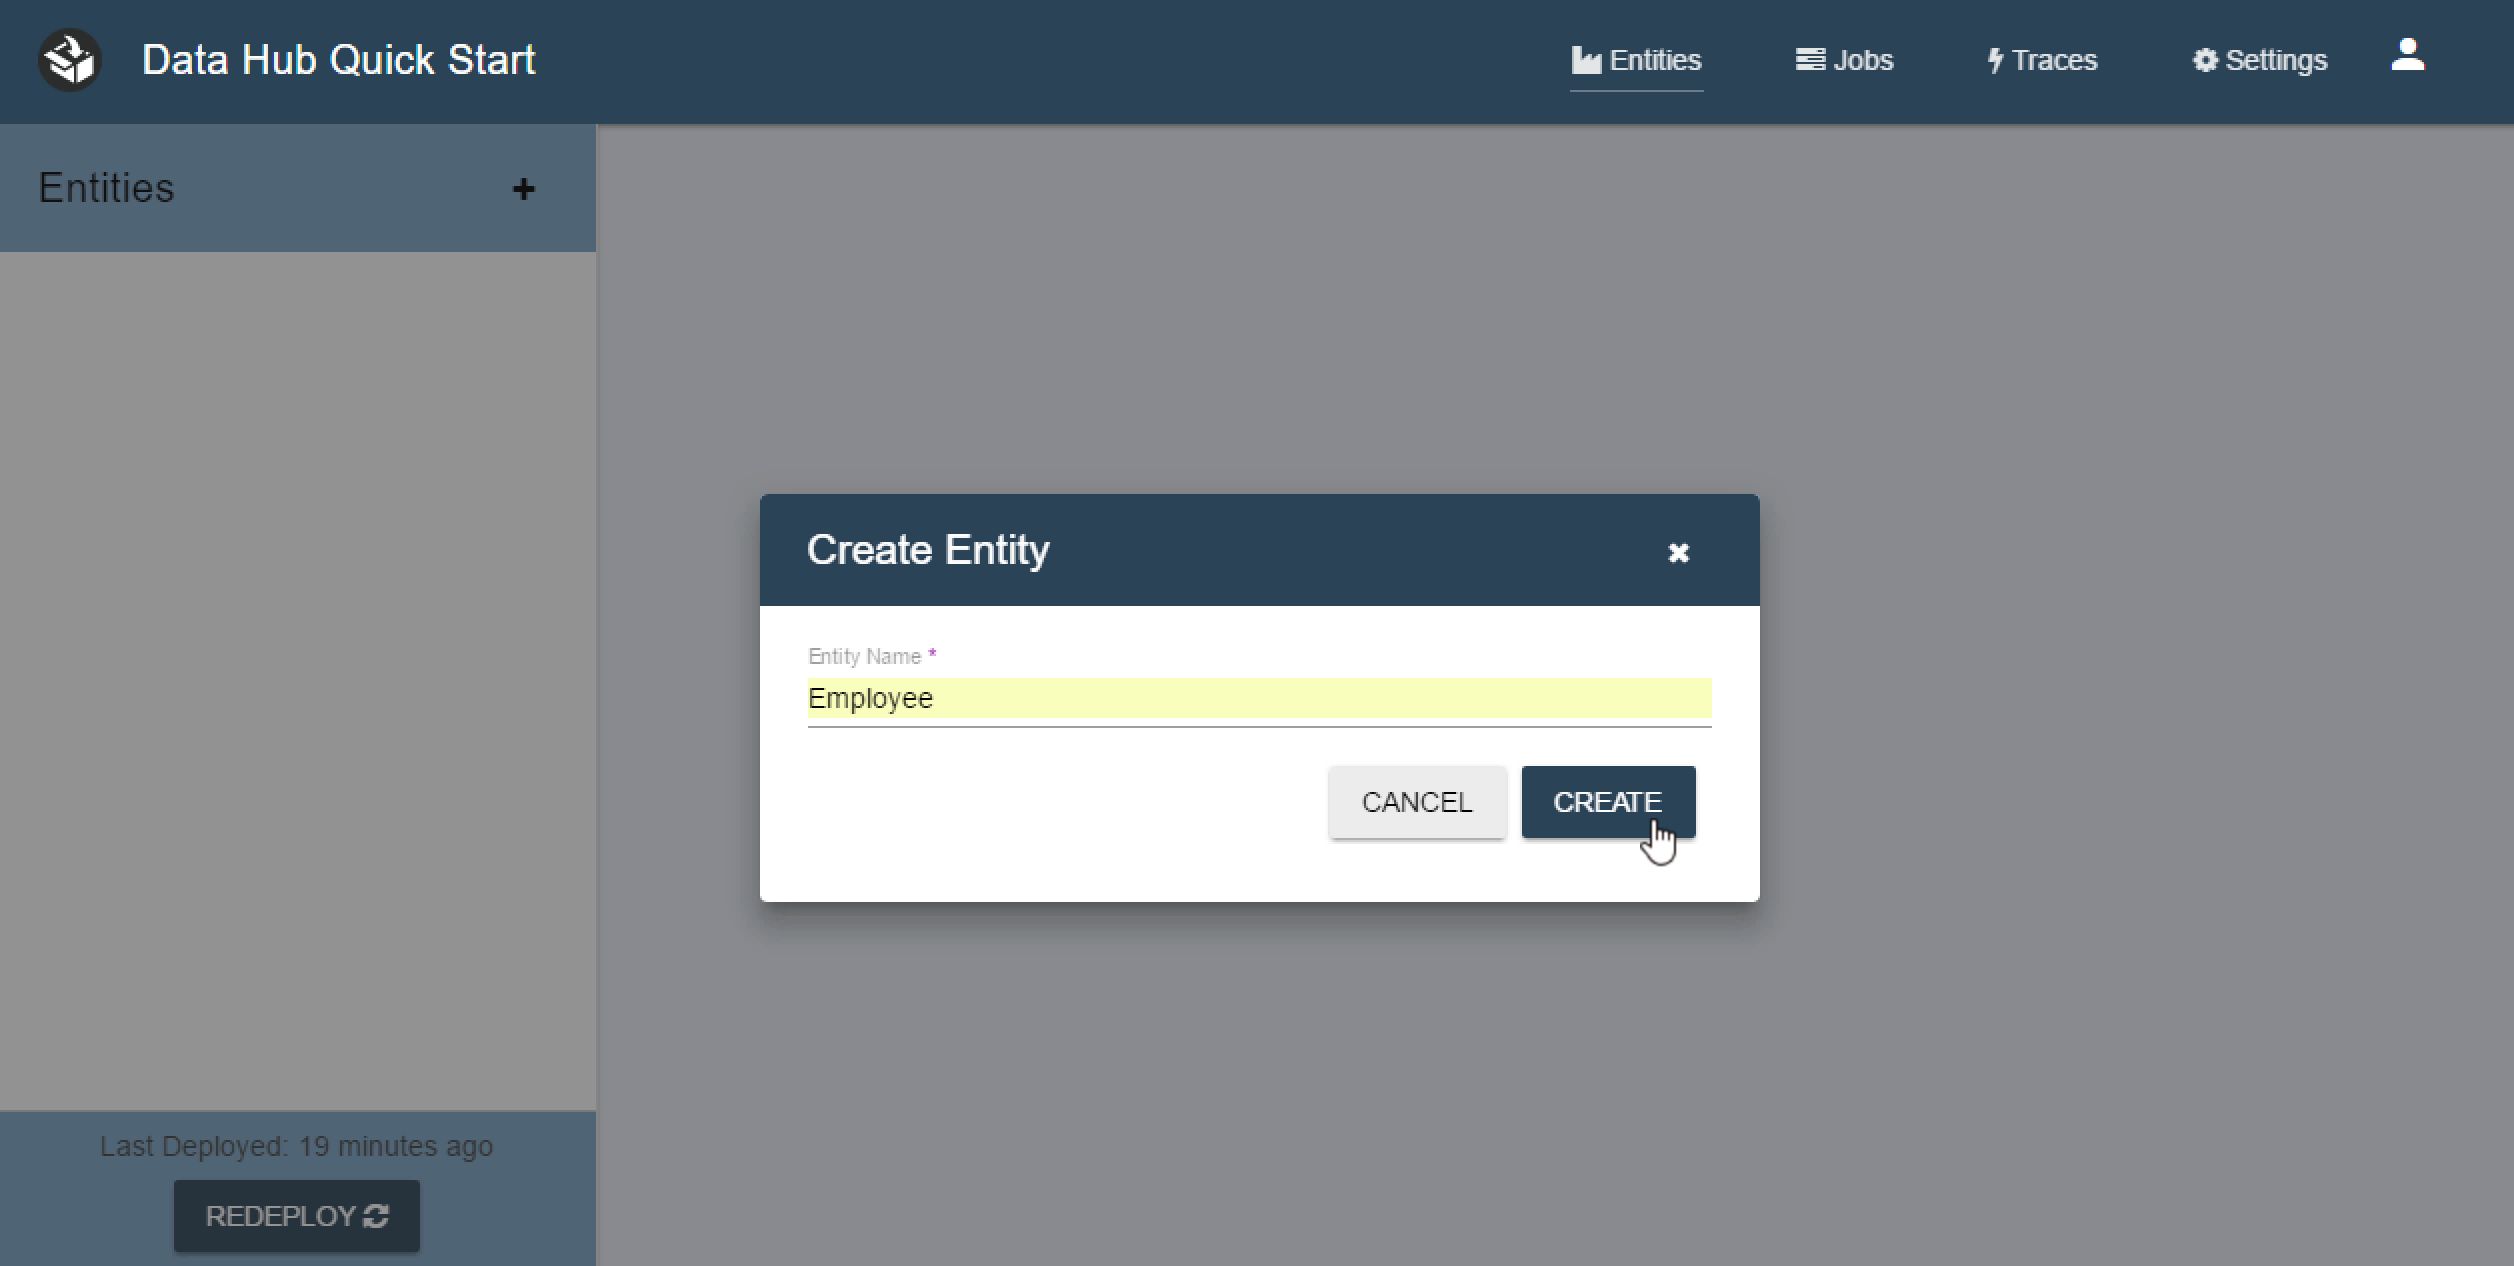
You have just created an Entity.
7 - Create Your First Flows
Input Flows are responsible for getting data into the Hub staging area.
Harmonize Flows are responsible for batch transformation of data from staging to final.
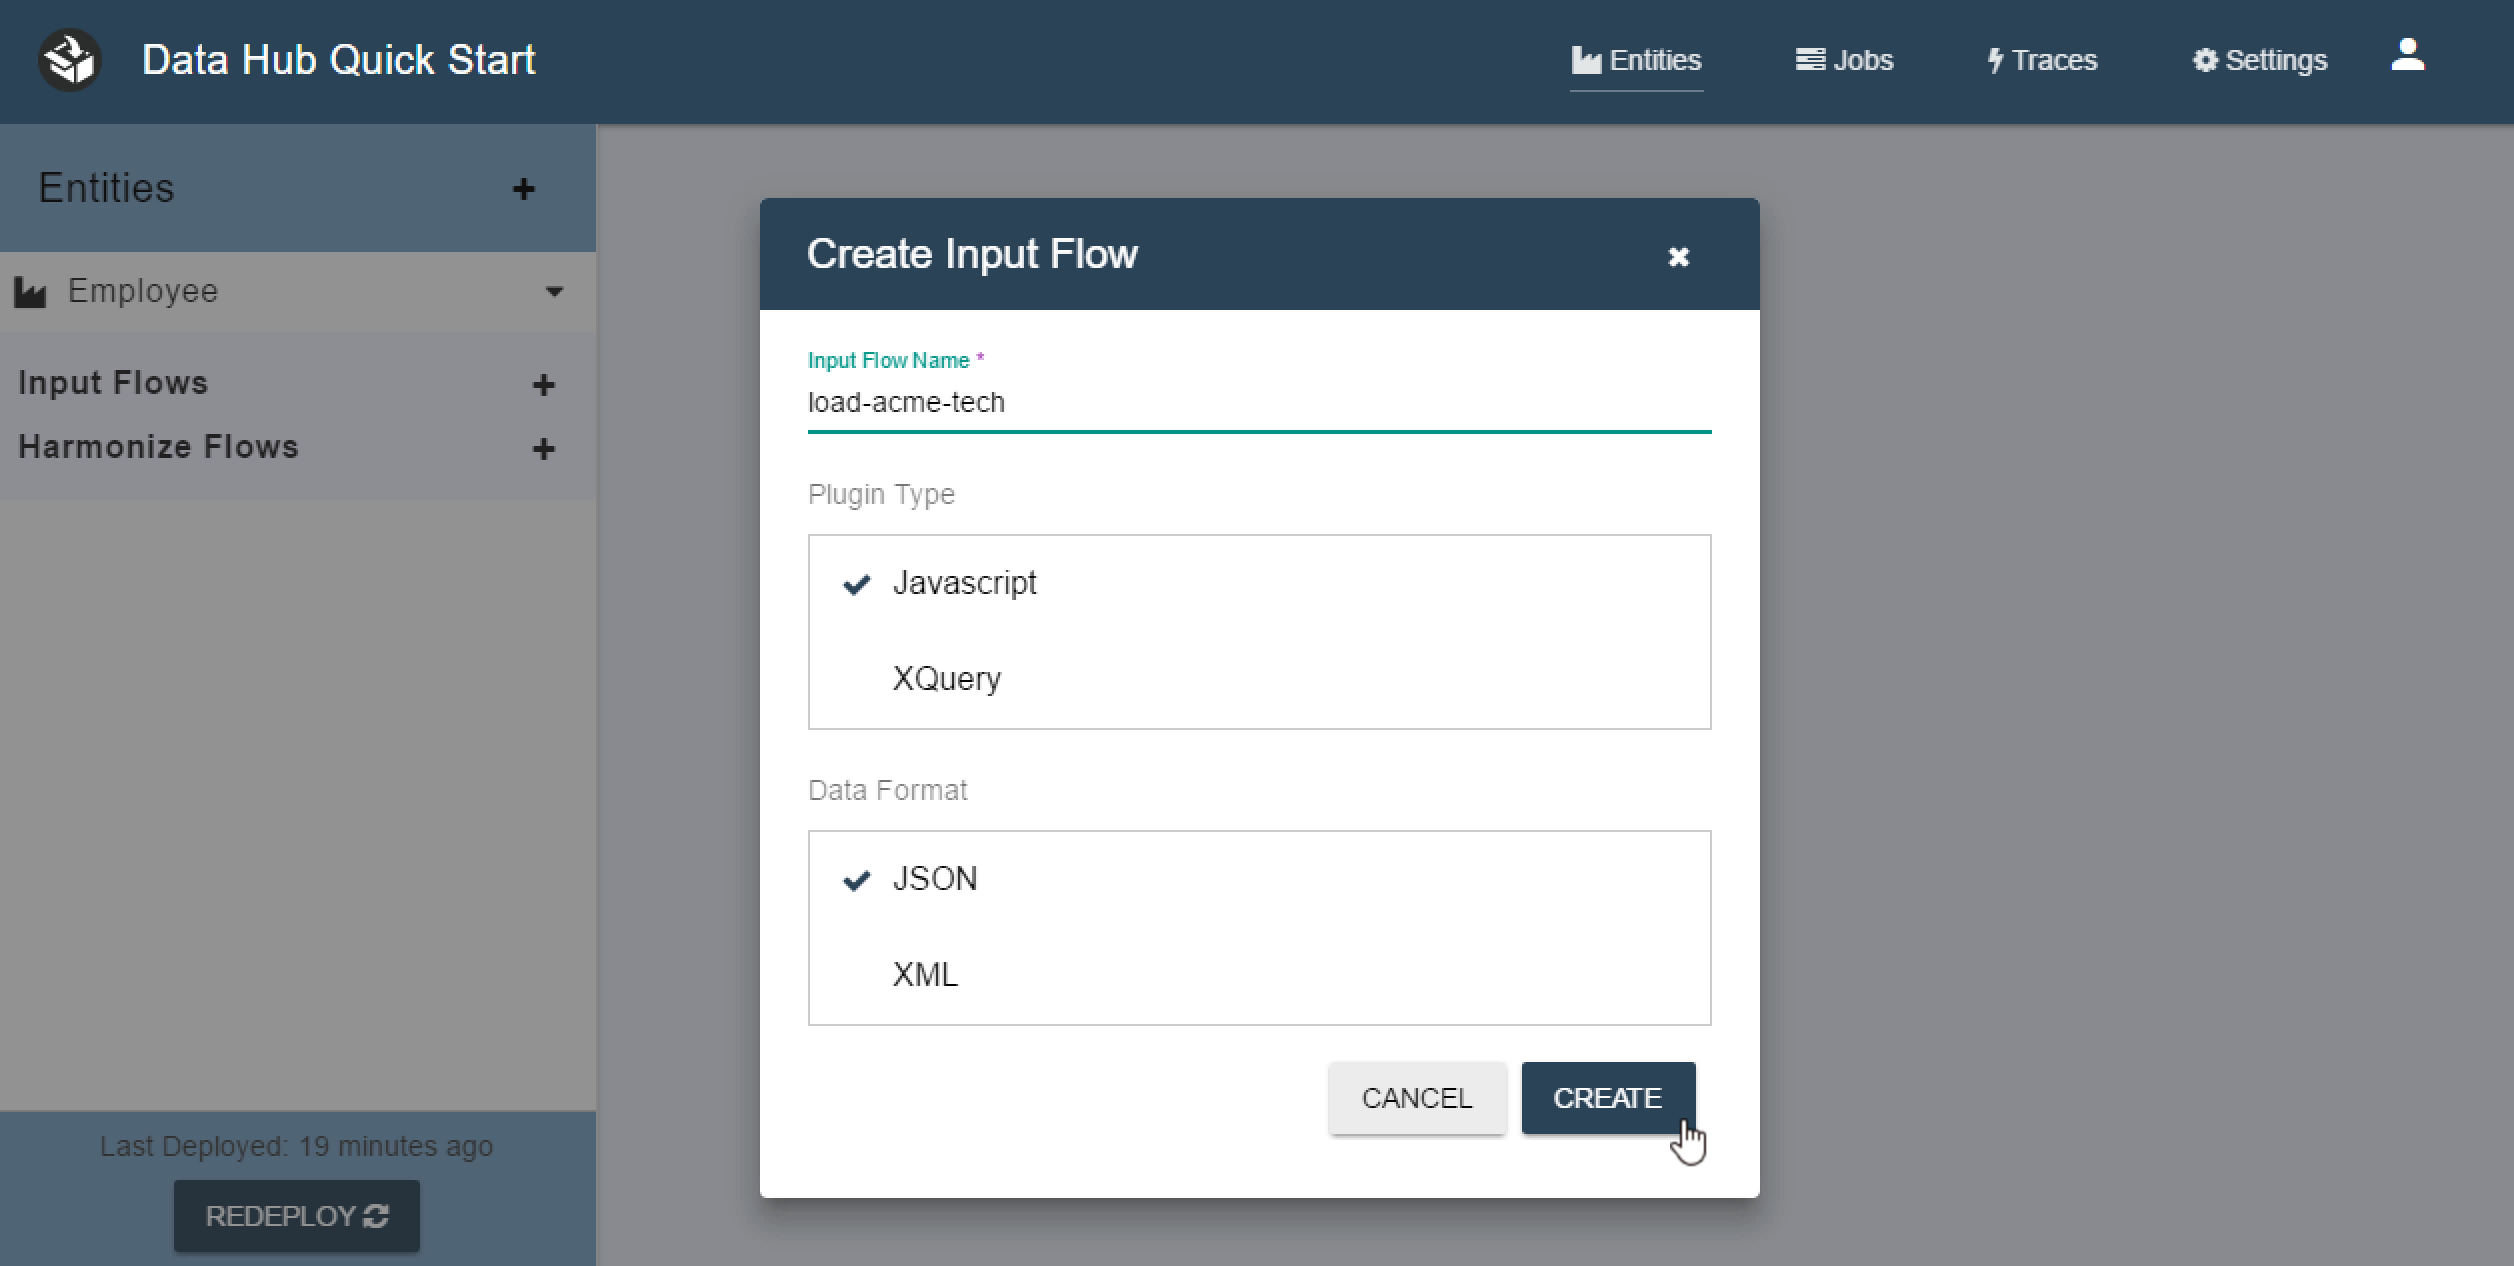
First you will create an Input and Harmonize flow for Acme Tech. Start by clicking the Employee Entity to expand it. Now click the + button next to the Input Flows then fill out the form.
Name the flow “load-acme-tech” and leave the default values for Plugin Type and Data Format.
Now click the + button next to the Harmonize Flows then fill out the form. Name the flow “harmonize-acme-tech” and leave the default values for Plugin Type and Data Format.
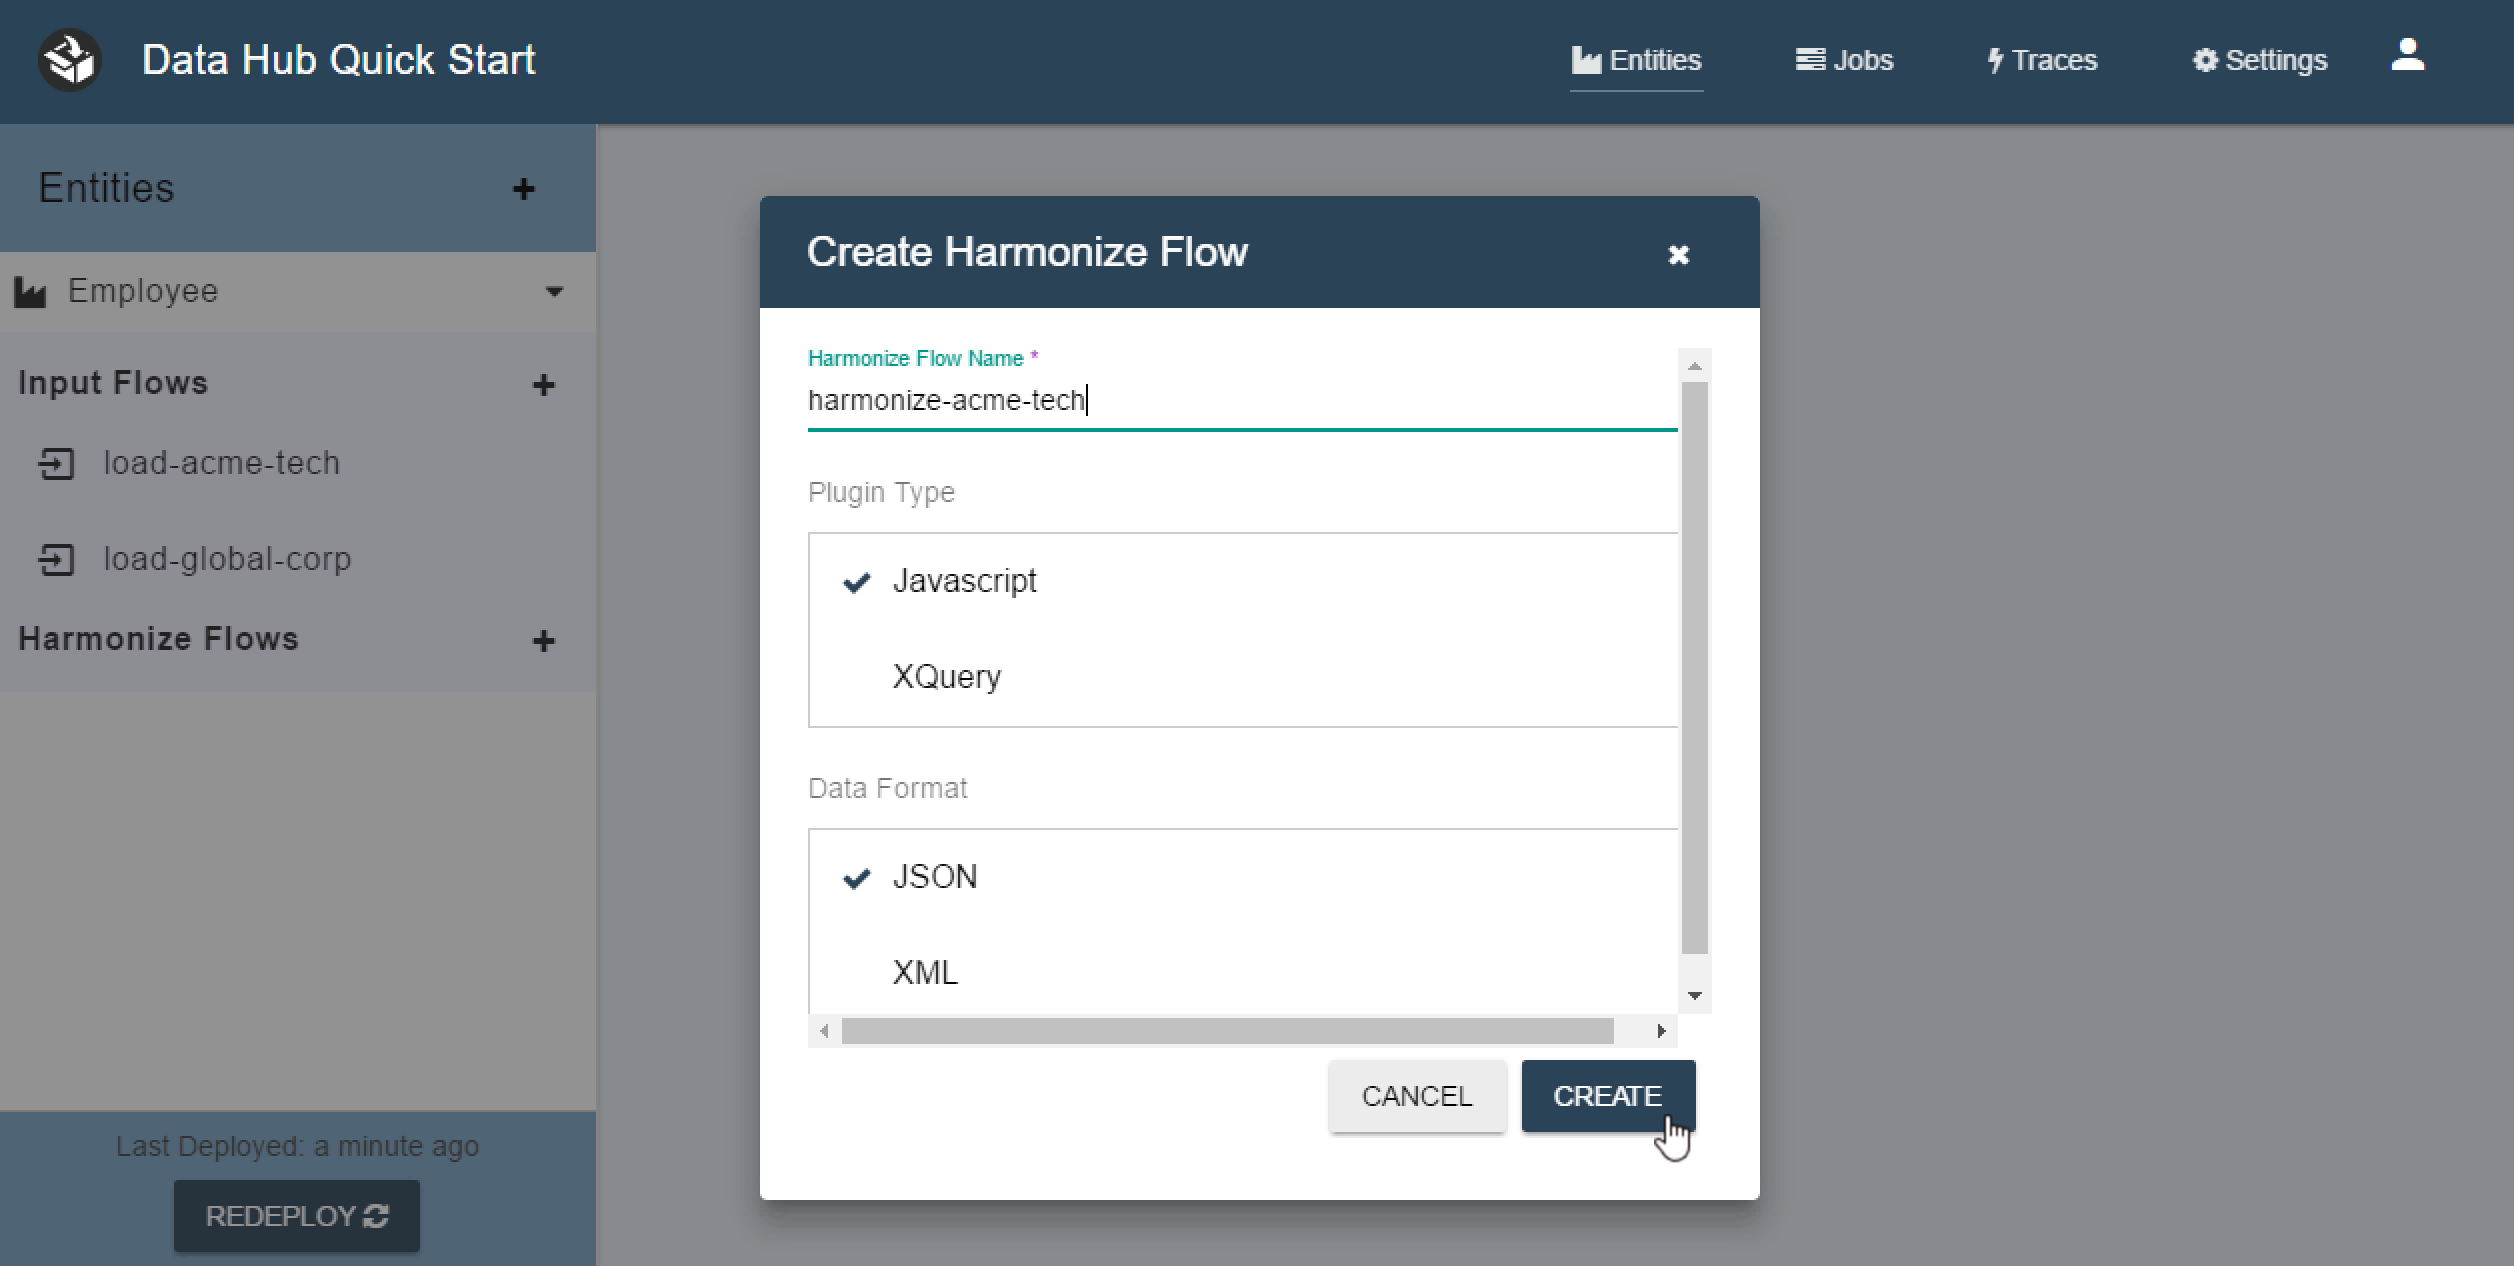
** It’s important to keep the names the same if you plan on using our code examples. The code examples are performing collection queries tied to the names of these flows.
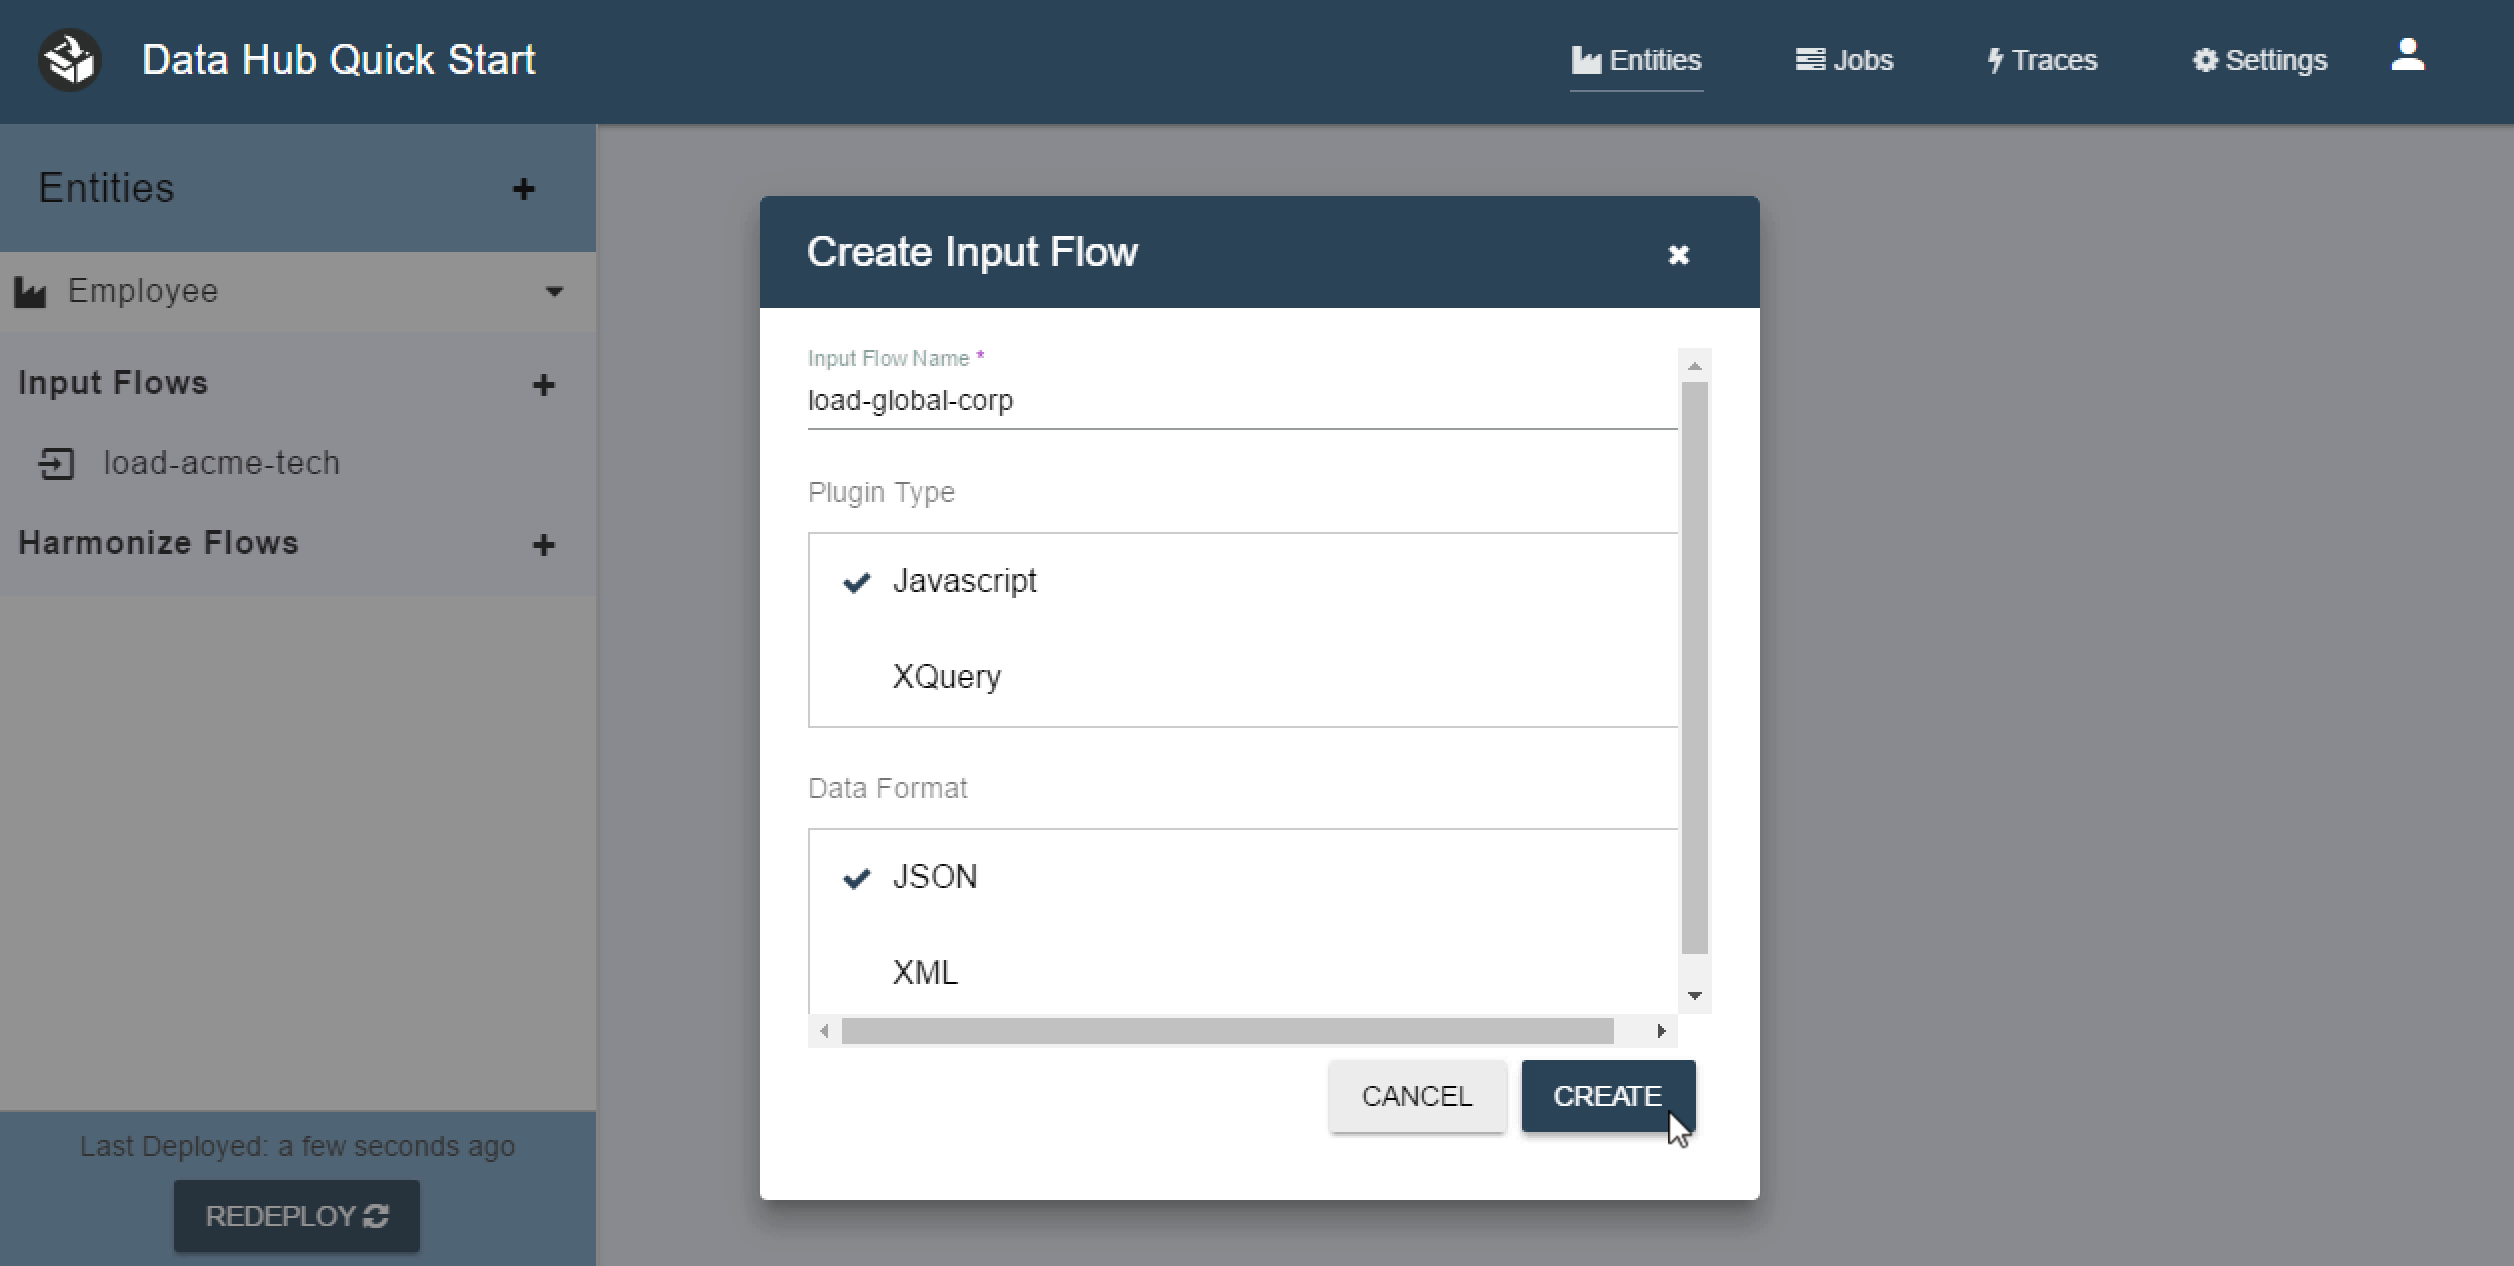
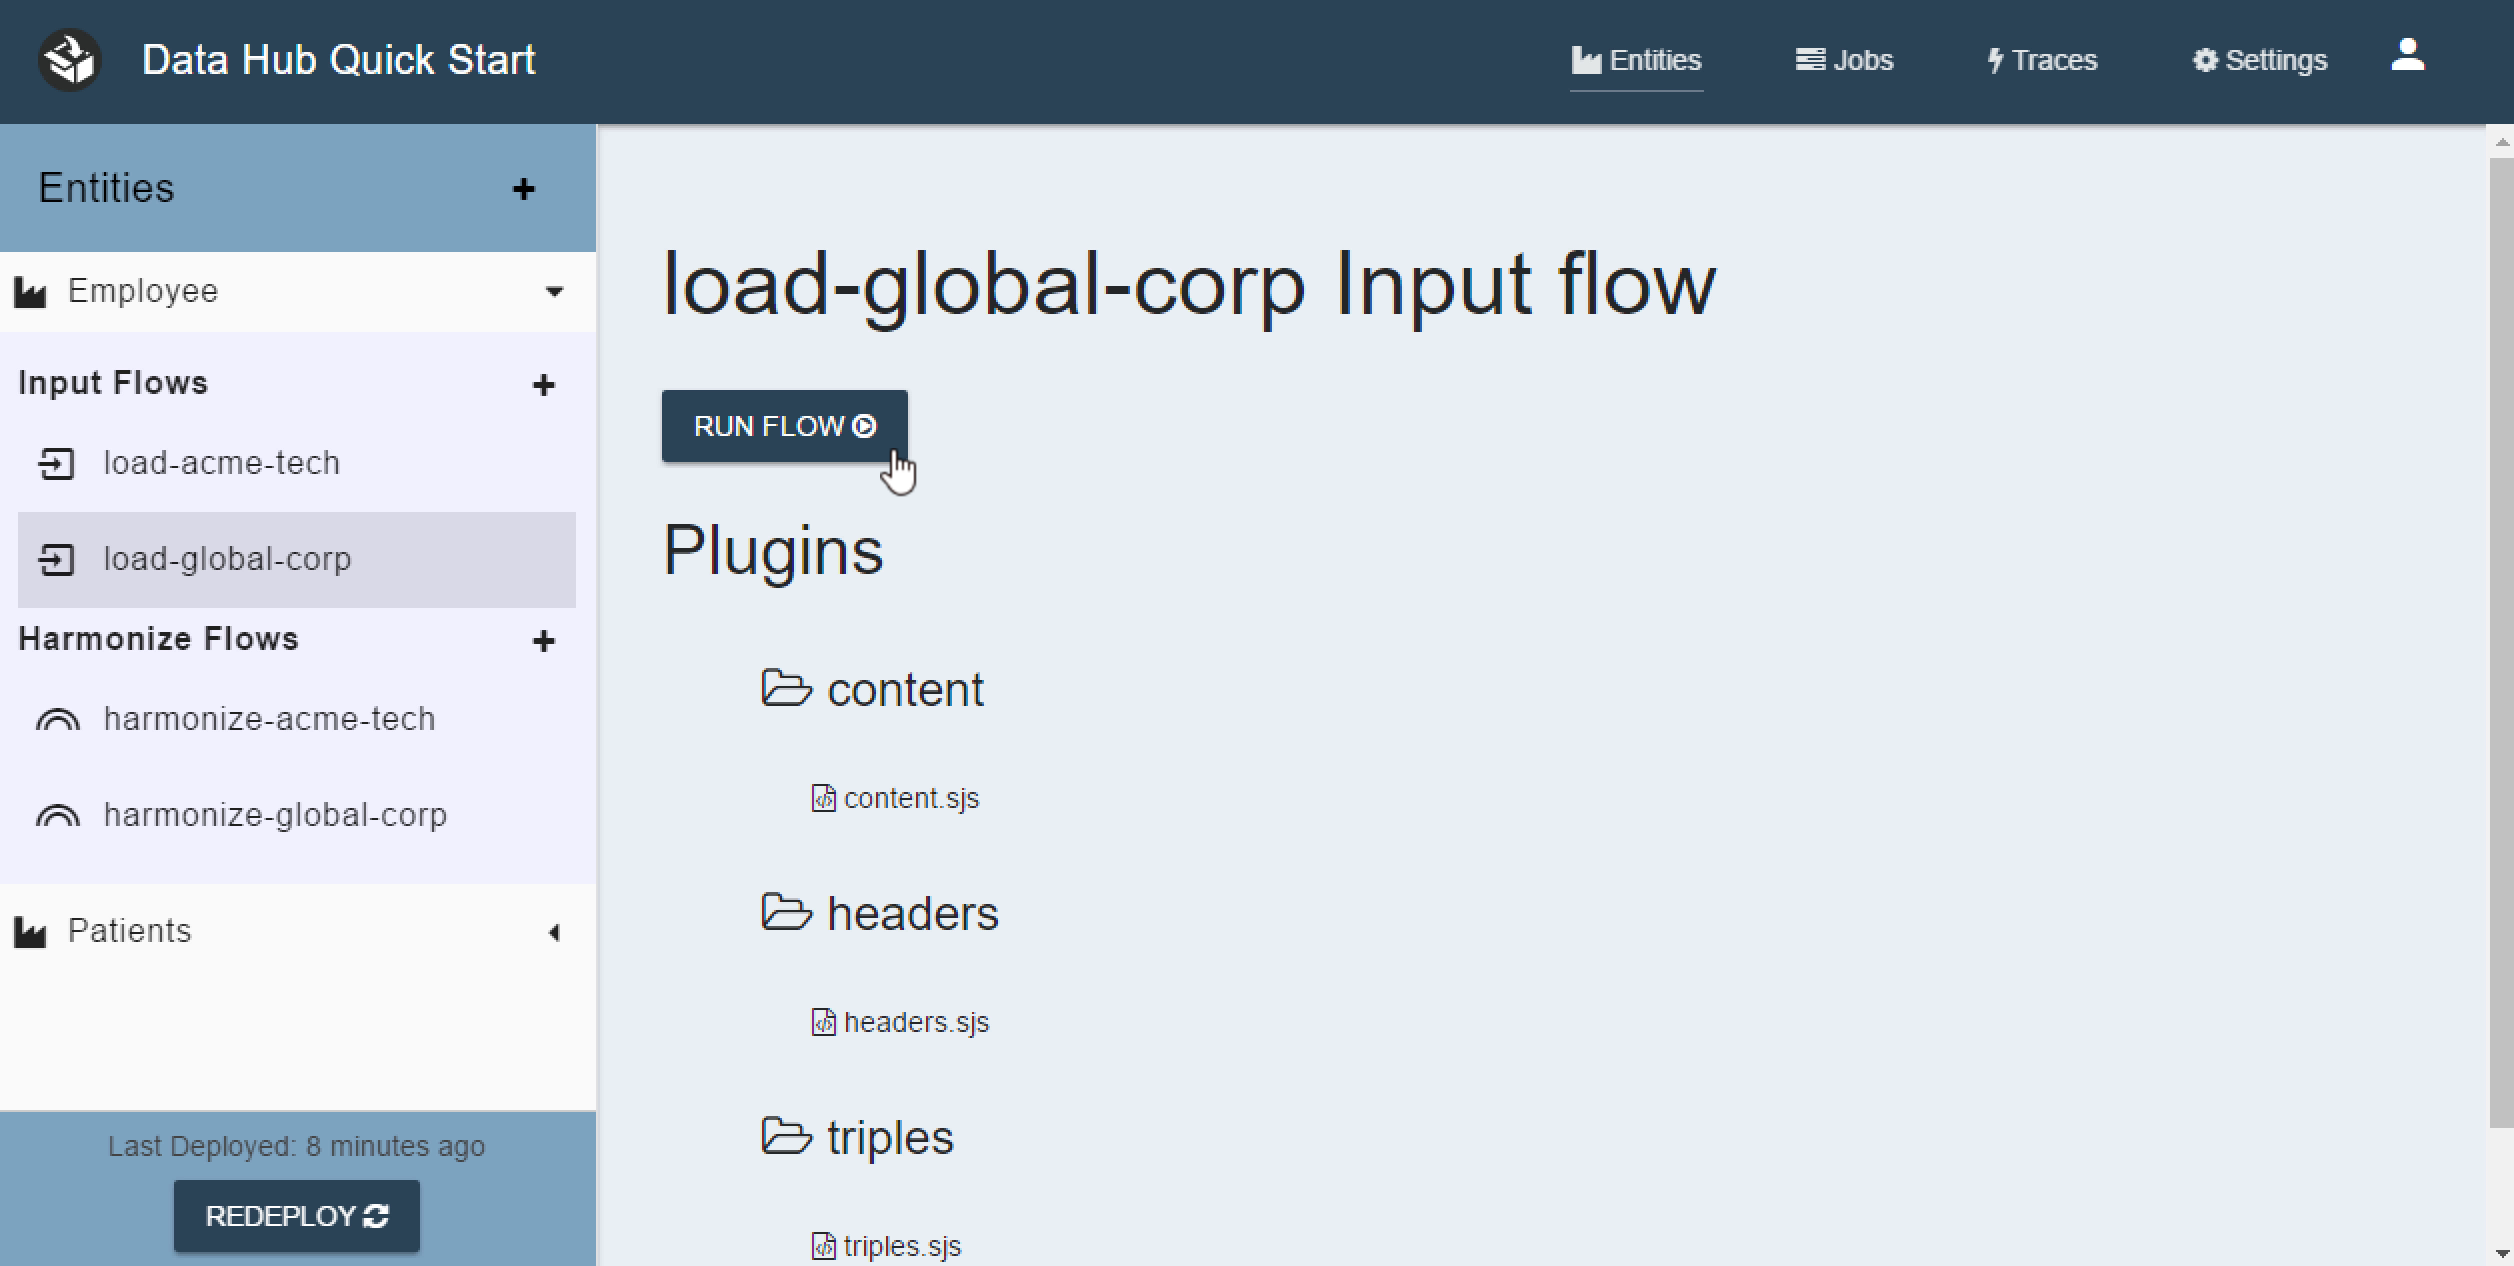
Next you will want to create an Input and Harmonize flow for Global Corp. Start by clicking the + button next to Input Flows. Then fill out the form. Name the flow “load-global-corp” and leave the default values for Plugin Type and Data Format.
Now click the + button next to the Harmonize Flows then fill out the form. Name the flow “harmonize-global-corp” and leave the default values for Plugin Type and Data Format.
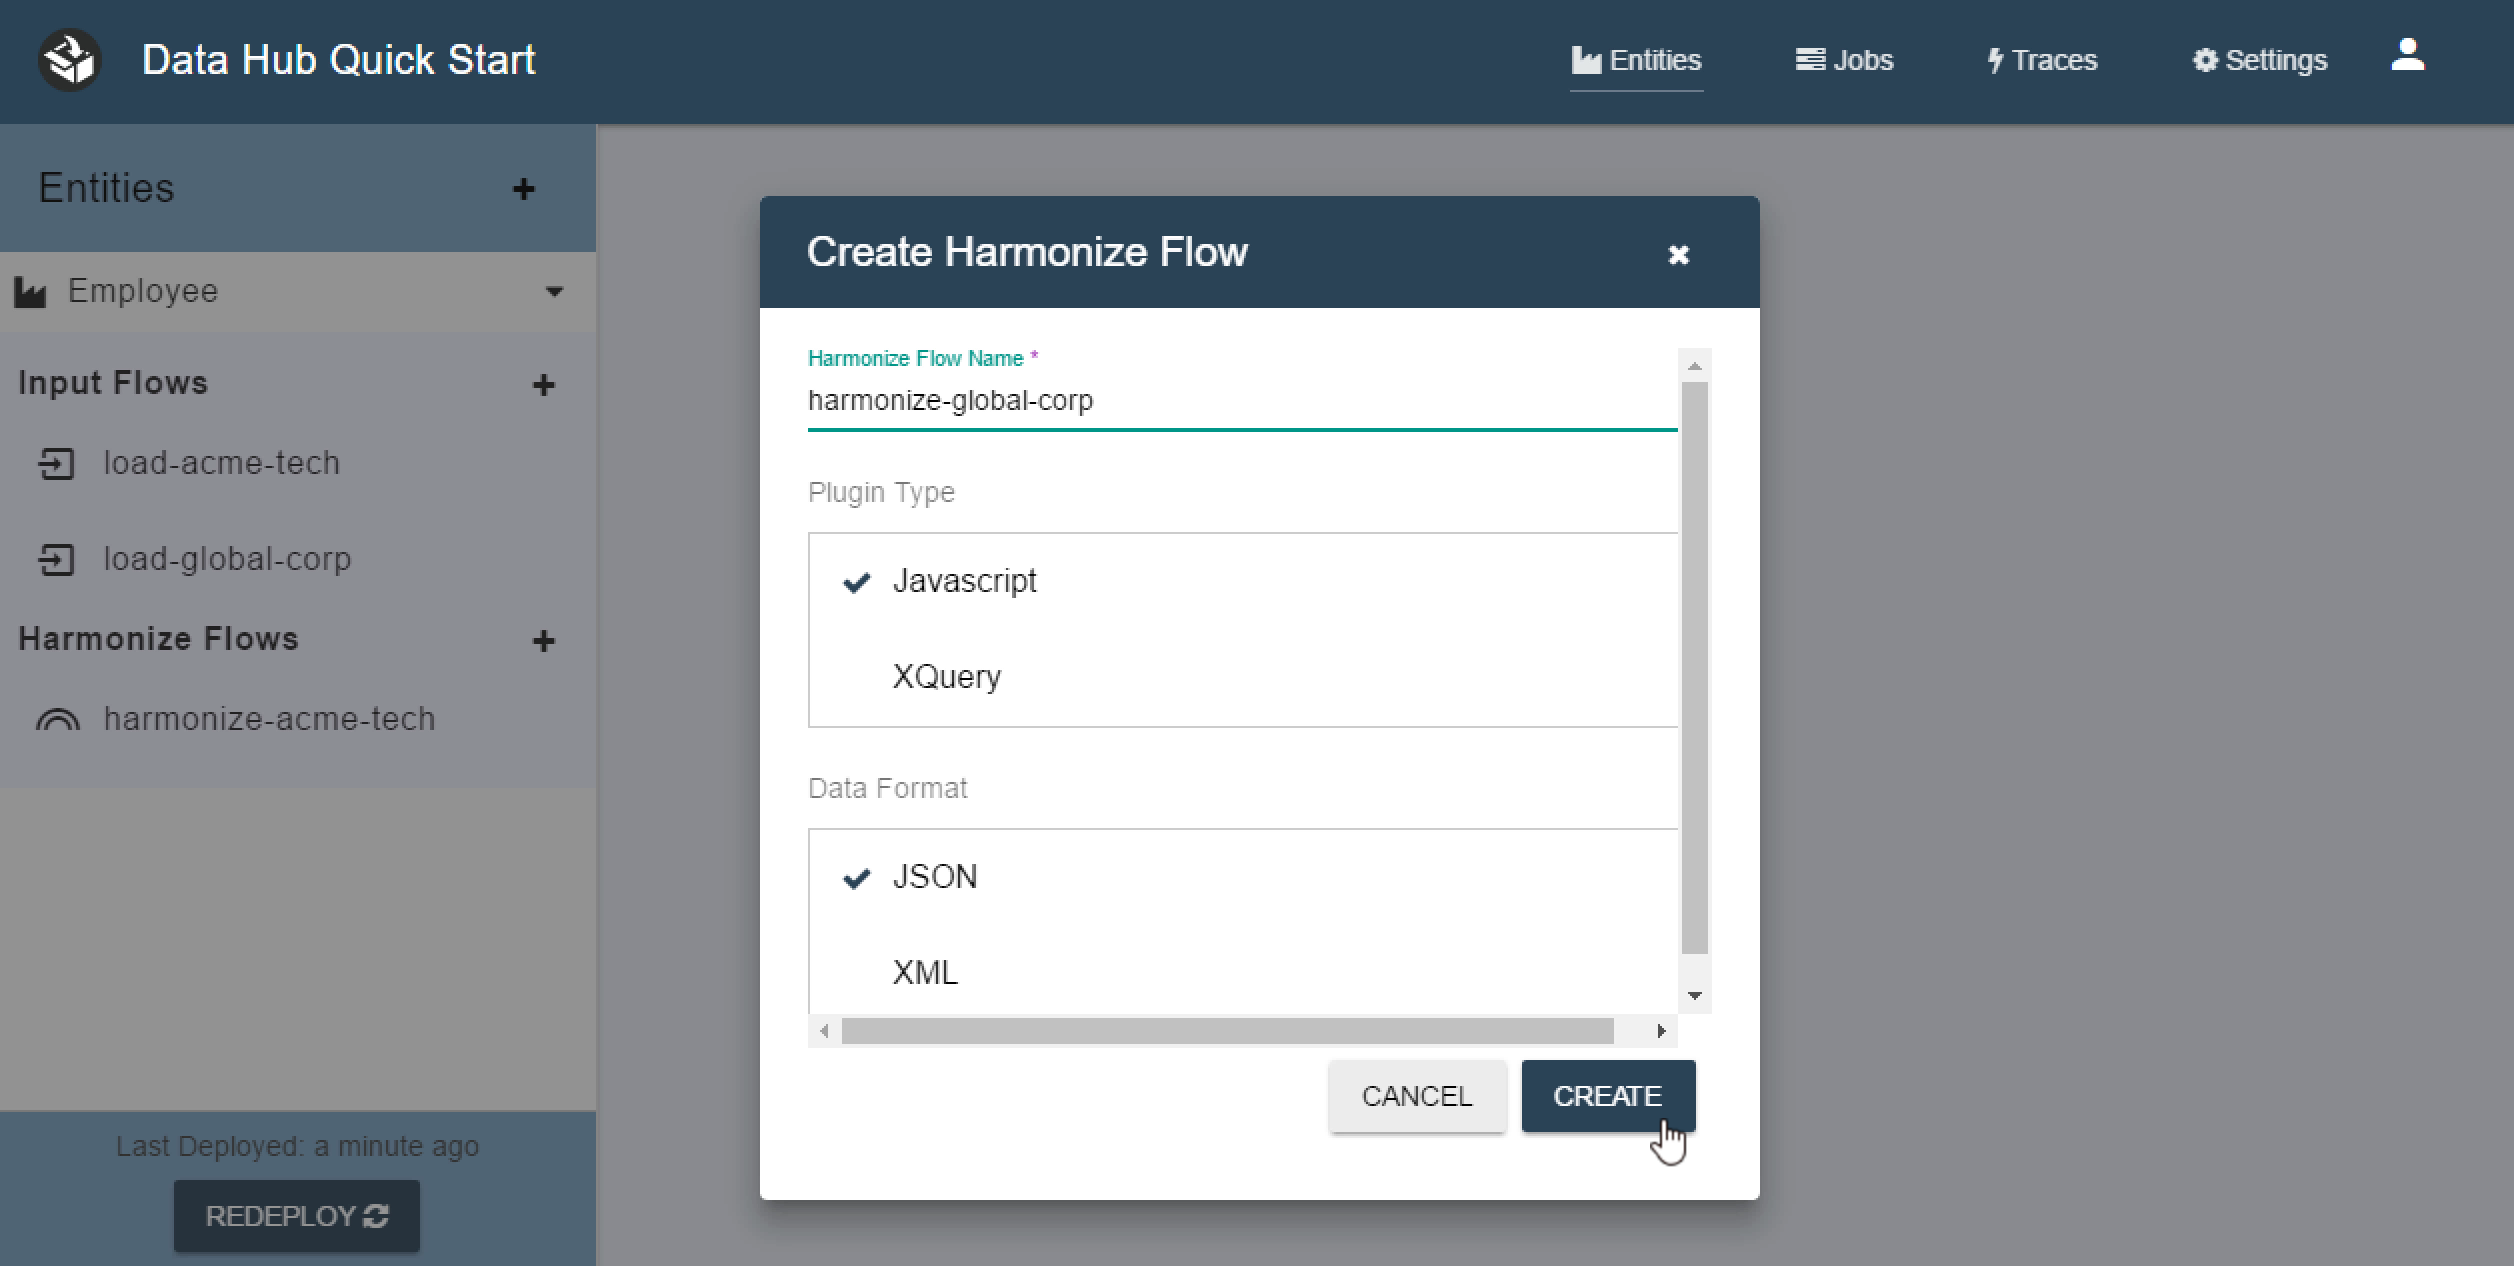
The Quick Start application automatically deploys your flows to the server for you any time you make a change. You can manually force a redeploy by pressing the Redeploy Button at the bottom left of the screen.
8 - Ingest Acme Tech Data
Now that your entity is created you want to ingest some data. QuickStart uses the MarkLogic Content Pump to ingest data.
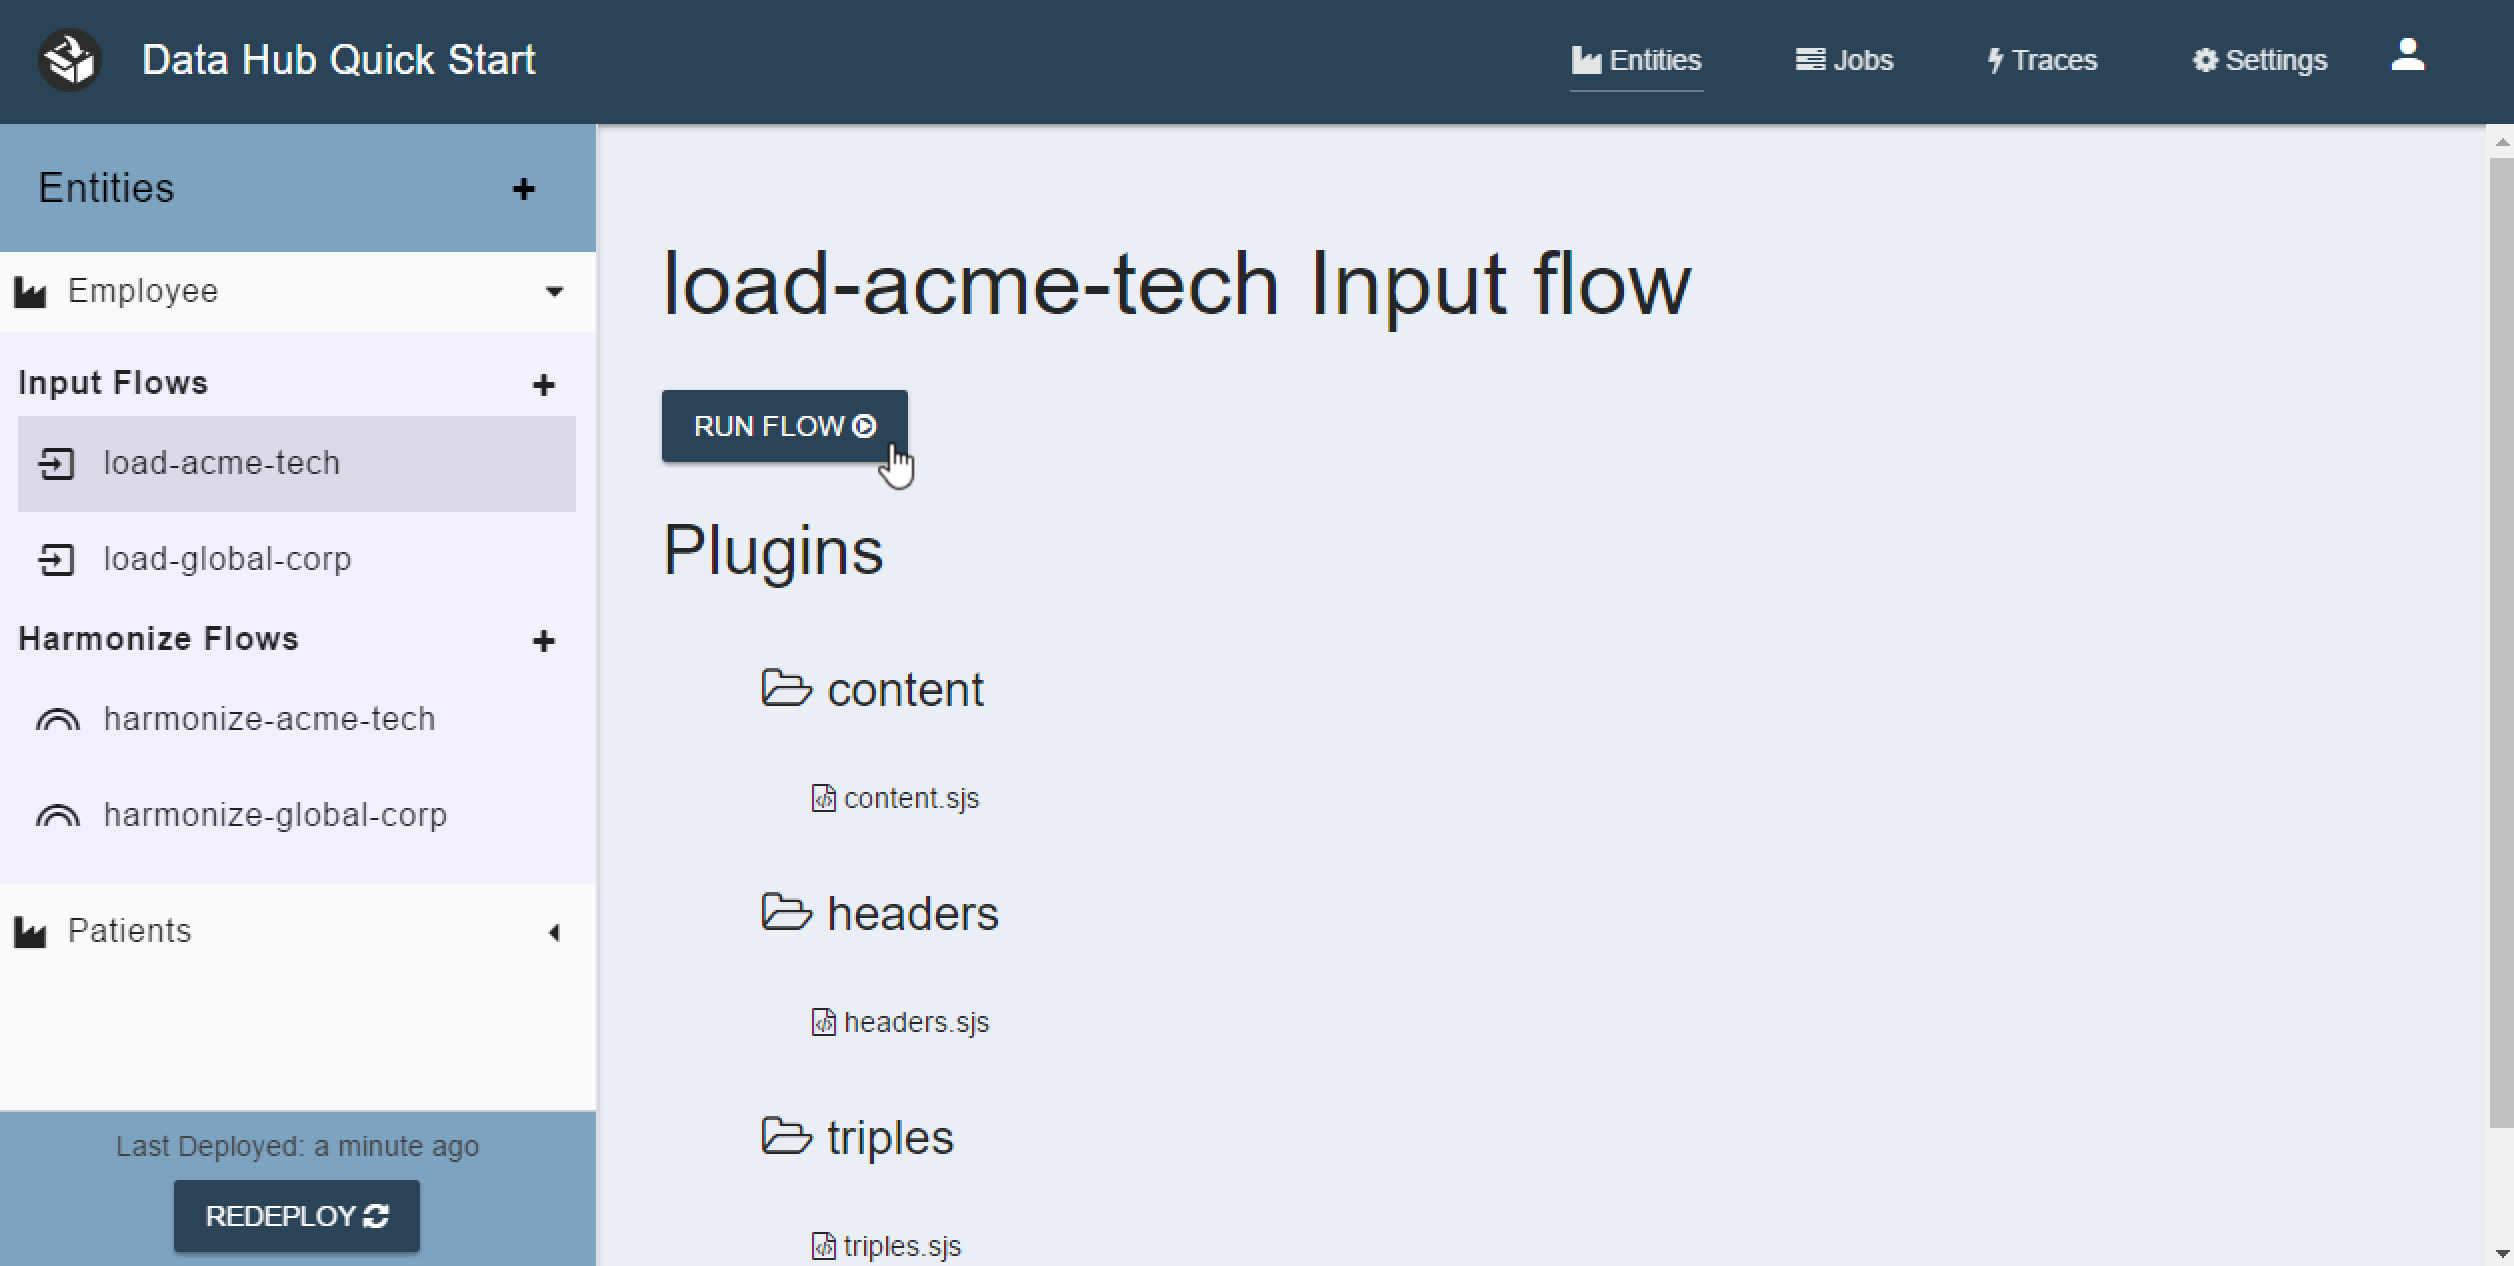
- Click on the load-acme-tech input flow to highlight it.
-
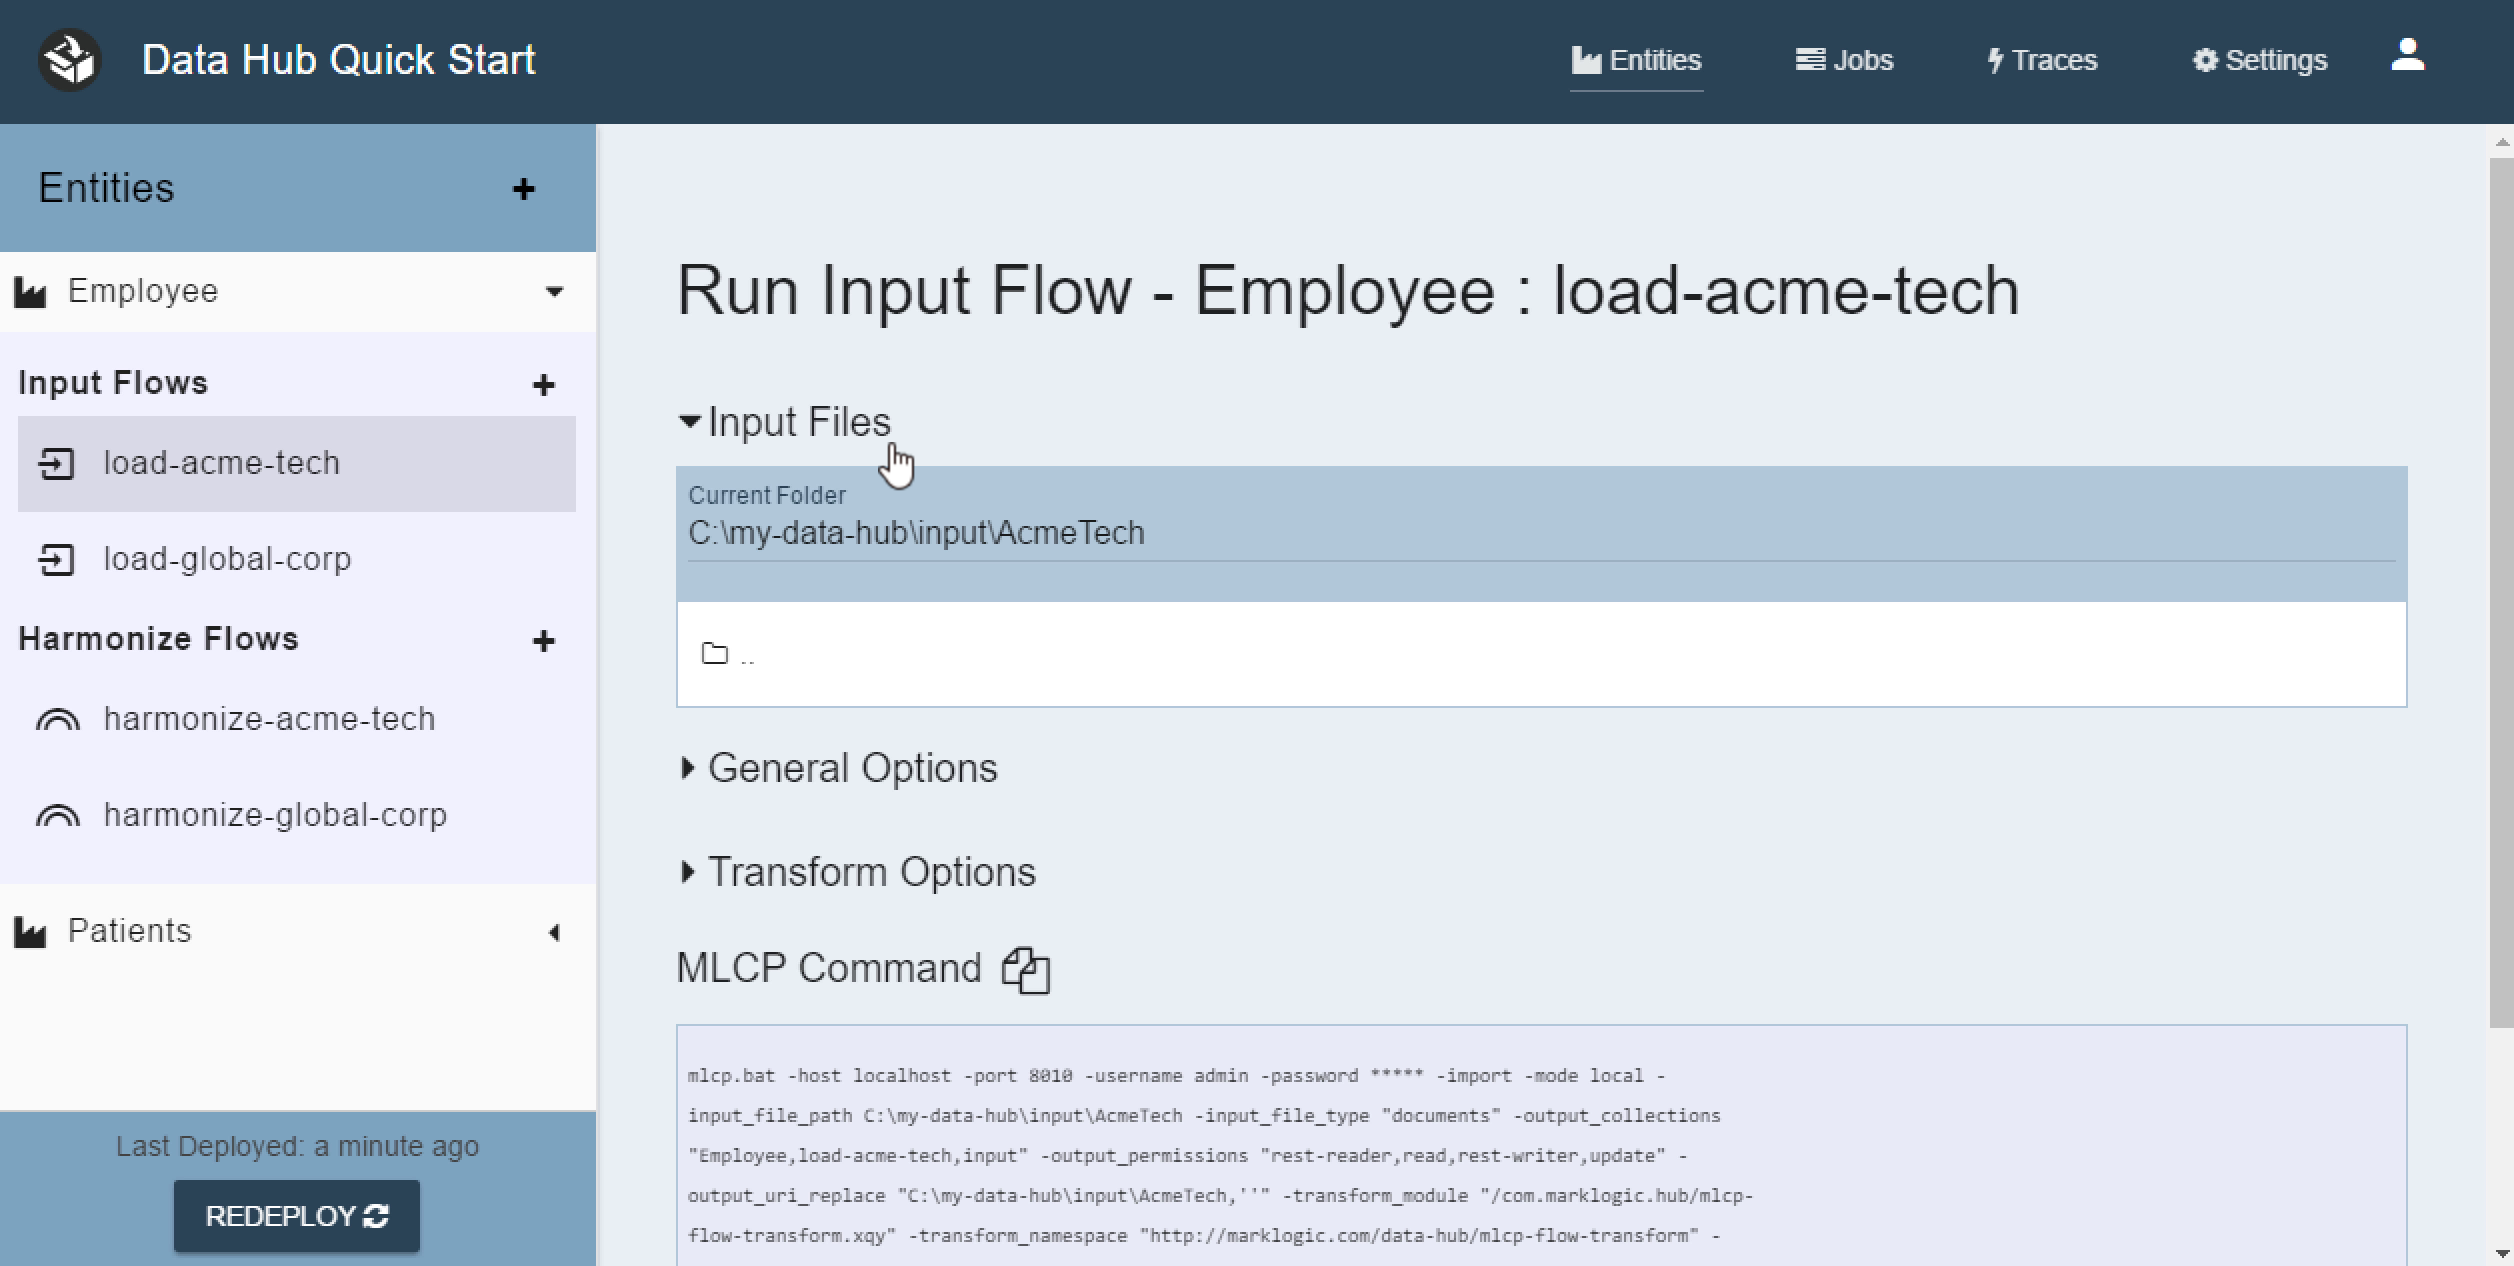
Now click on the “Run Flow” button in the right pane. You will see a screen that allows you to configure your MLCP run.
- Point the browser box to the input/AcmeTech directory.
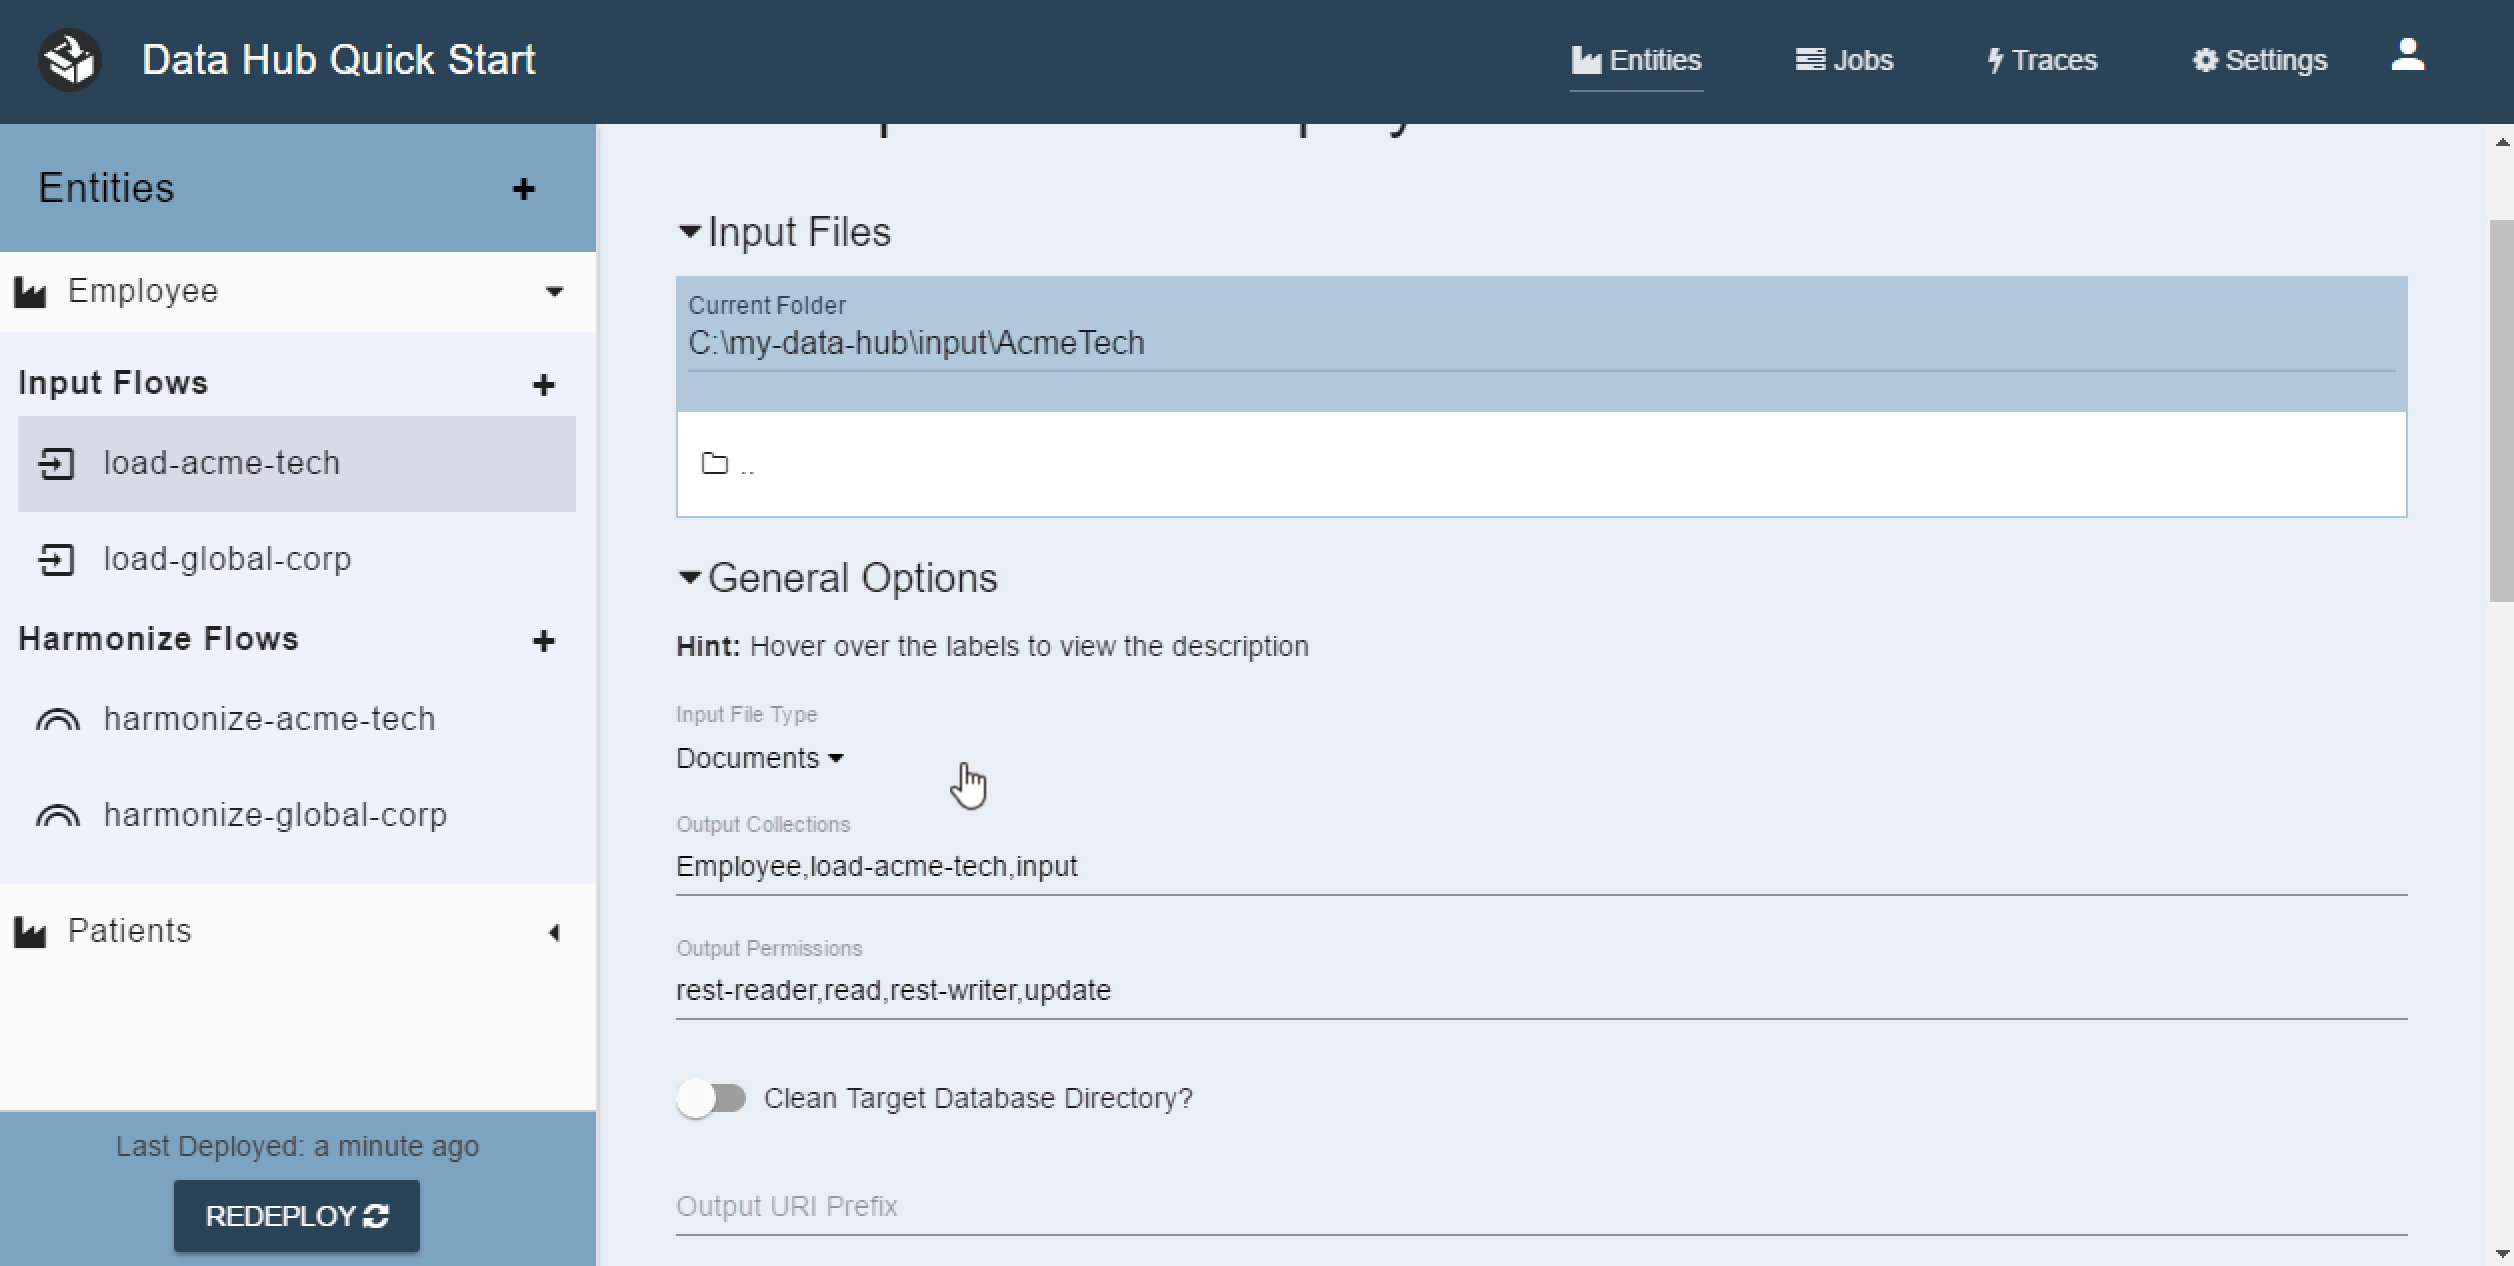
- Expand the General Options section.
- Make sure the Documents Data Format is selected.
- Now scroll down and press the “Run Import” button.
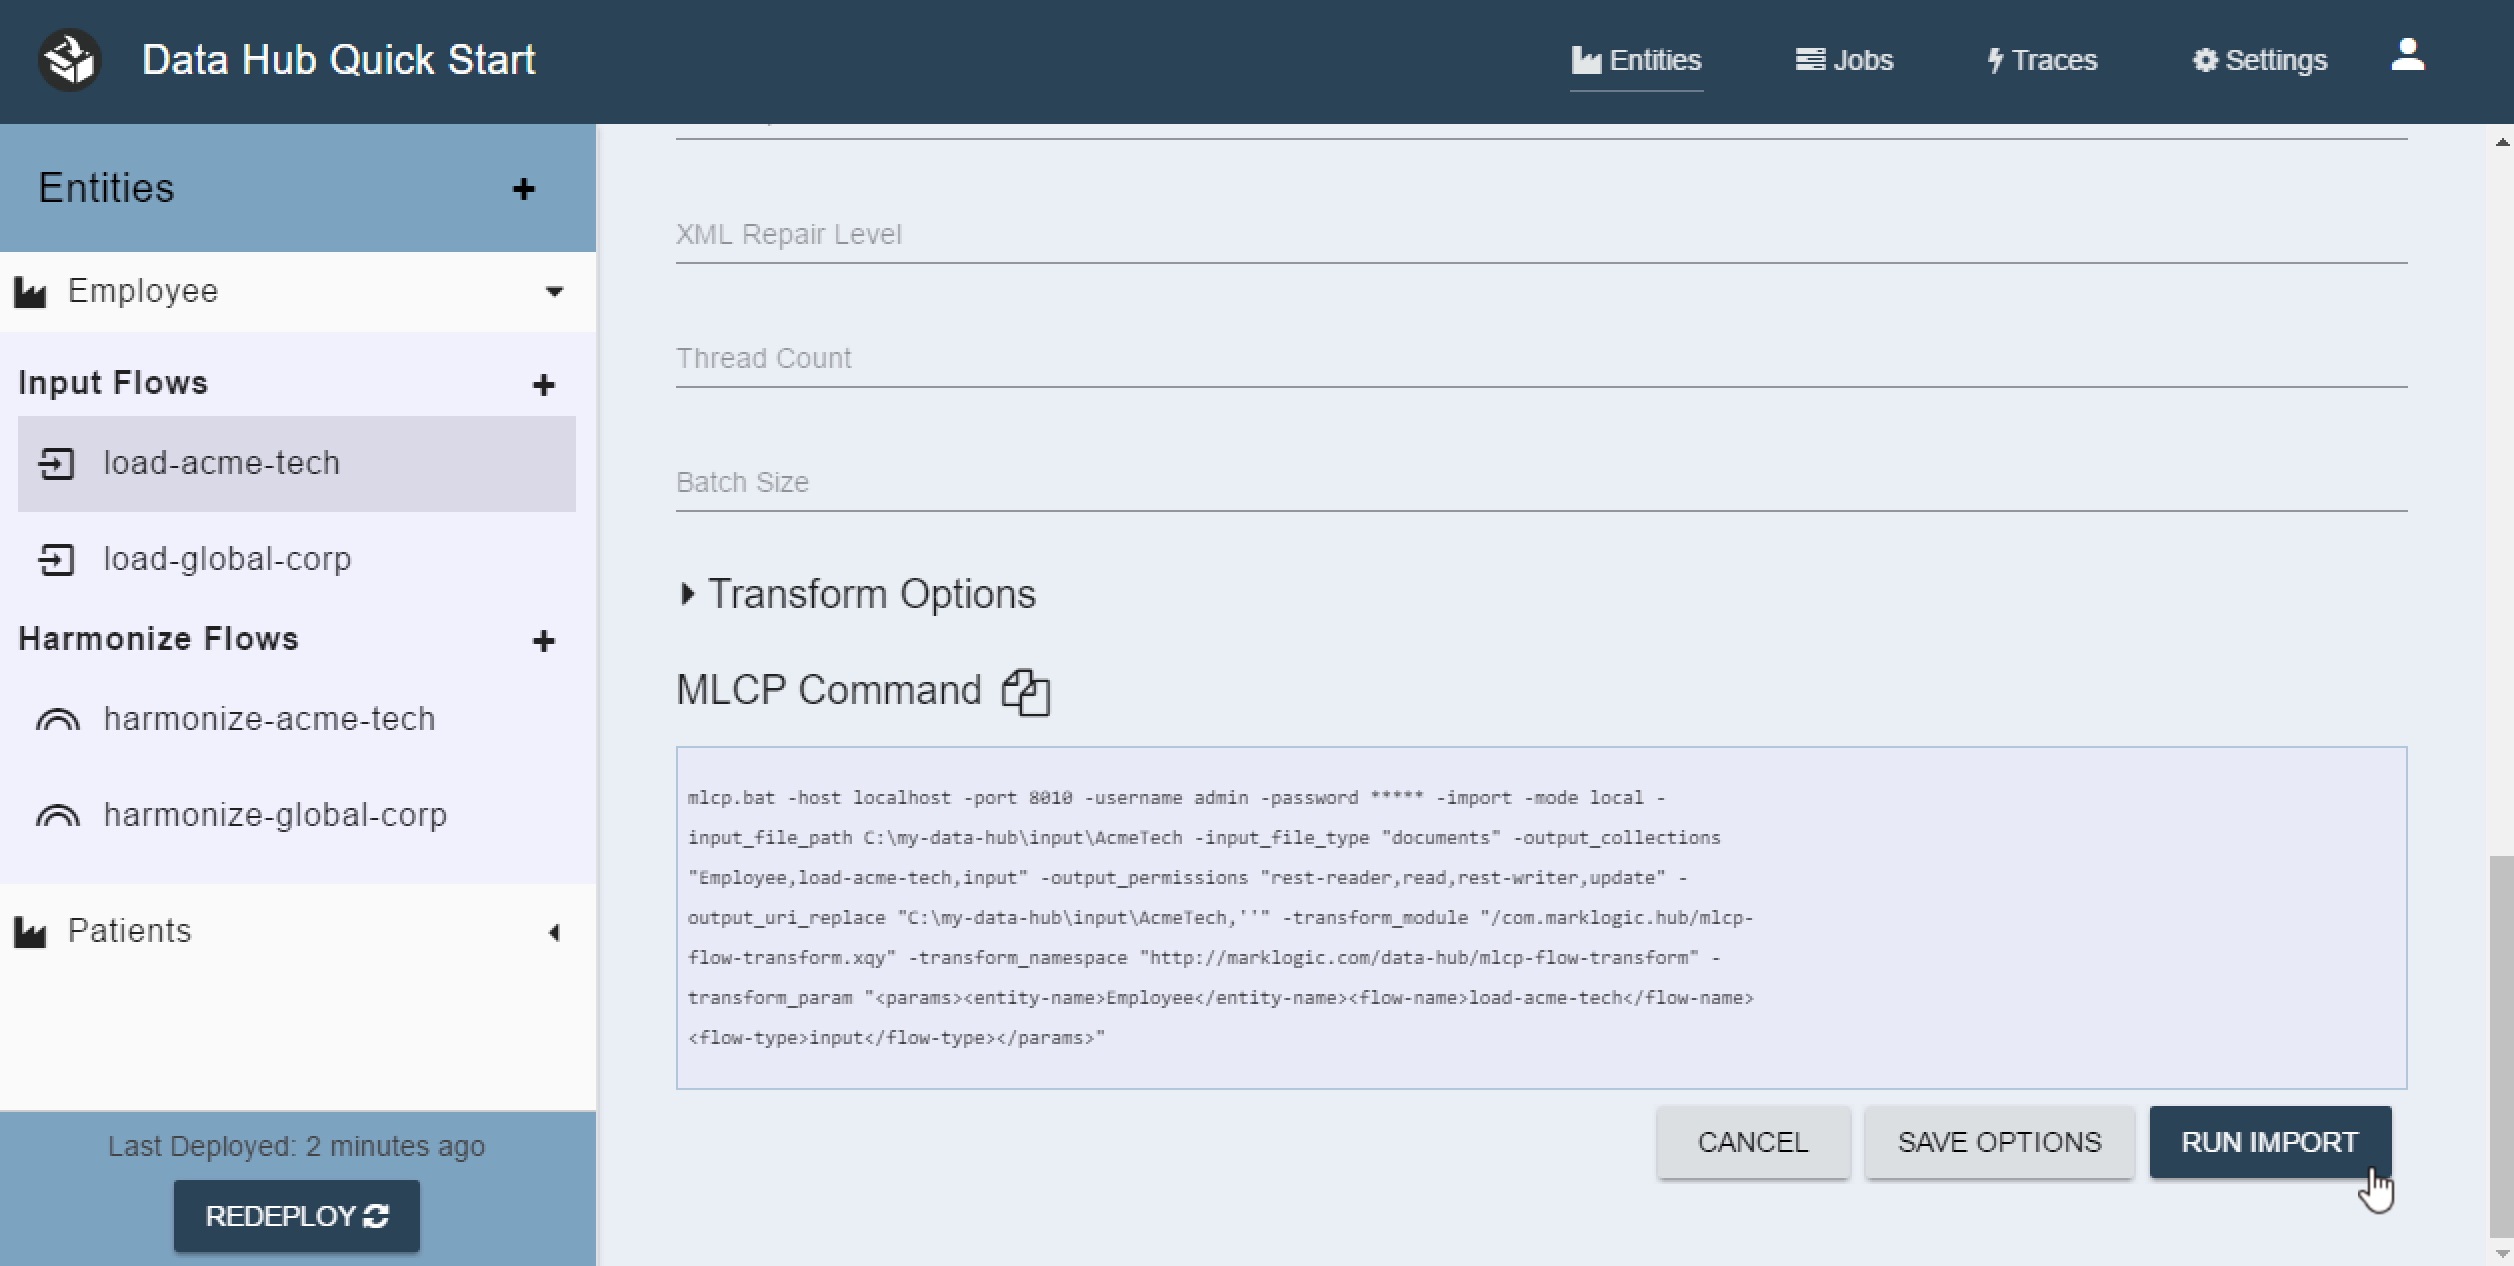
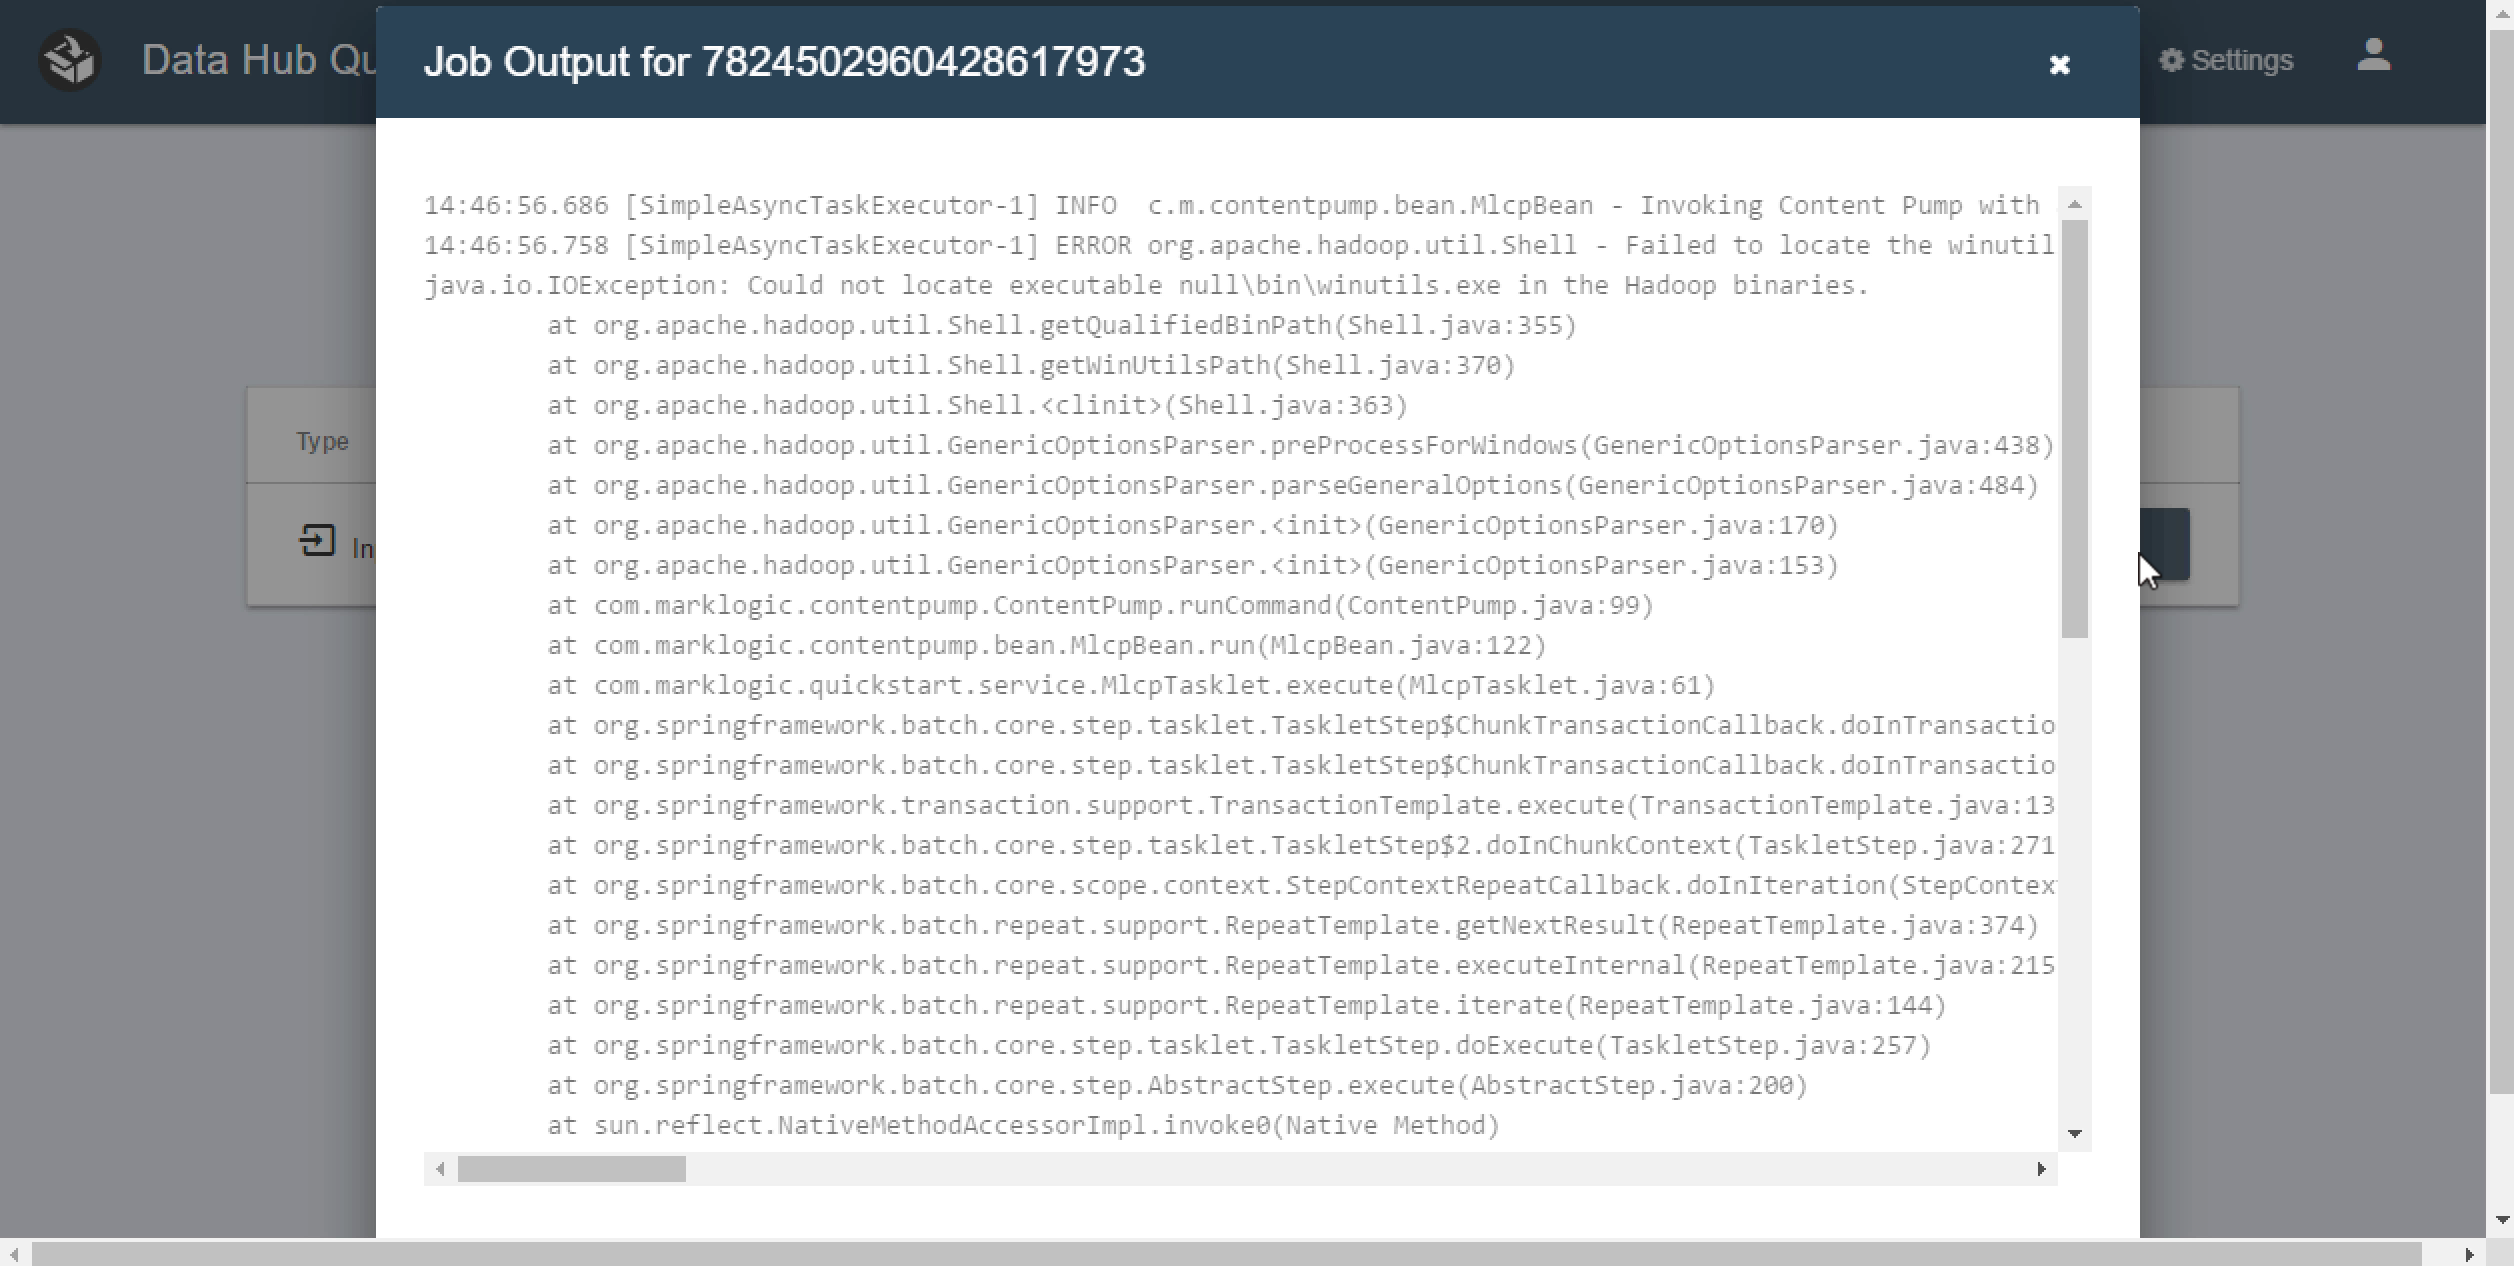
QuickStart will kick off a MarkLogic Content Pump job to ingest the Json documents. You can monitor the progress of the job by navigating to the Jobs tab and clicking on the “Show Console Output” button next to the Job.
9 - Ingest Global Corp Data
Now you need to load the data for Global Corp.
- Click on the load-global-corp input flow to highlight it.
- Now click on the “Run Flow” button in the right pane. You will see a screen that allows you to configure your MLCP run.
- Point the browser box to the input/GlobalCorp directory.
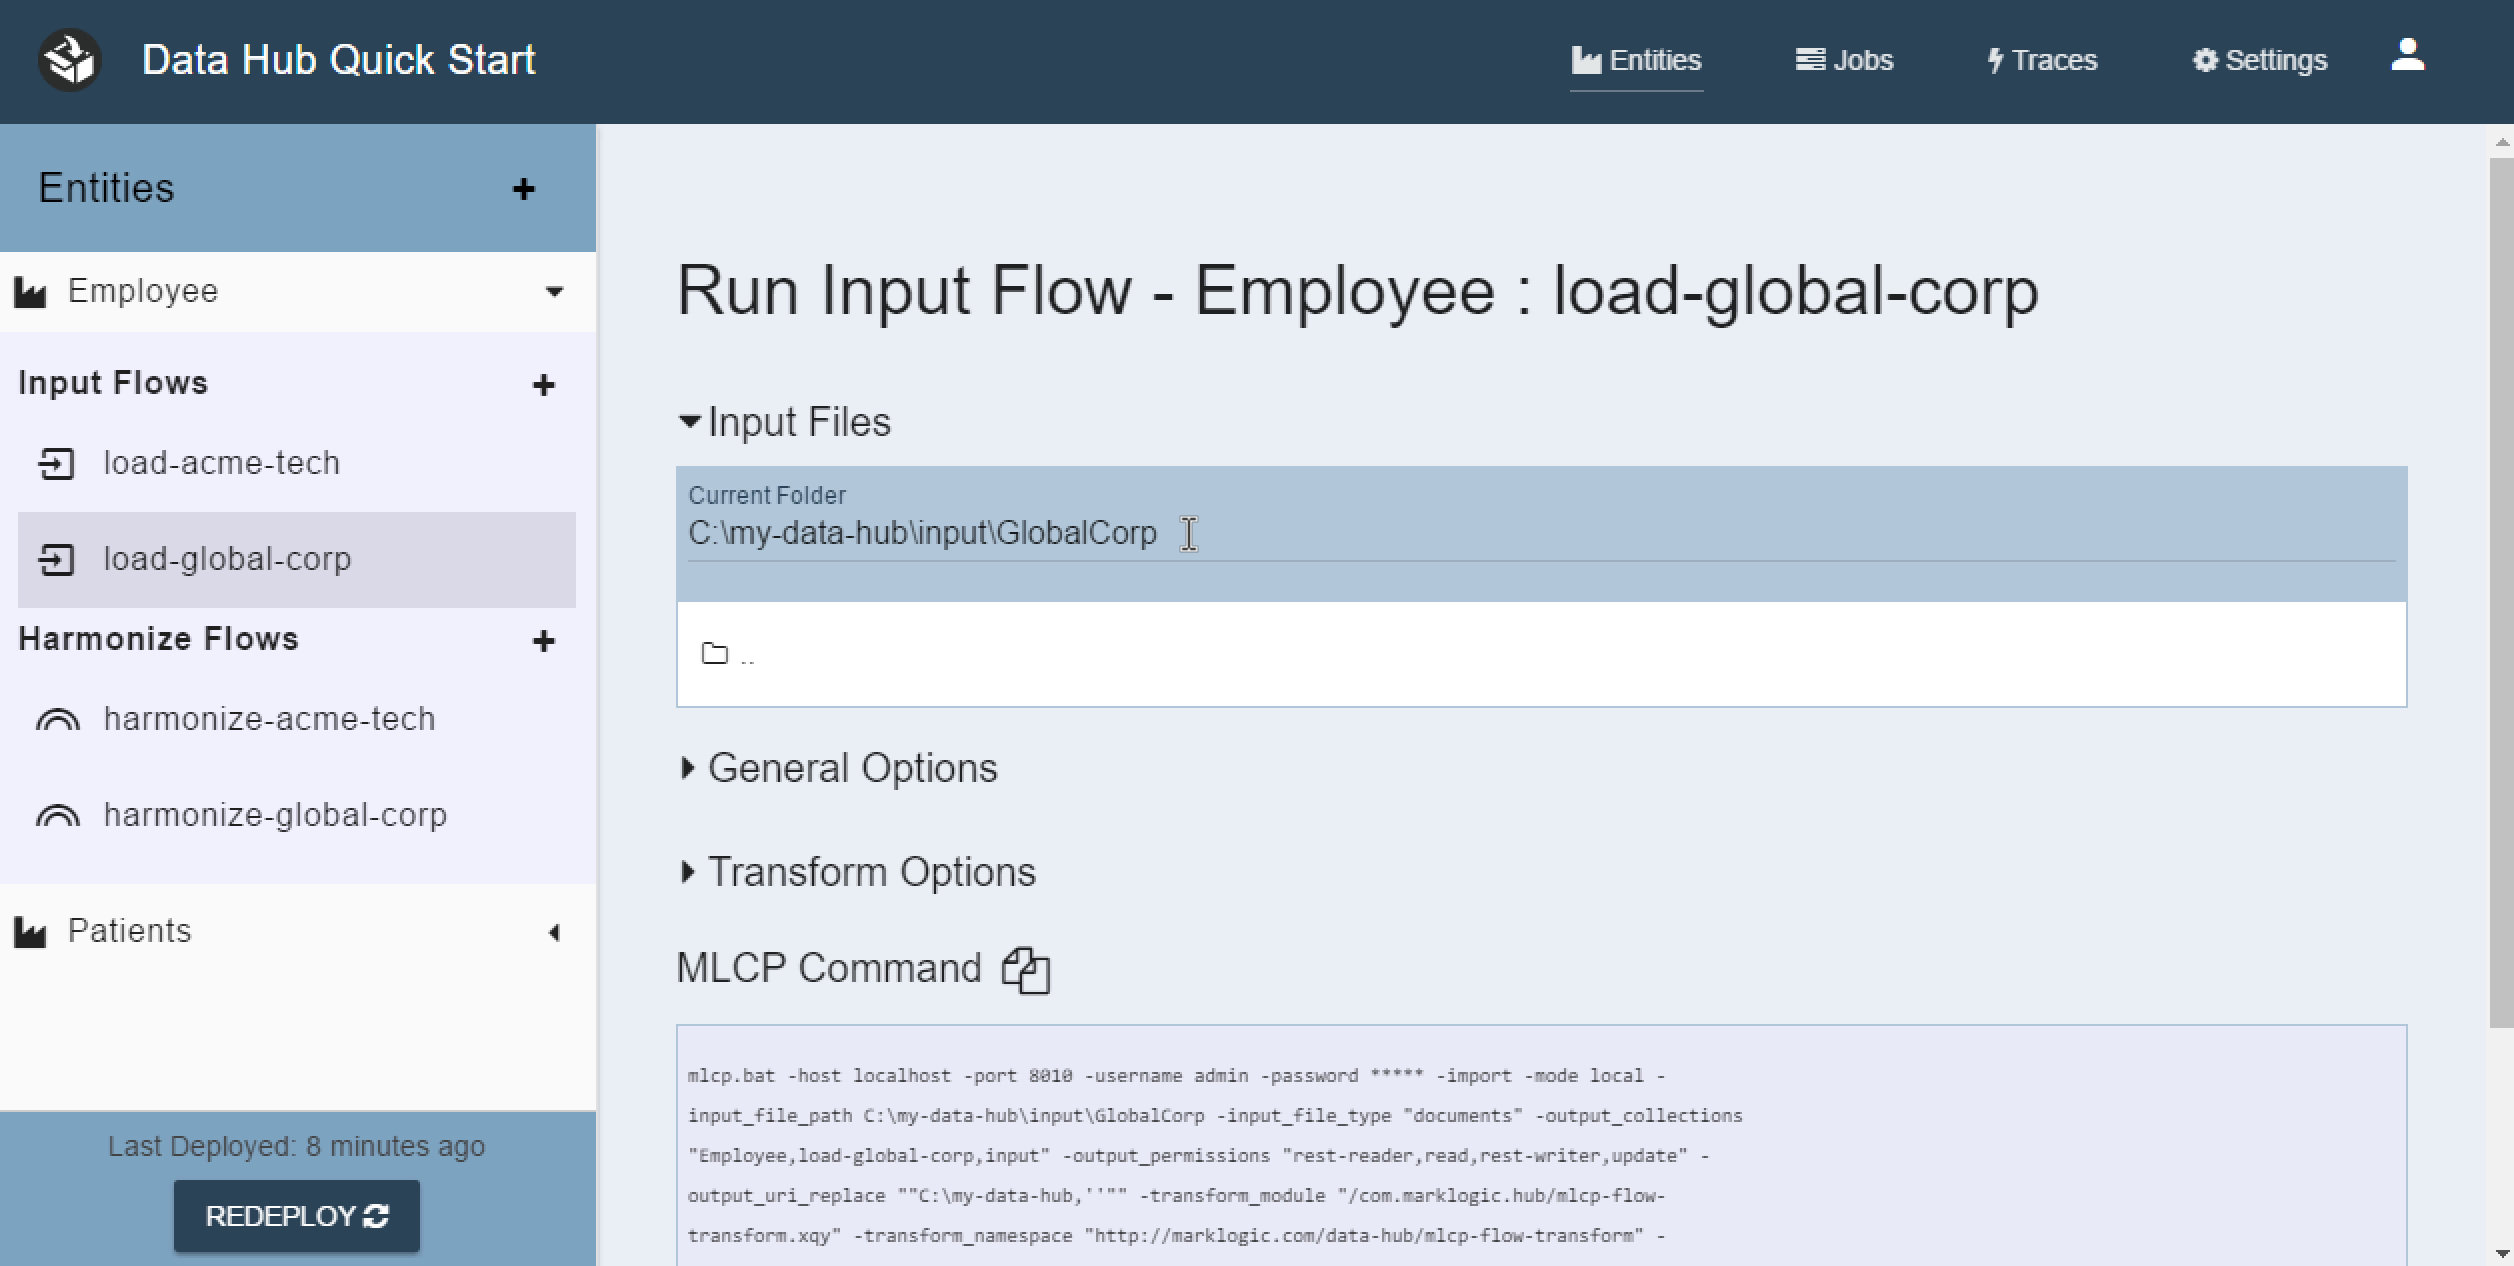
- Expand the General Options section.
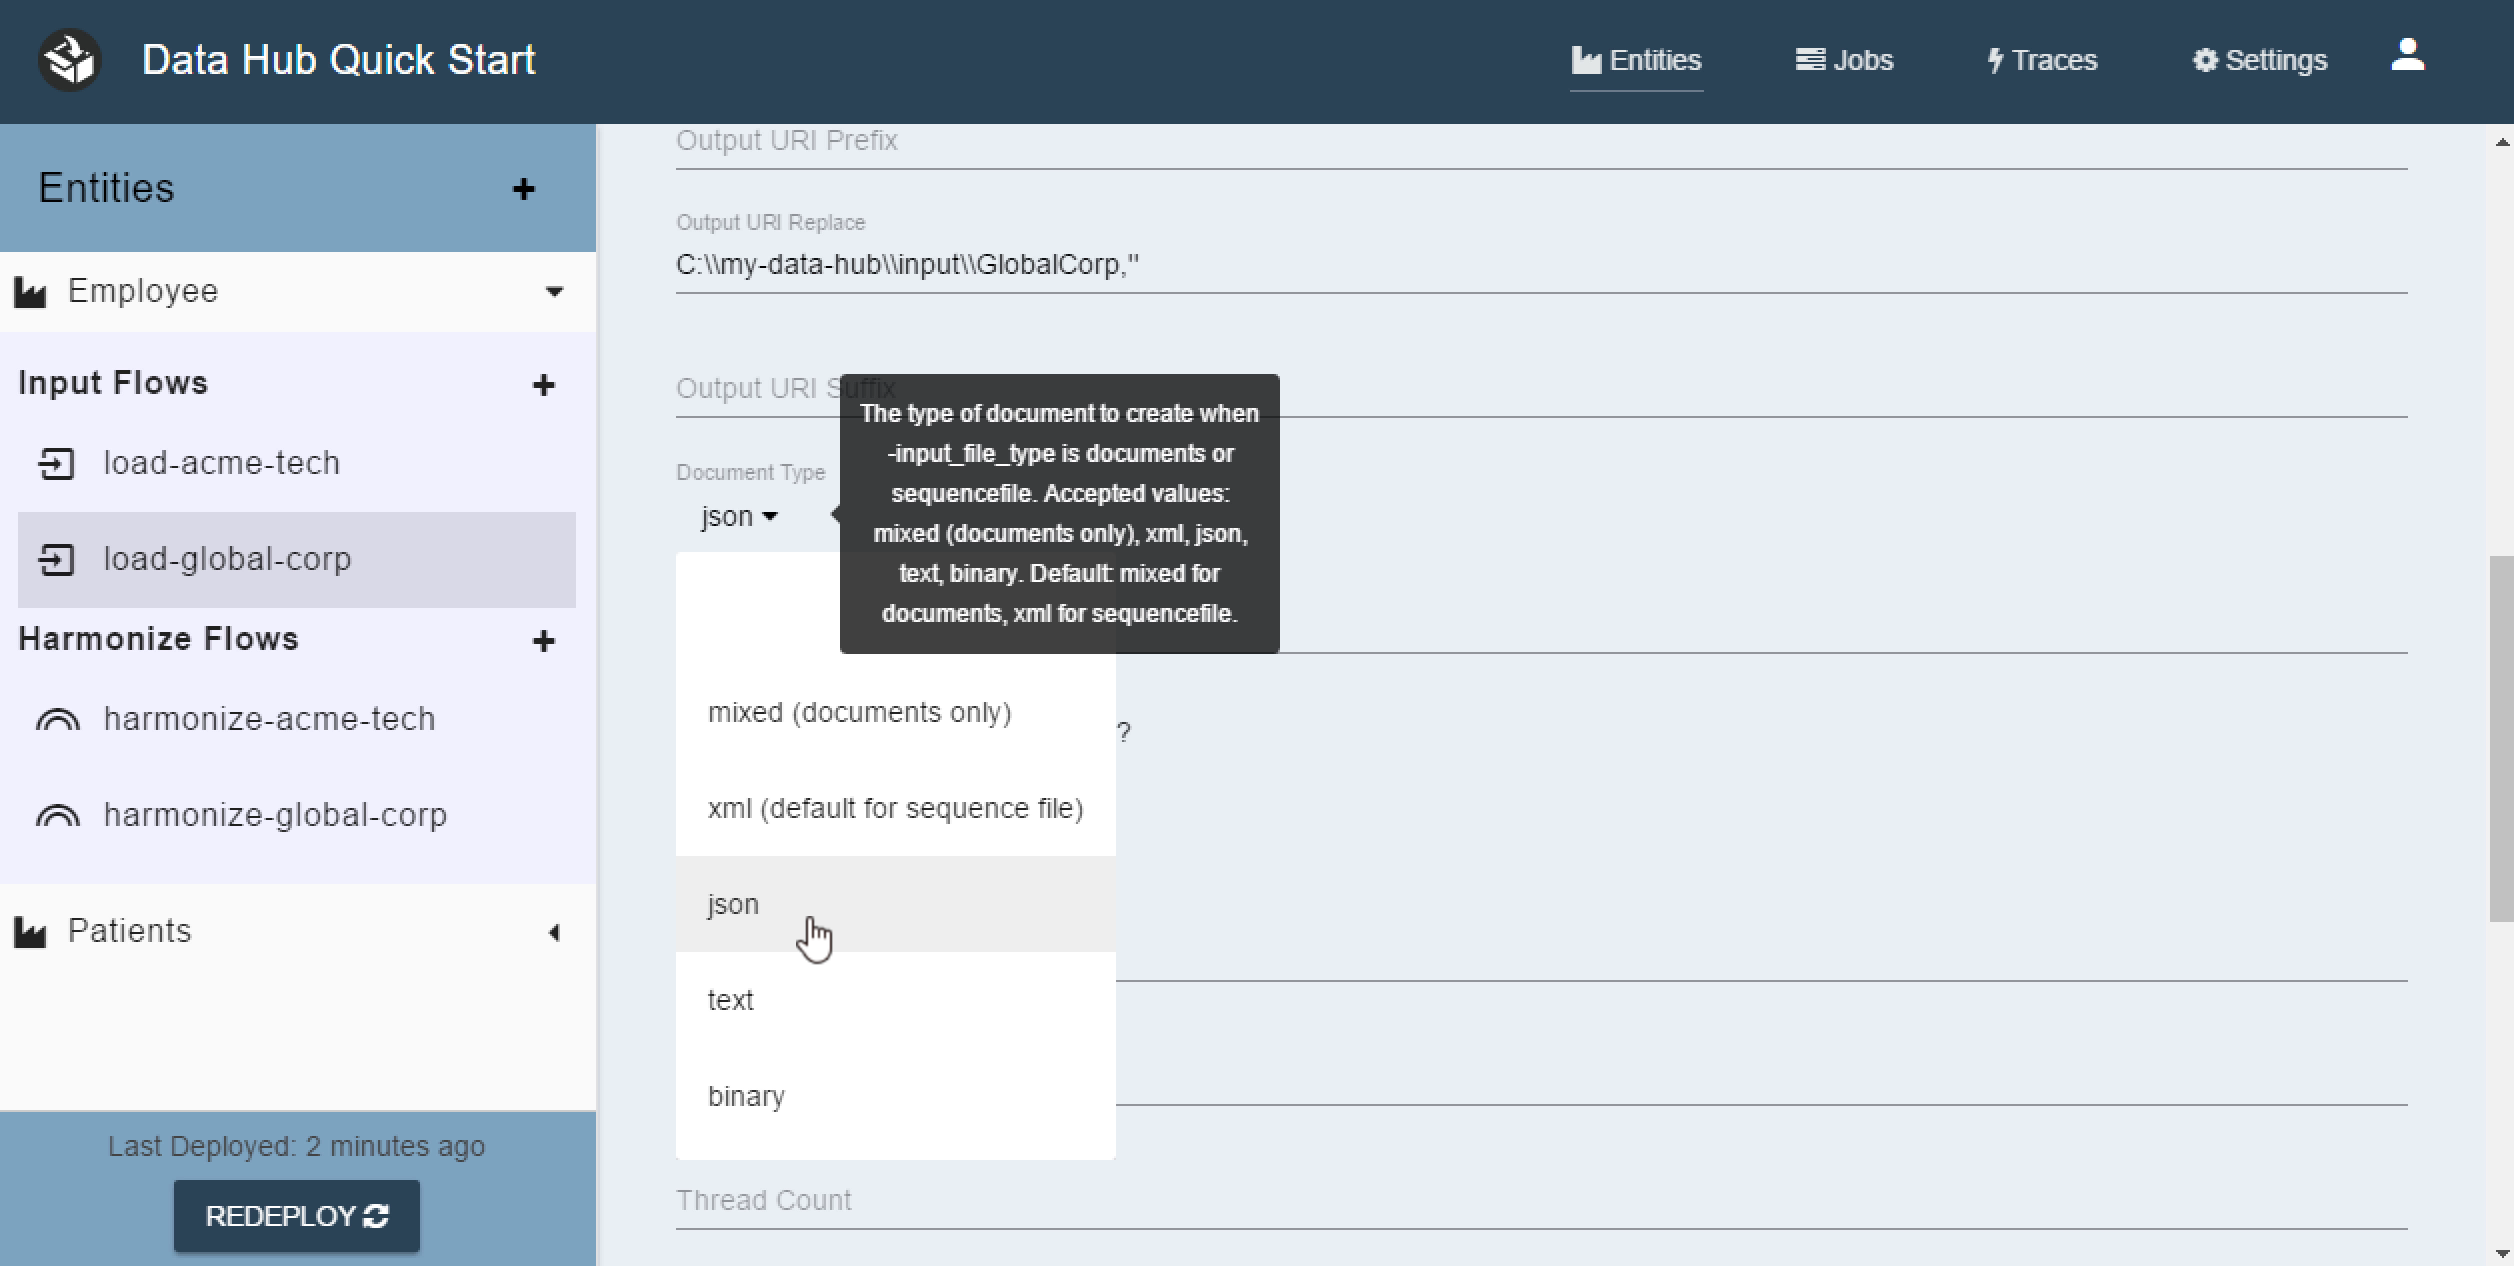
- Choose the Delimited Text Data Format.
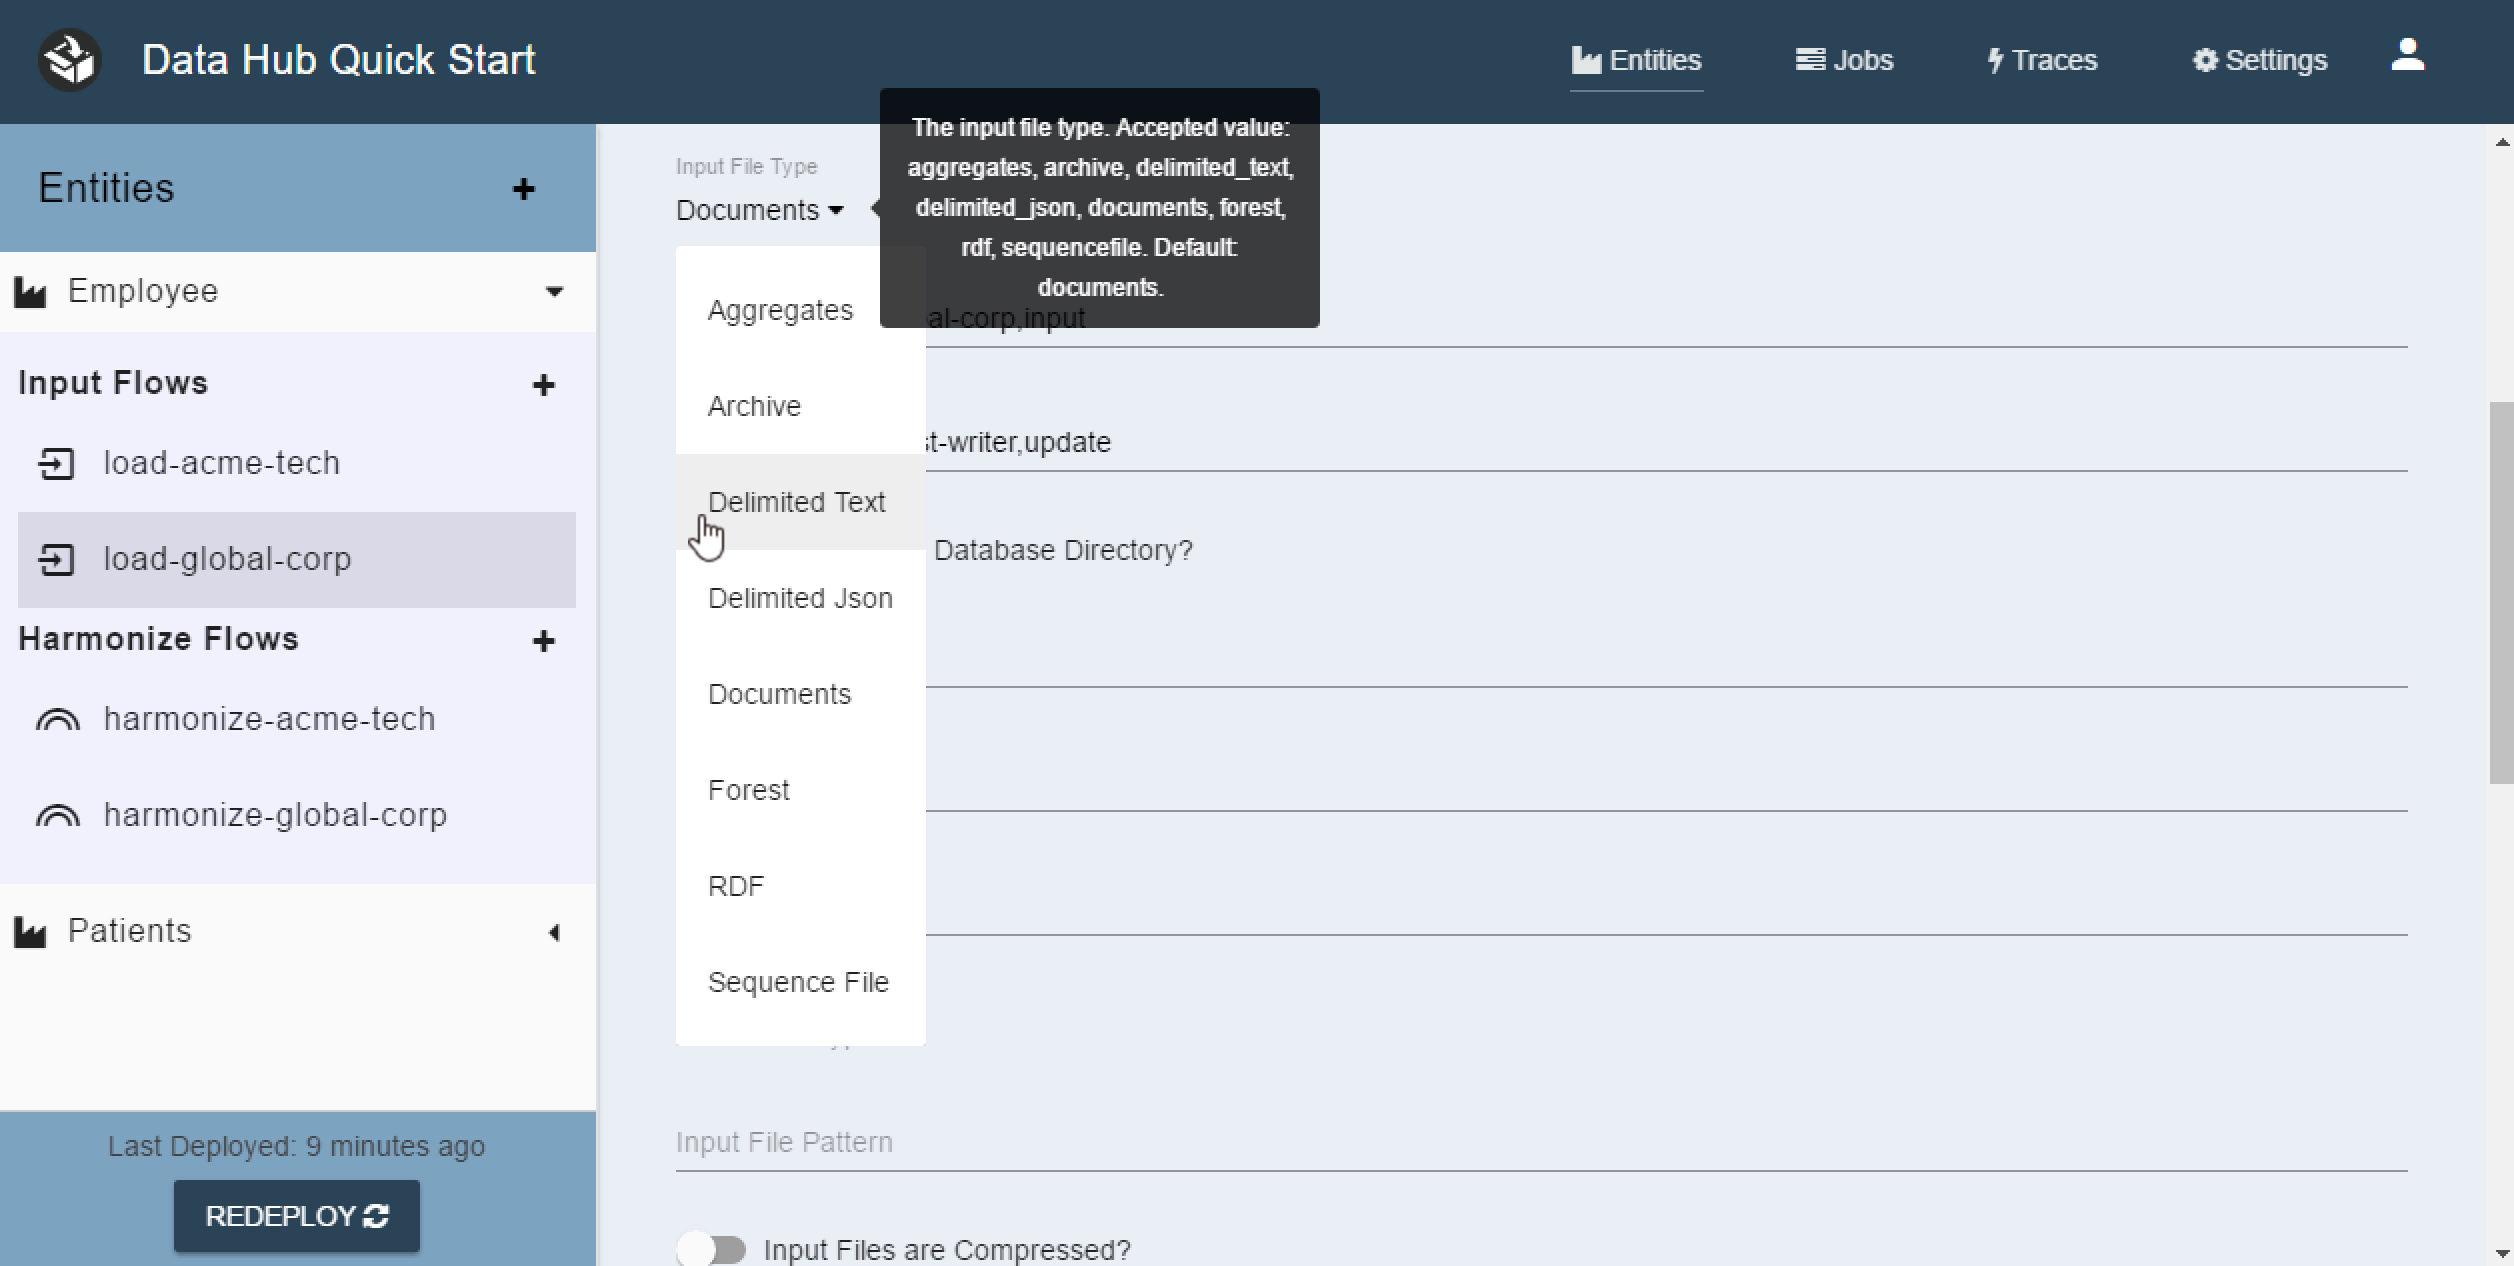
- Change Document Type to json.
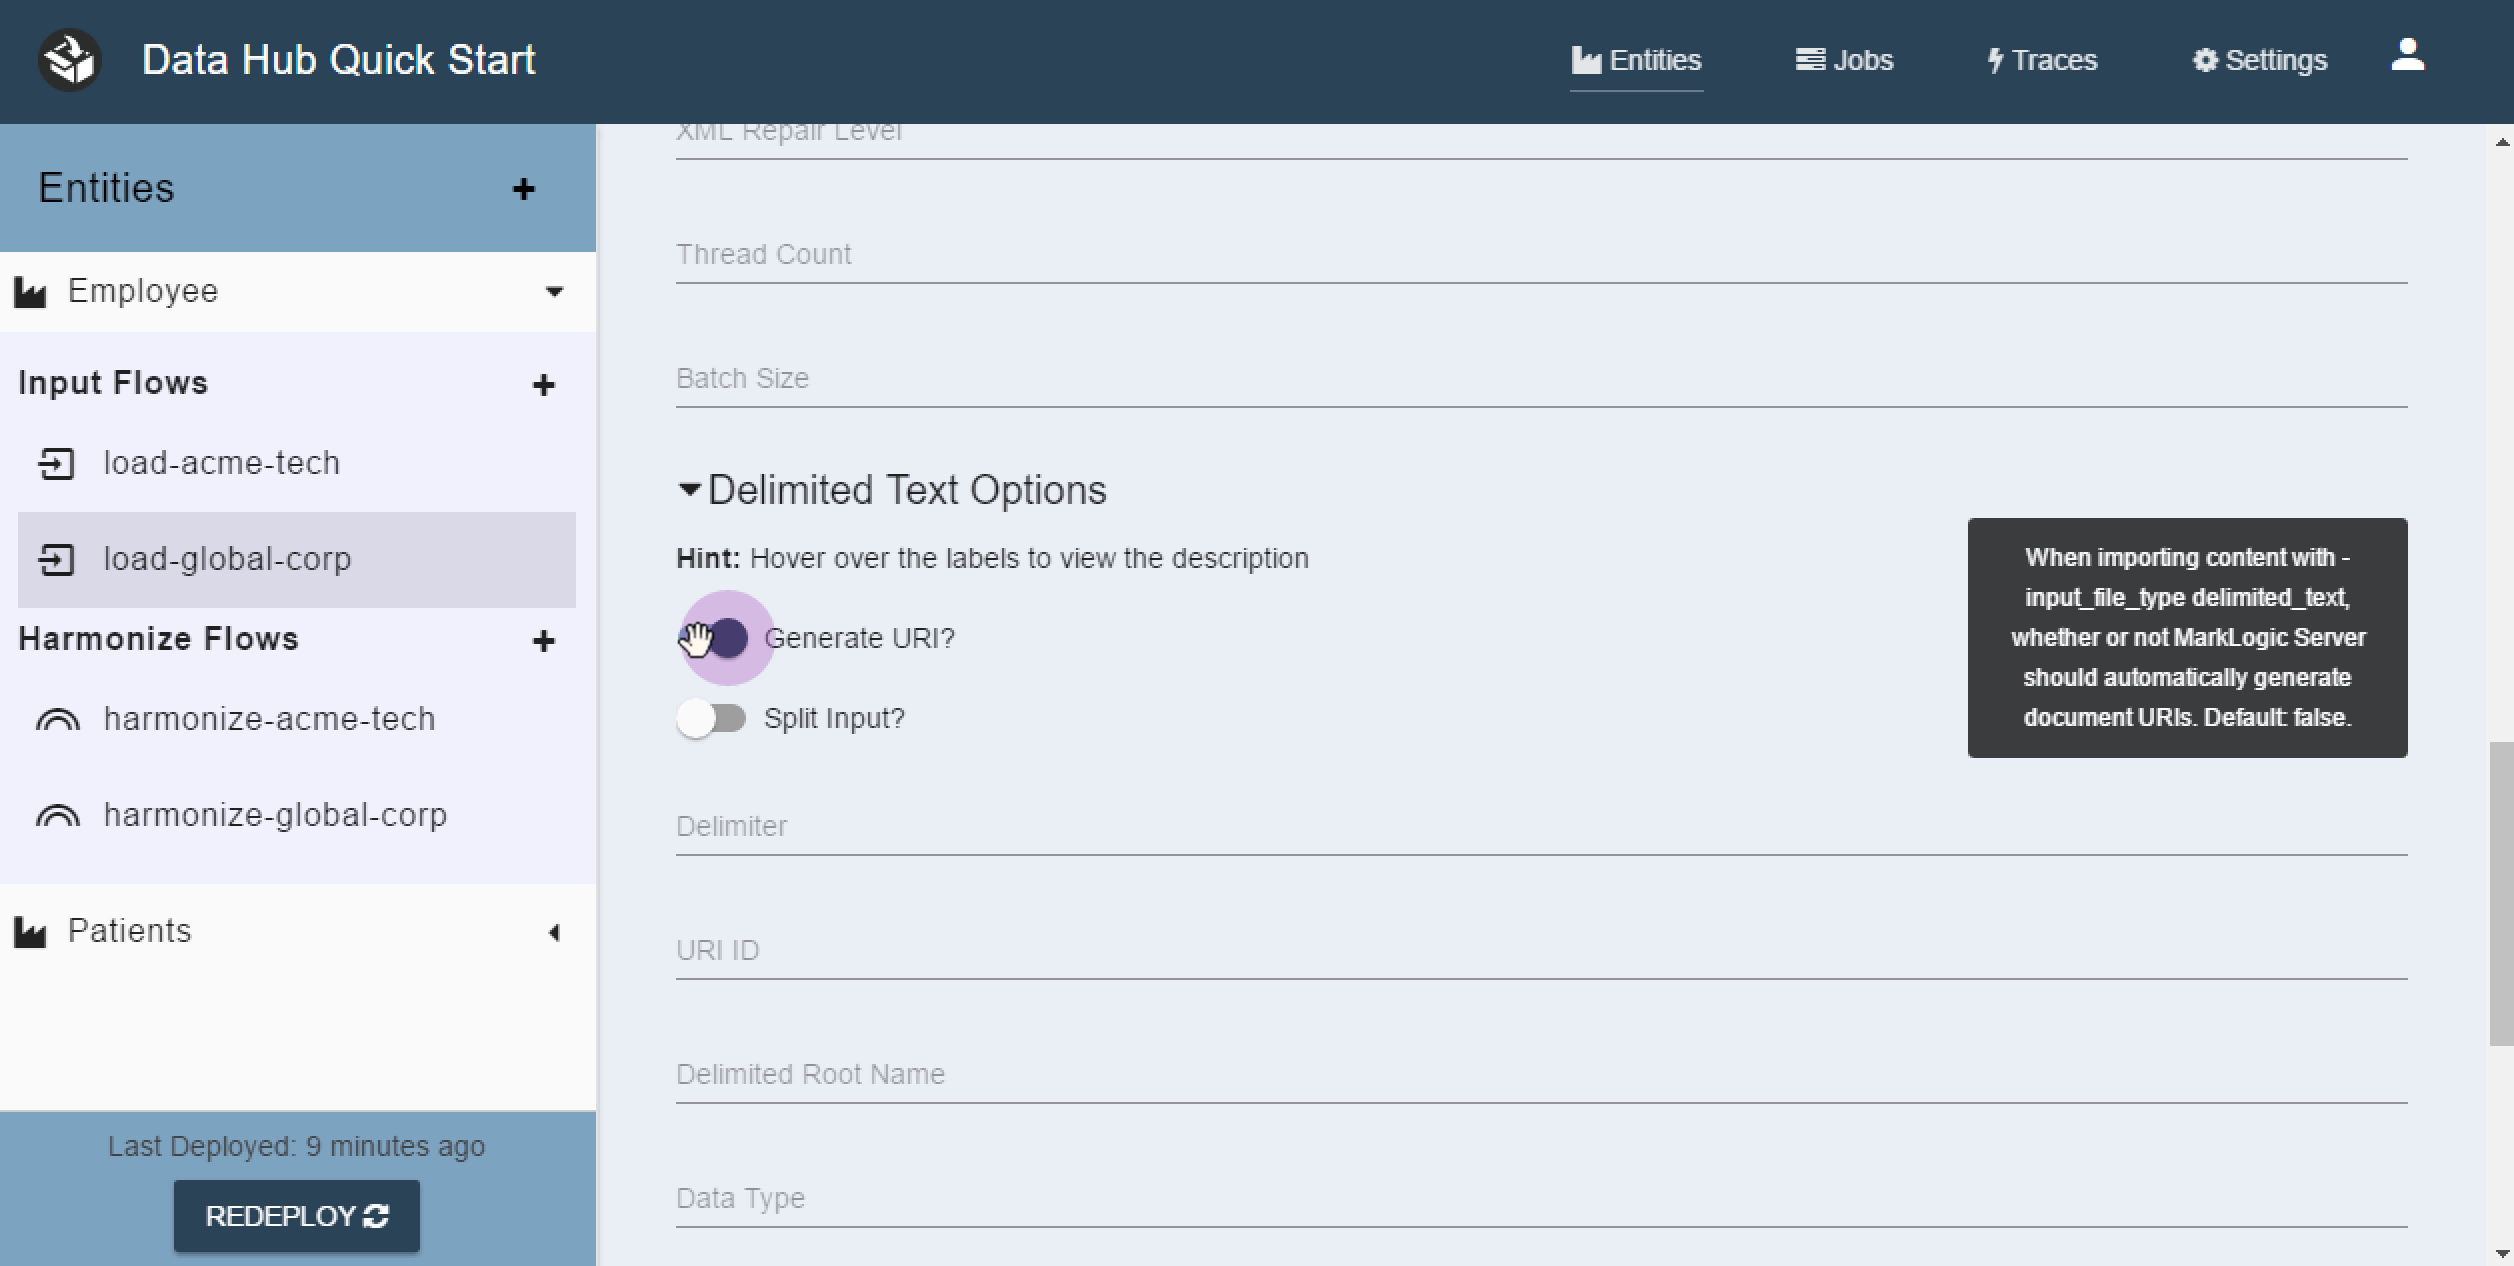
- Expand the Delimited Text Options section.
- Check the Generate URI? option.
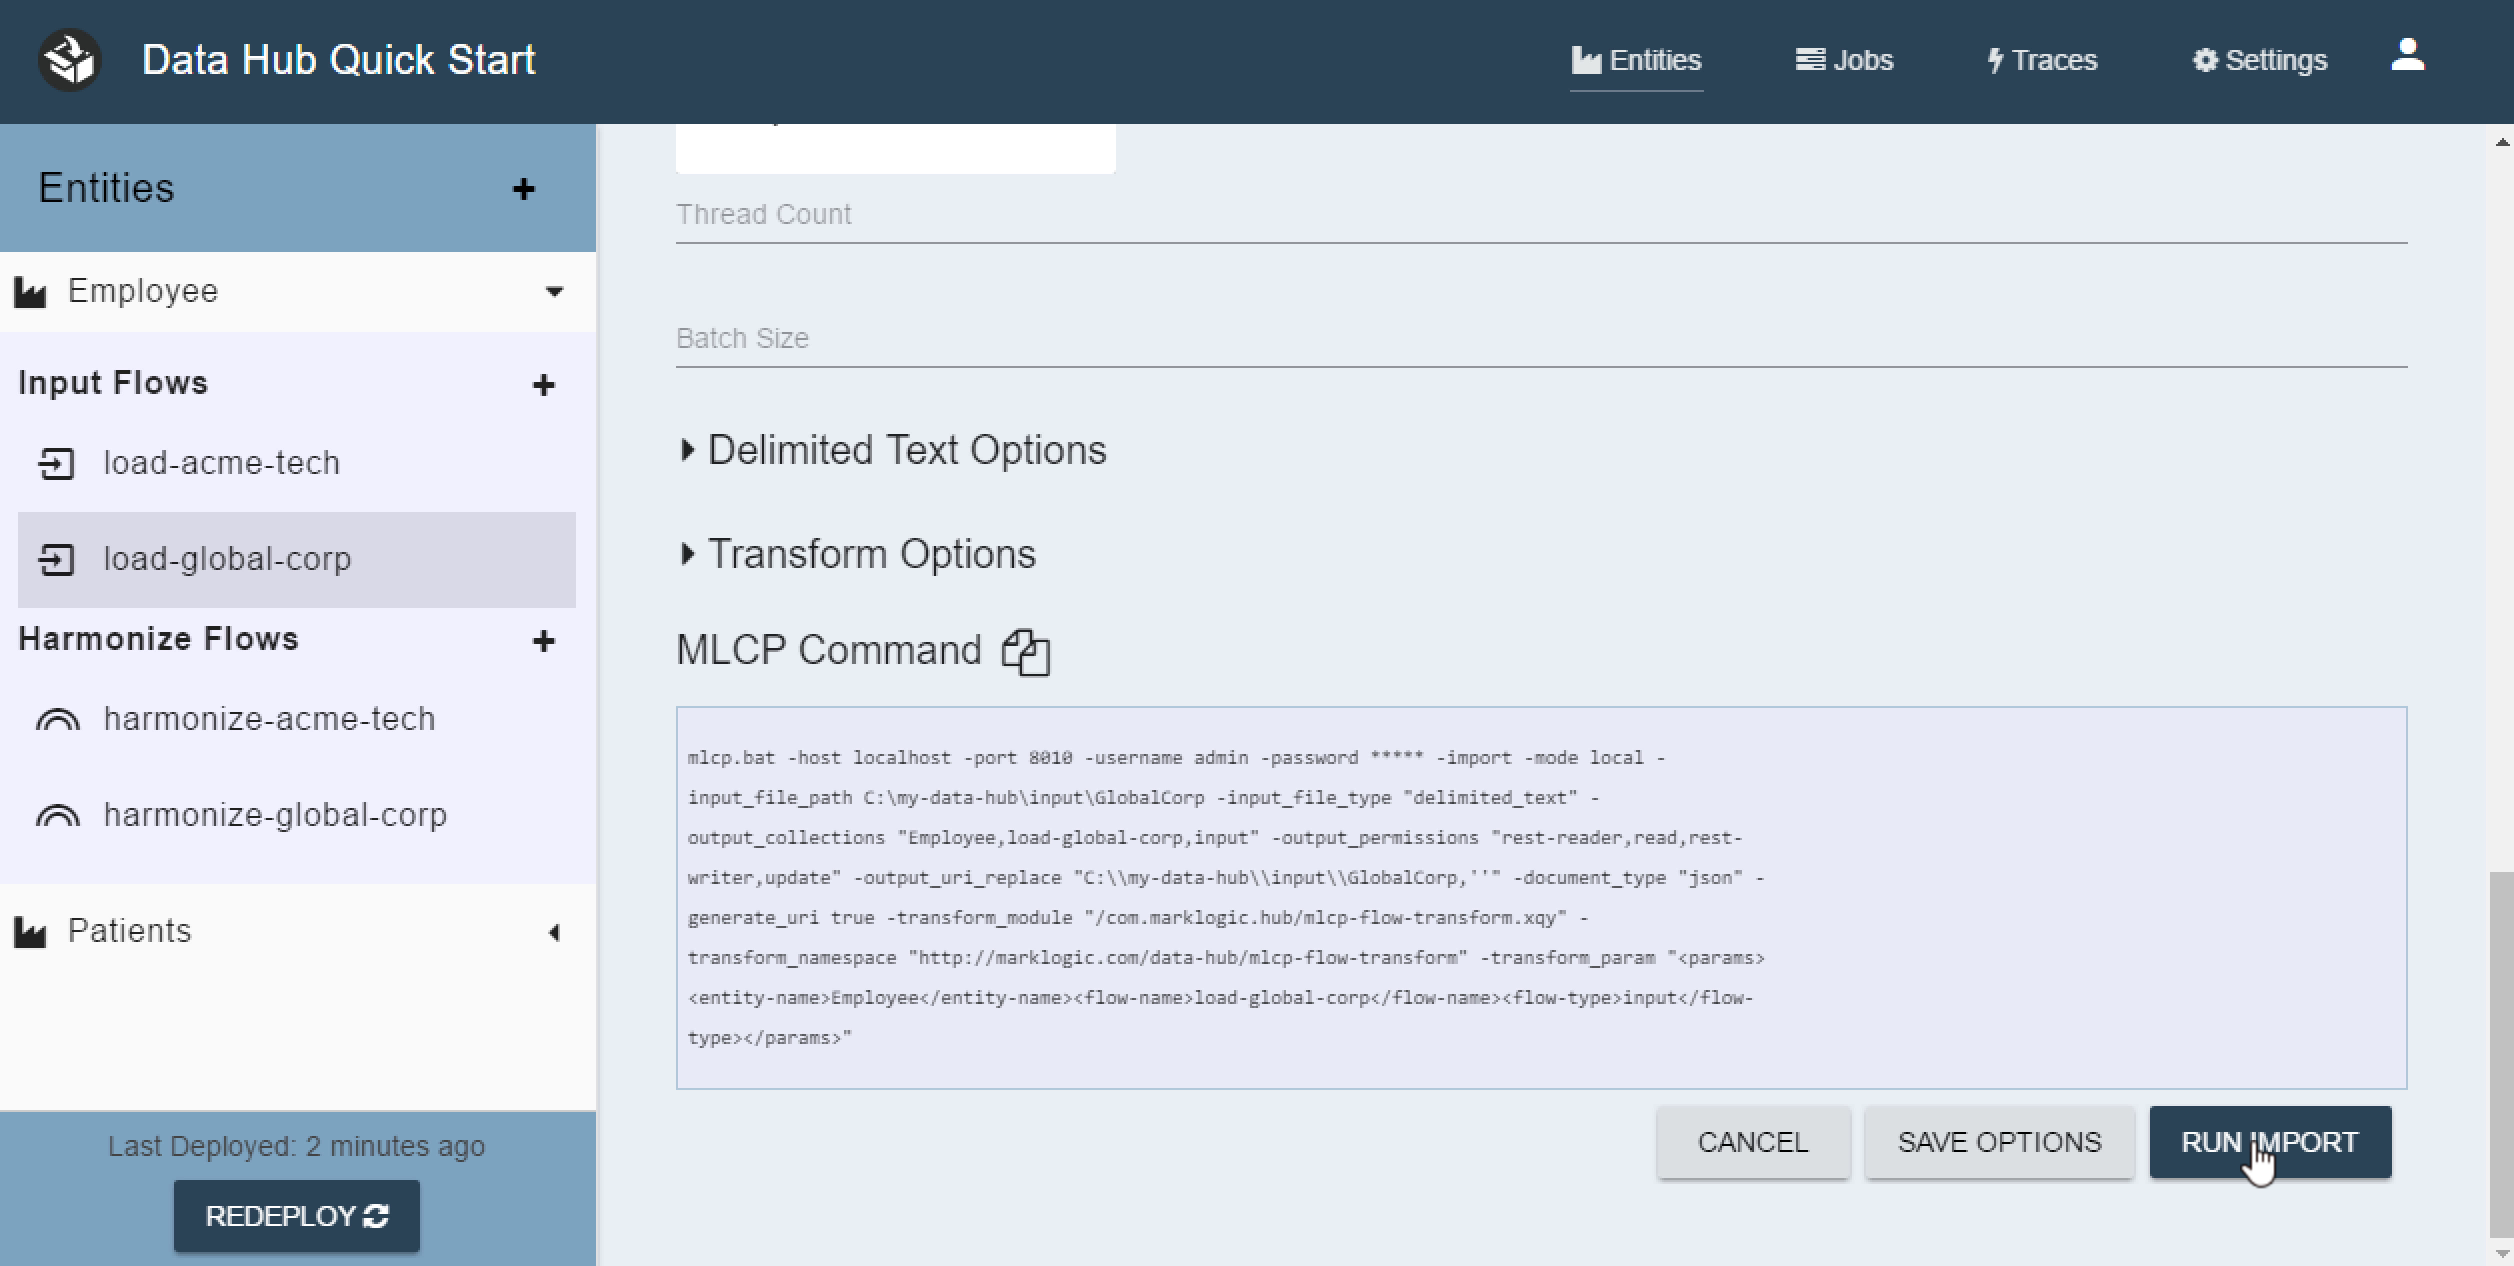
- Now scroll down and press the “Run Import” button.
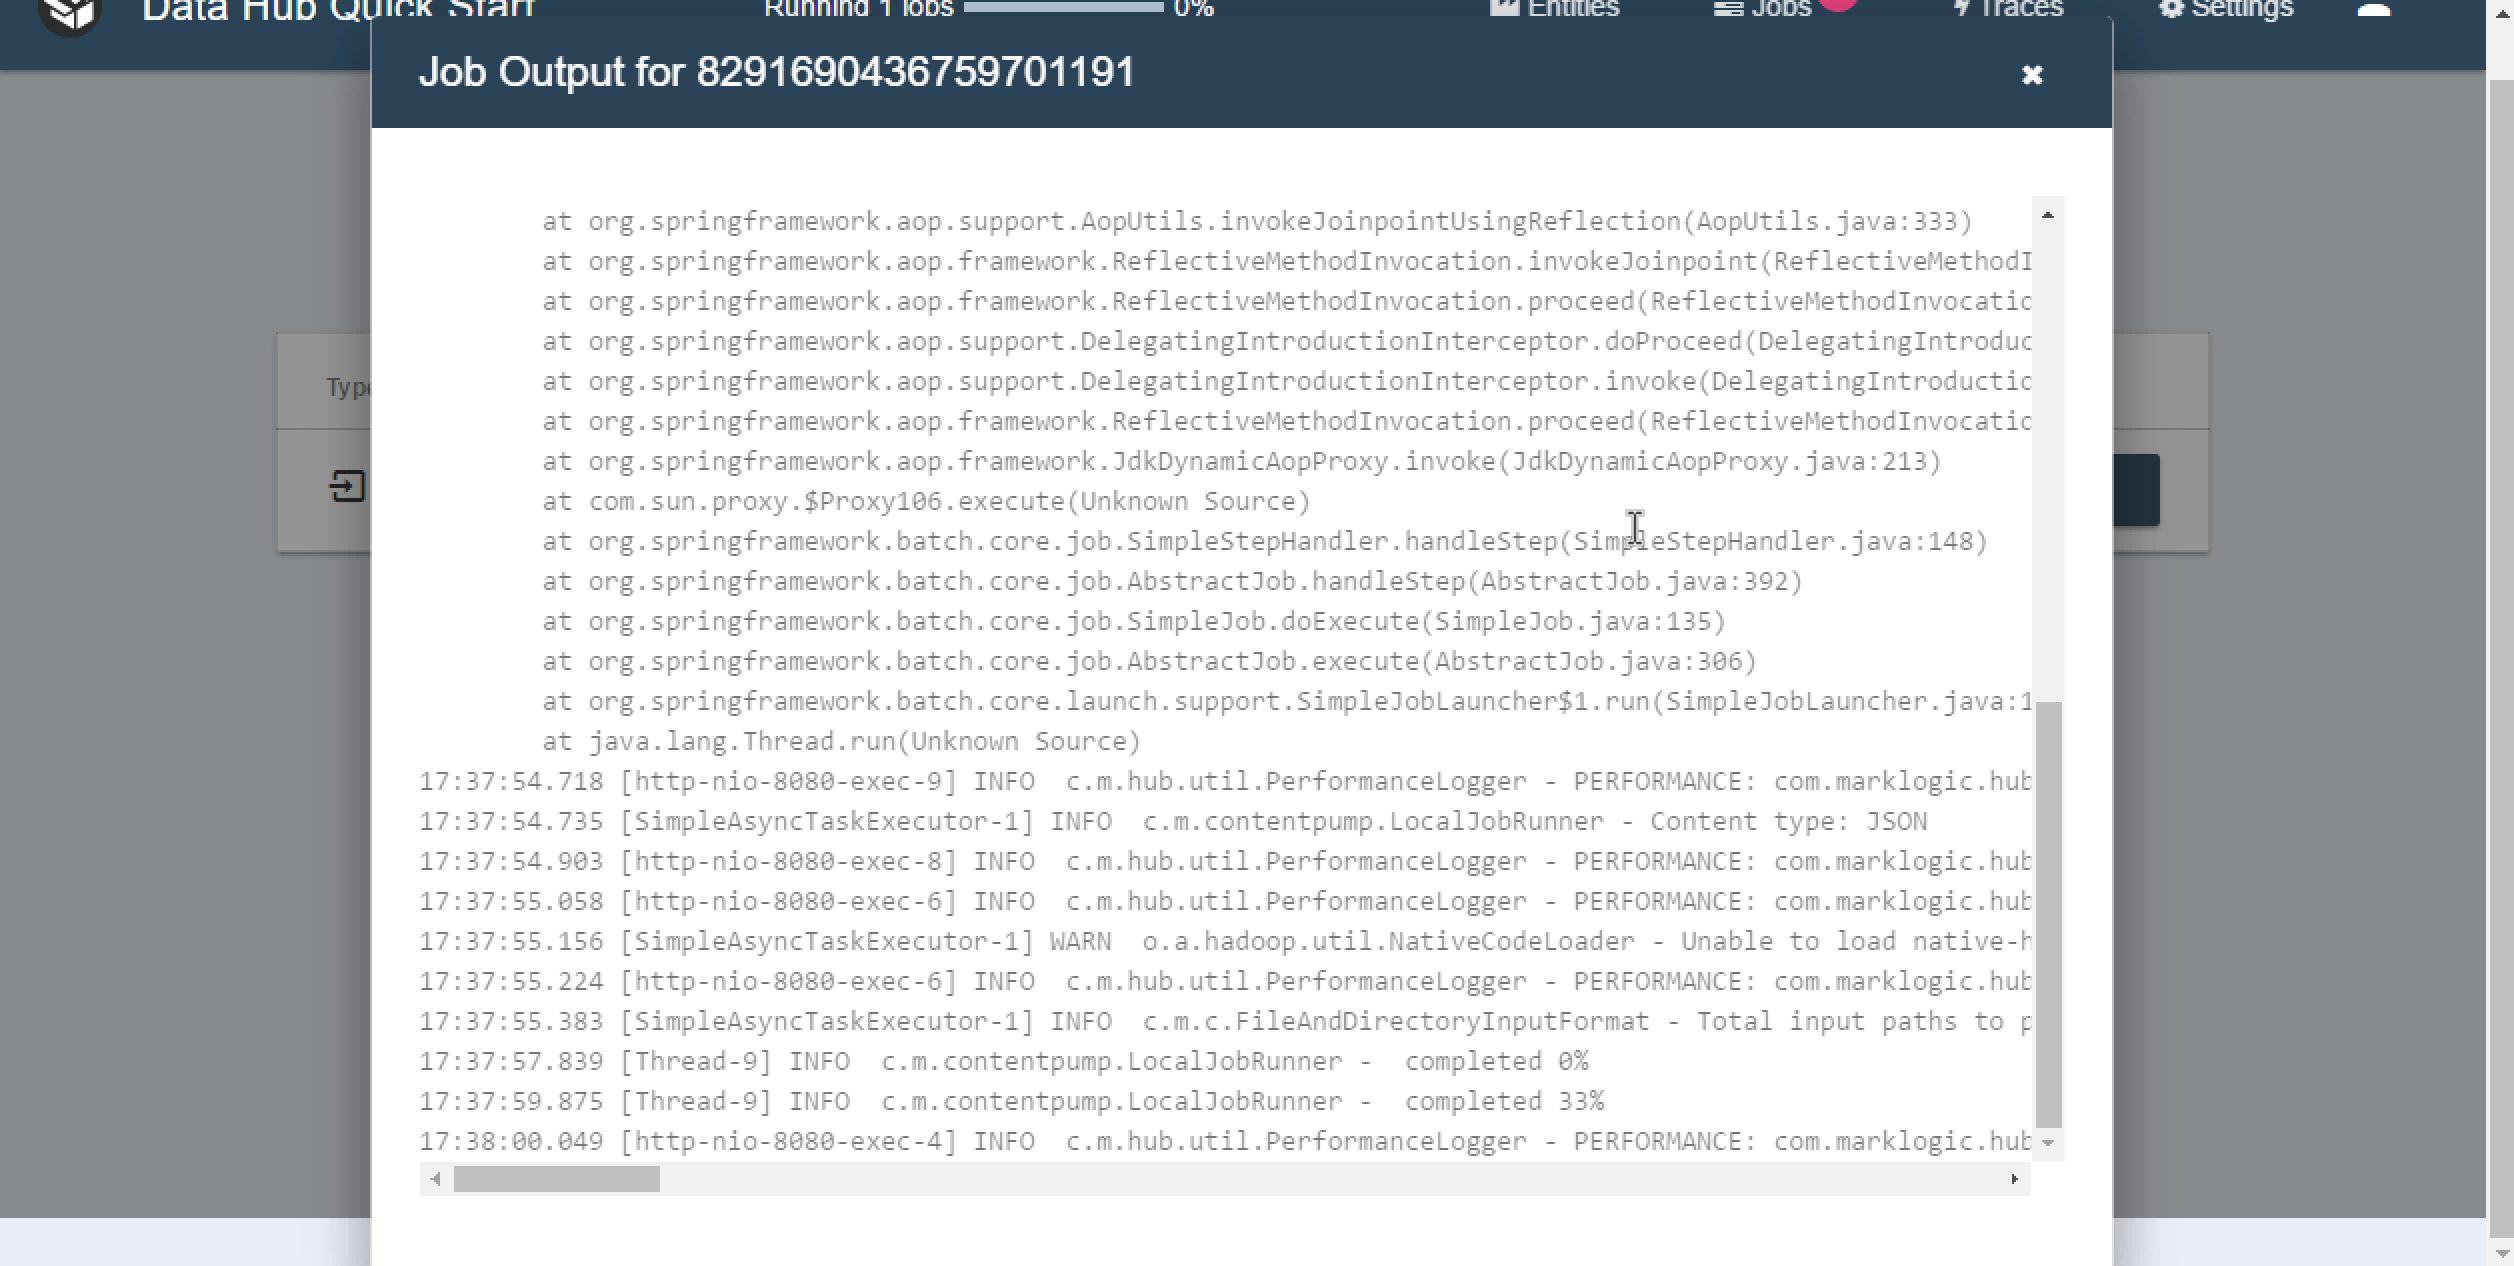
QuickStart will kick off a MarkLogic Content Pump job to ingest the Json documents. You can monitor the progress of the job by navigating to the Jobs tab and clicking on the “Show Console Output” button next to the Job.
10 - Prep for Harmonize
All of our data is loaded into the staging area. While it’s possible to harmonize the data right now it’s not very useful. The out of the box harmonize plugins will simply copy the staging data to the final data area.
We are going to enhance the data a bit so that it can be more easily searched and accessed. To do this we identify some commonalities between our two data sets and choose a few fields to extract into the header section of our final envelopes.
For this tutorial we pull out 3 headers:
- employee id
- hire date
- salary
Because we are dealing with two separate data sources we put the logic for each source into its own flow.
Acme Tech Collector
For Acme Tech we want to return a list of URIs. Since the Acme Tech data came to us as JSON documents, there is only one document for every employee.
Use your favorite text editor to open the data-hub/plugins/entities/Employee/harmonize/harmonize-acme-tech/collector/collector.sjs file. Replace its contents with this:
Acme Tech header plugin
Use your favorite text editor to open the data-hub/plugins/entities/Employee/harmonize/harmonize-acme-tech/headers/headers.sjs file. Replace its contents with this:
Global Corp Collector
The collector is a plugin that provides a list of items to the Harmonize flow to be acted upon. By default the out of the box collector will return all document URIs in the system. We need to change this. For Global Corp we want to return a list of Employee IDs. This allows us to iterate over each employee ID and create an employee document per ID.
Use your favorite text editor to open the data-hub/plugins/entities/Employee/harmonize/harmonize-global-corp/collector/collector.sjs file. Replace its contents with this:
Global Corp Content Plugin
For Global corp we are going to use the harmonize step to recreate employee records for every employee ID that is in our staging area. Recall that for the collector we are returning employee IDs instead of URIs. Open up your favorite text editor to the data-hub/plugins/entities/Employee/harmonize/harmonize-global-corp/content/content.sjs file. Replace its contents with this:
Global Corp Header Plugin
Use your favorite text editor to open the data-hub/plugins/entities/Employee/harmonize/harmonize-global-corp/headers/headers.sjs file. Replace its contents with this:
11 - Harmonize the data
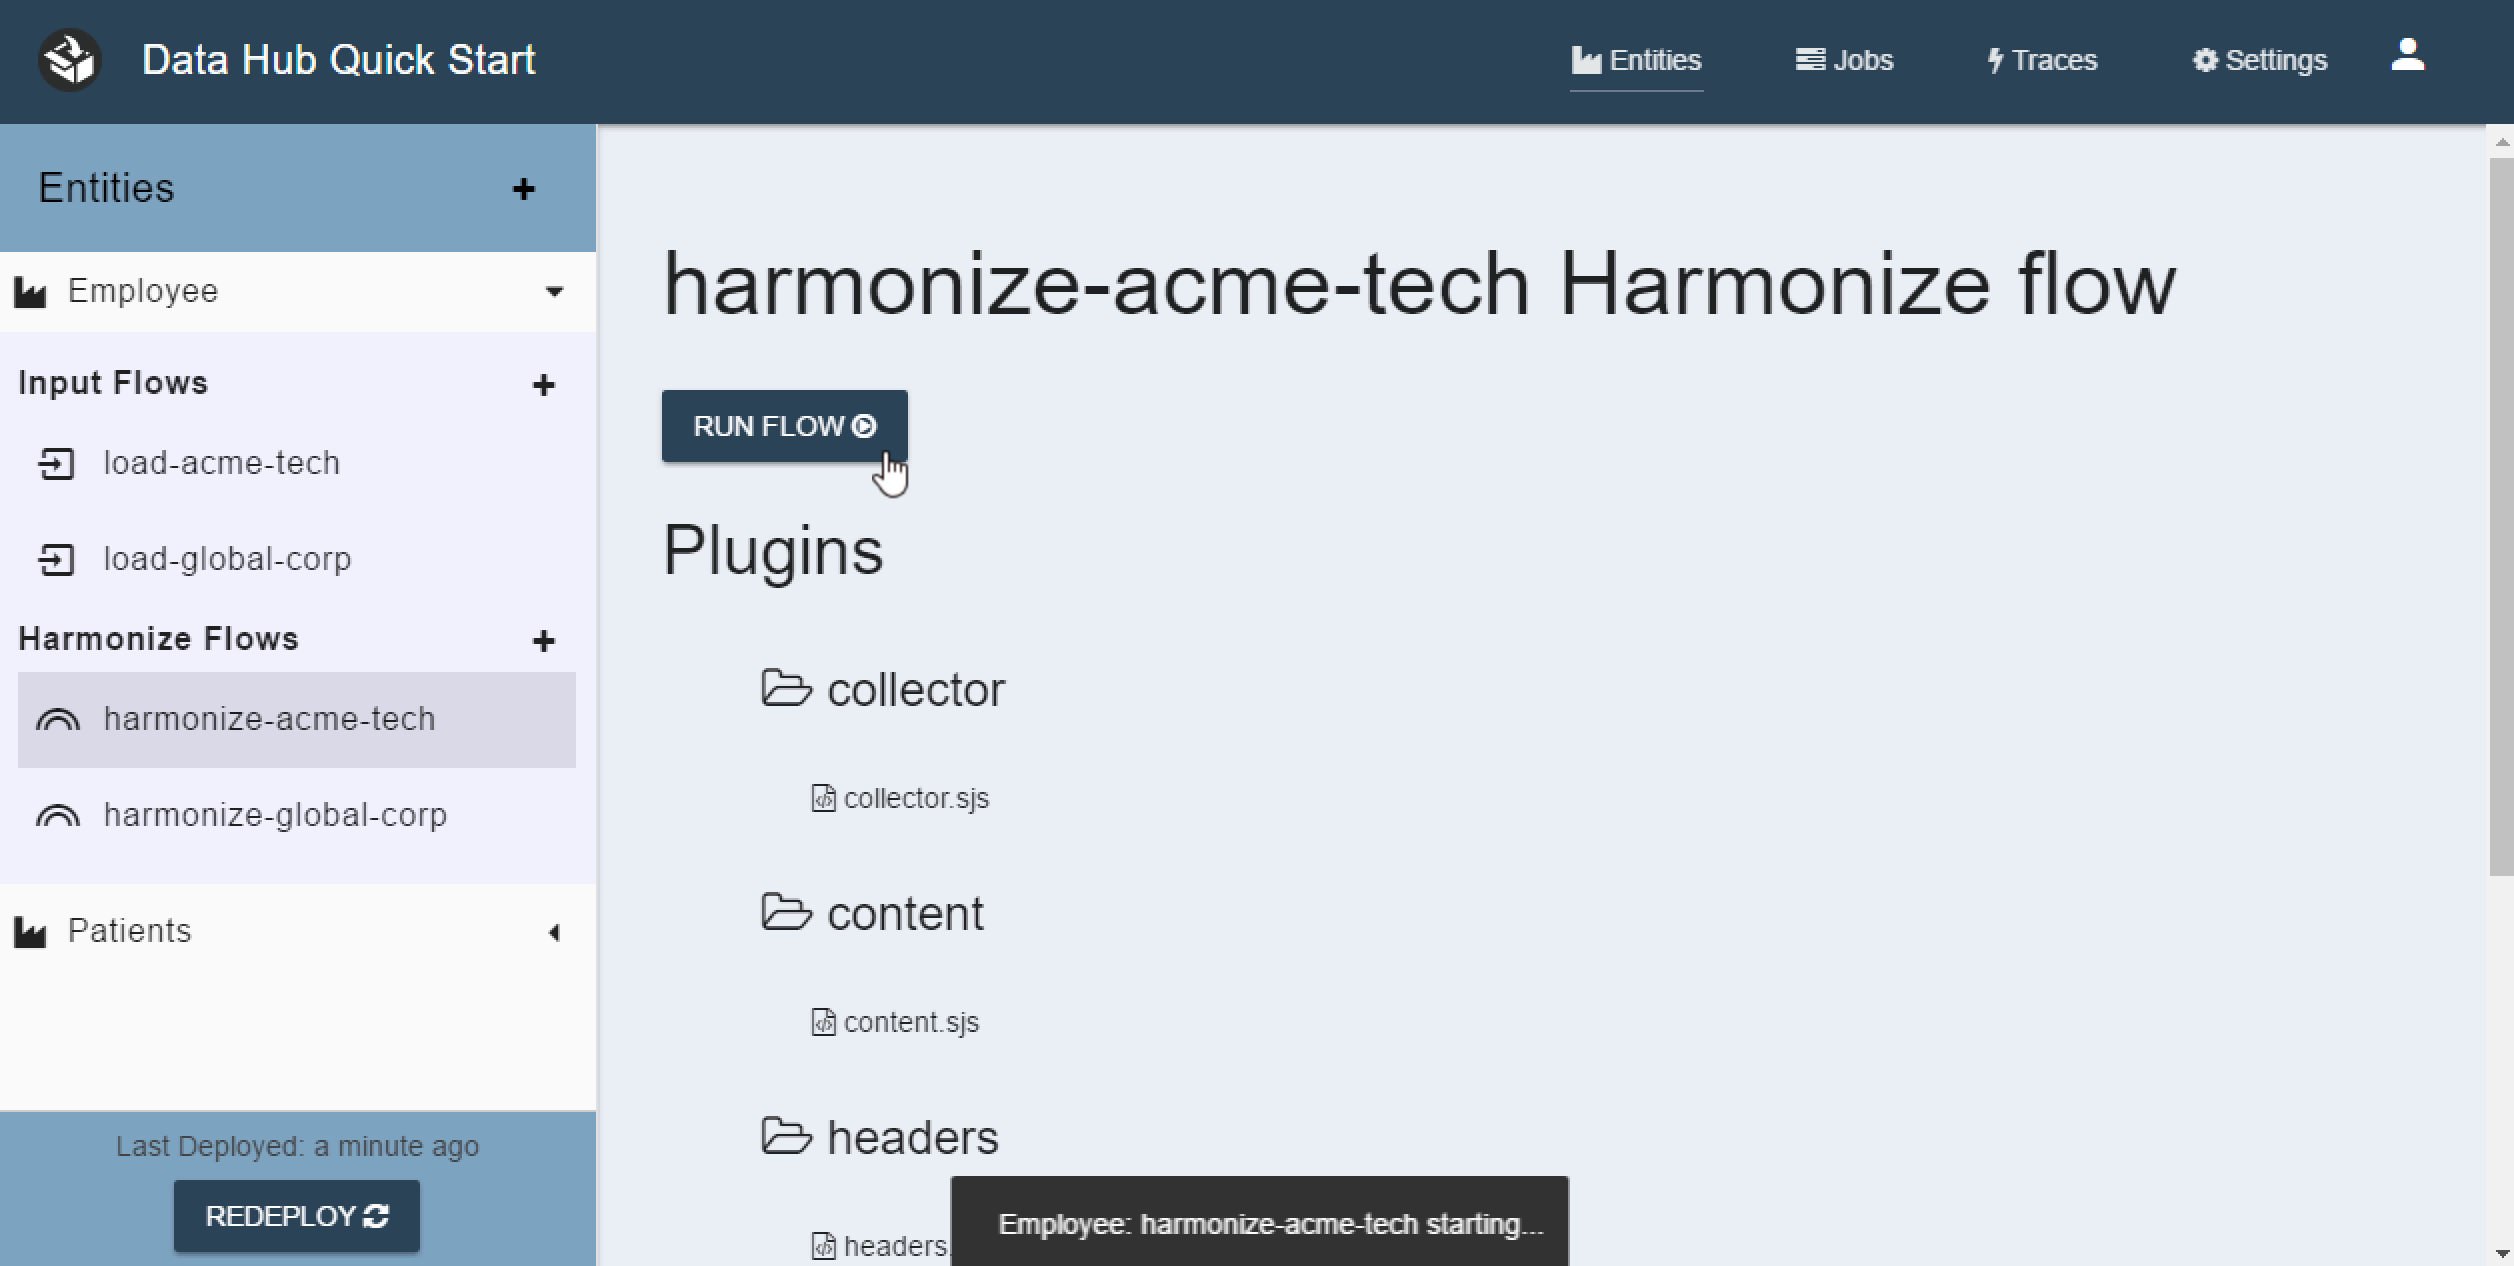
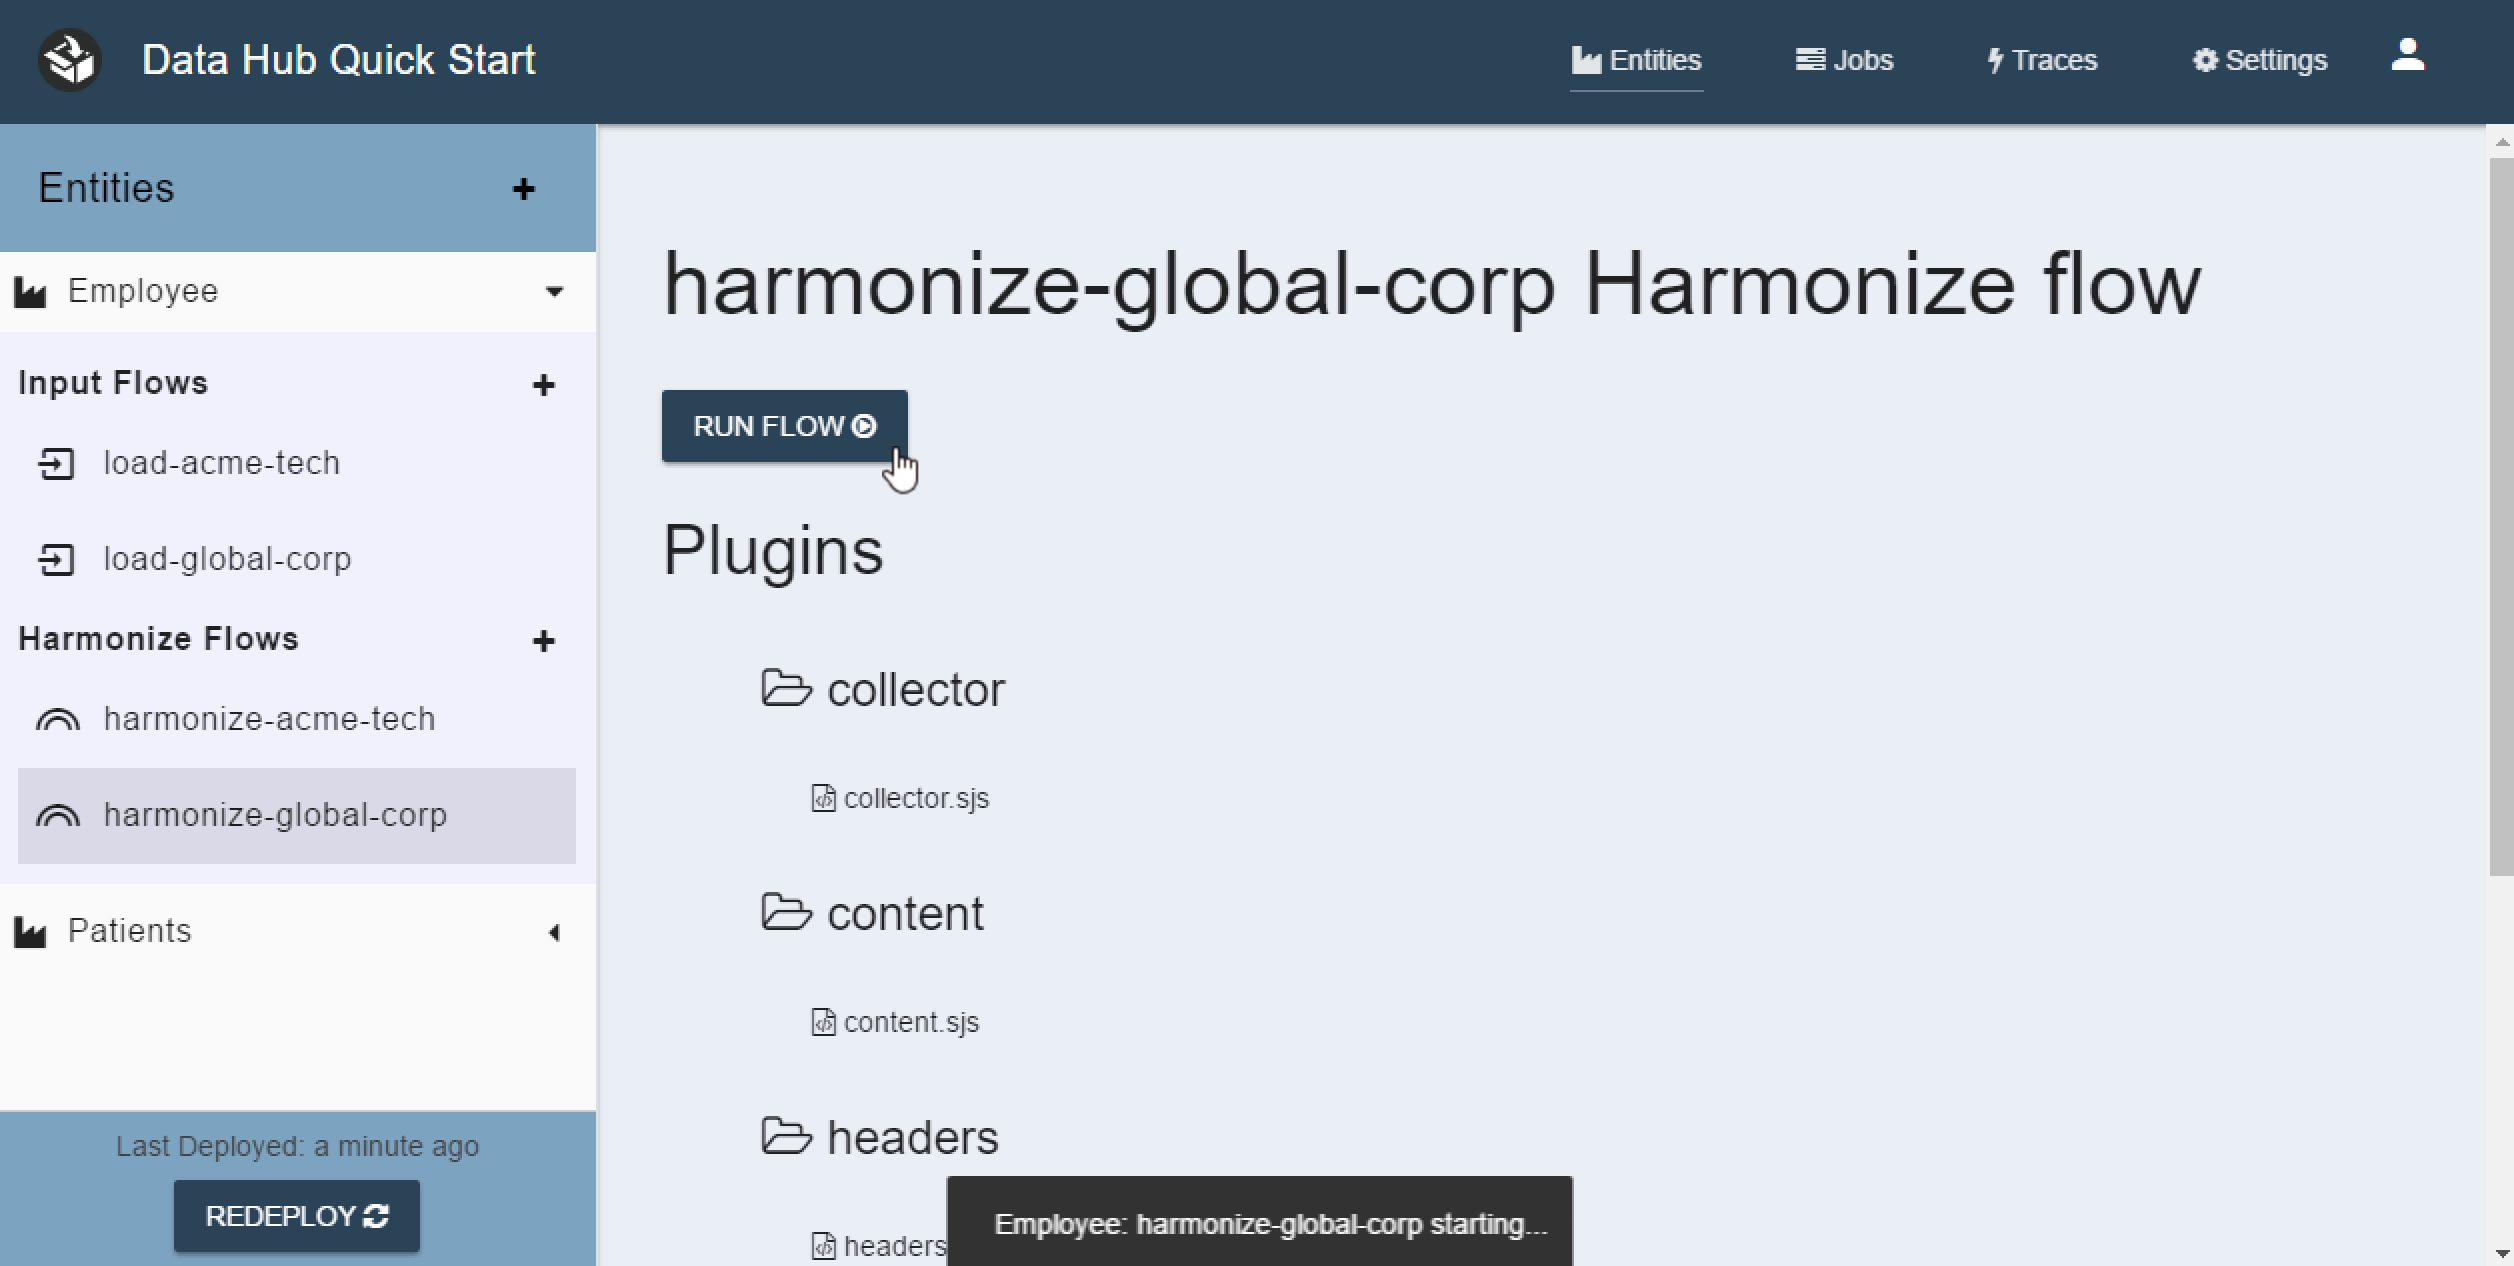
You ingested your data. You created plugins that will extract common fields into the headers. You edited the collectors to only operate on certain data. Now you are ready to harmonize. Simply press the Run button next to both harmonize flows.
Running Acme Tech
Running Global Corp
As with the Input Flows you can see the job status in the Jobs tab.
12 - Consume the Data
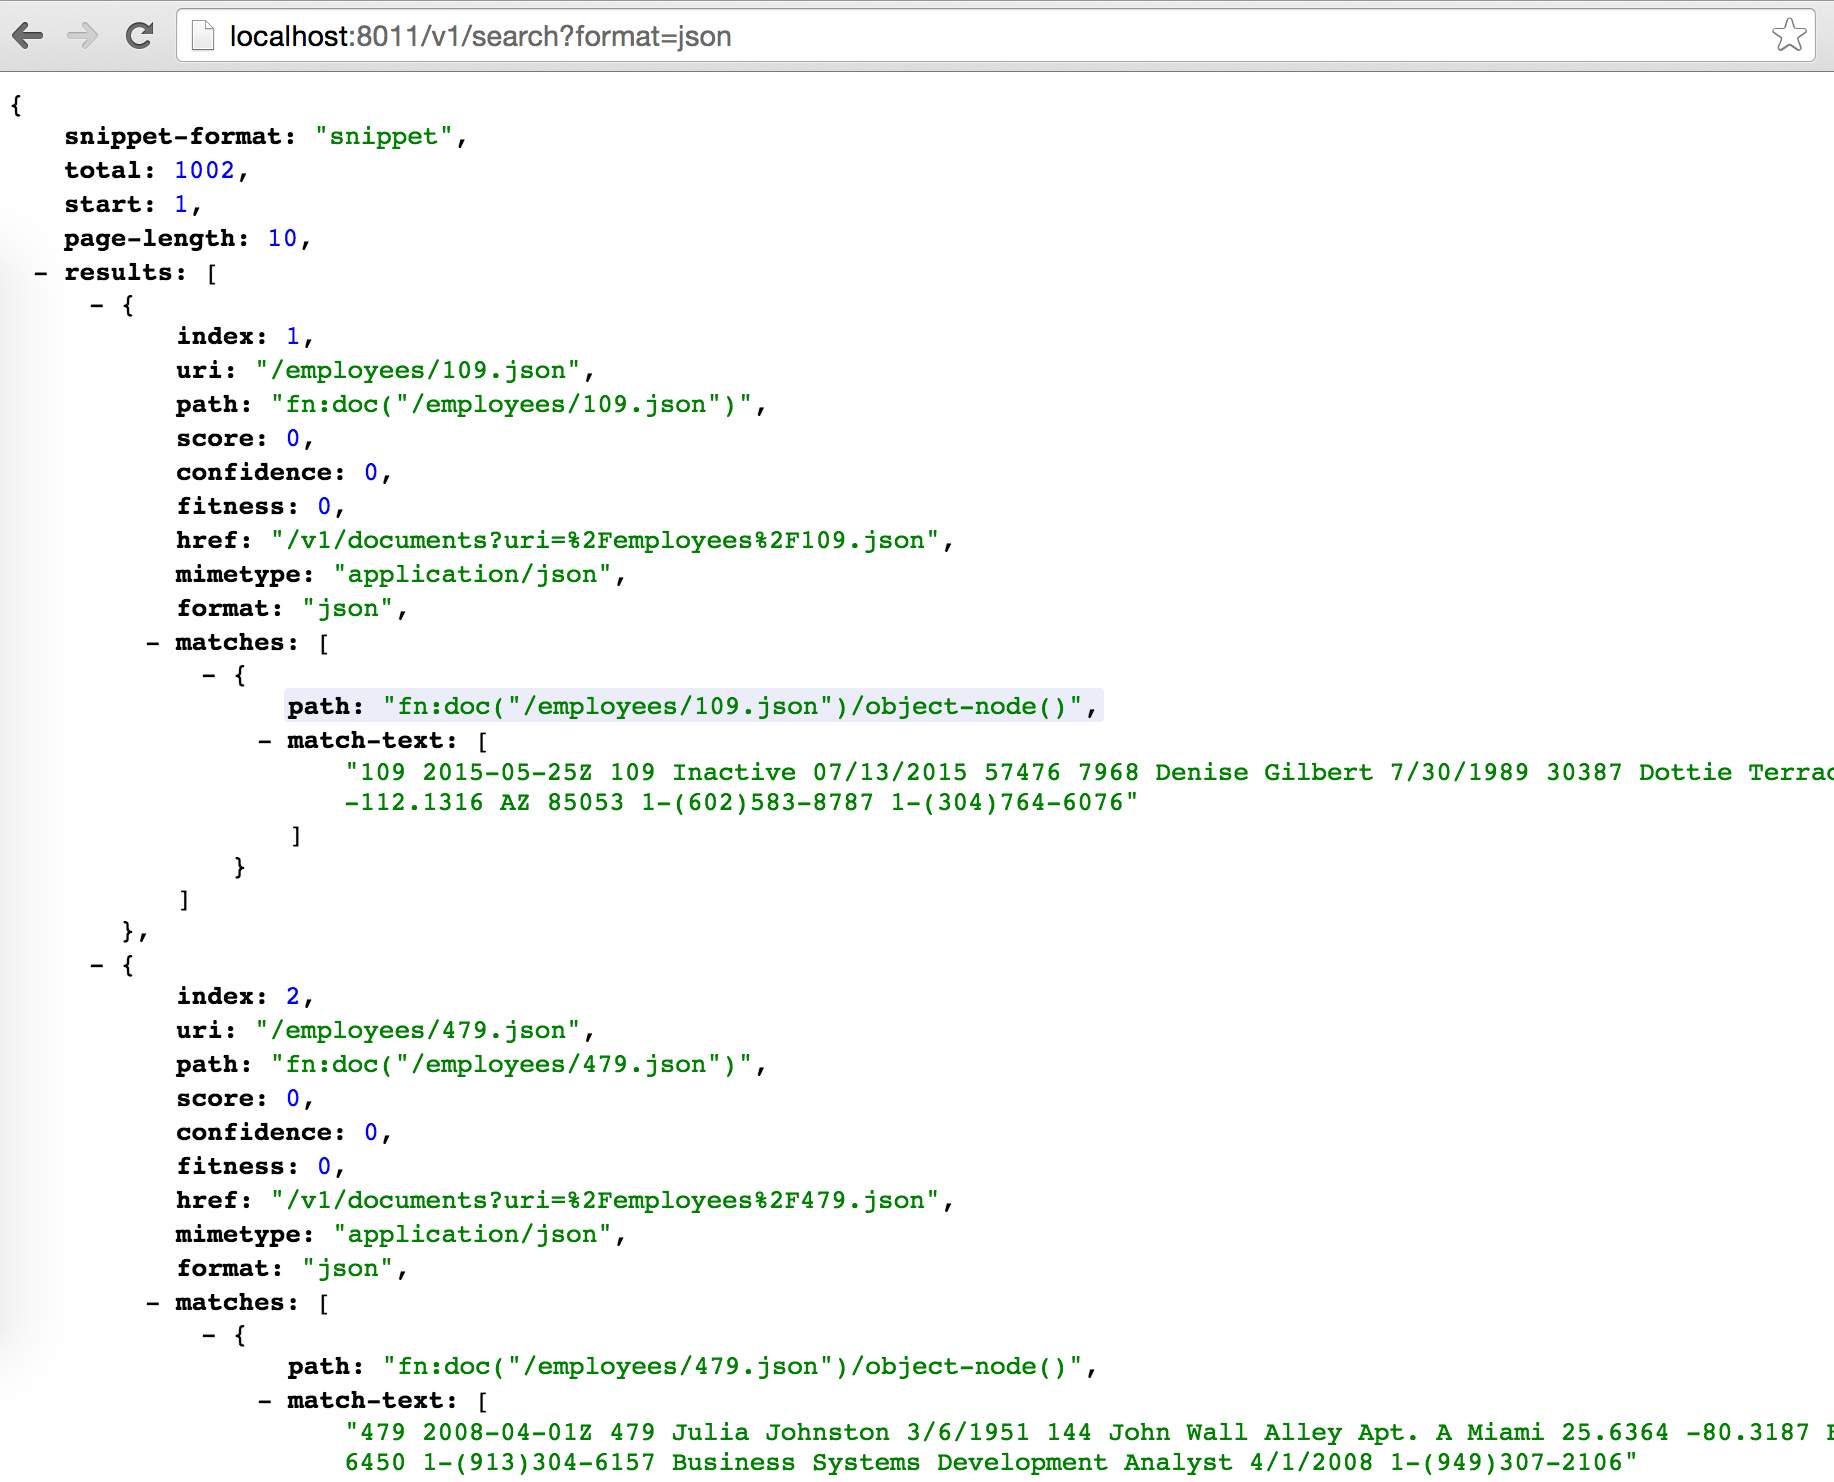
Now you can access your data via several REST endpoints. Your harmonized data is available on the Final HTTP server. The default port is 8011. A full list of REST endpoints is available here: https://docs.marklogic.com/REST/client
Open the Staging Search Endpoint against your local instance.
Open the Final Search Endpoint against your local instance.
Picture here is the Final Search endpoint.
13 - Wrapping Up
Congratulations! You just created a Data Hub.
- You loaded JSON and CSV files.
- You harmonized your data by extracting common header fields.
- Your data is now fully accessible via the MarkLogic REST API